It’s time for our kitchen refresh, phase 3! We’ve learned a lot in our first year as homeowners and it’s been so fun to DIY so many projects.
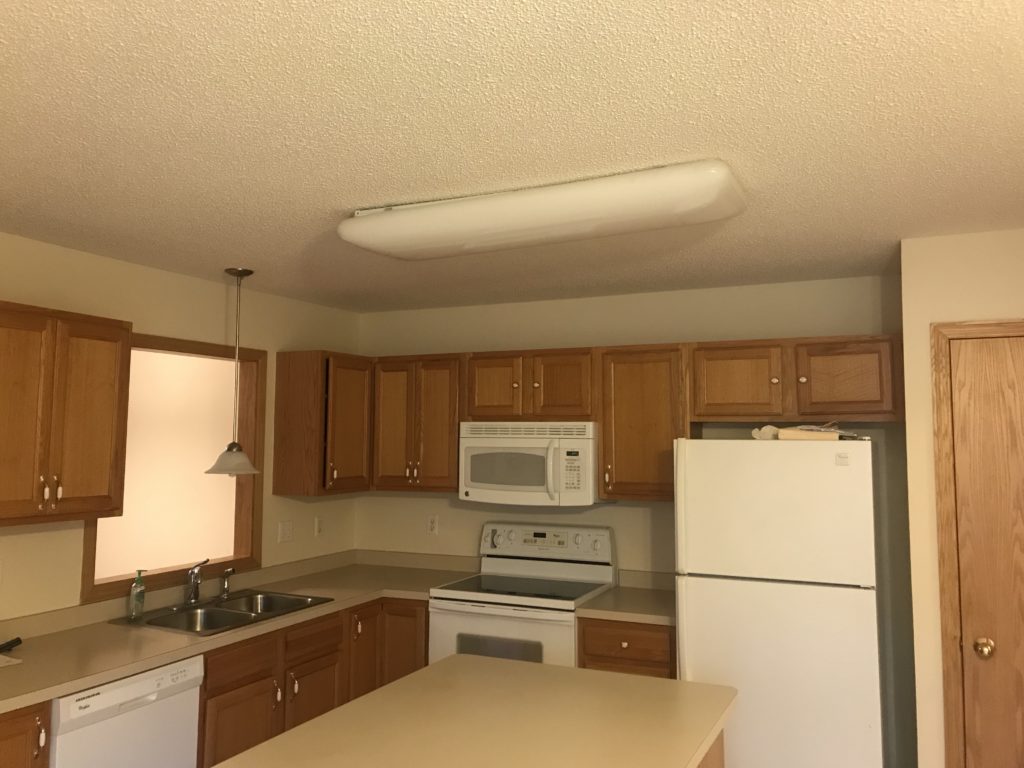
Our house was built in 1998 and was your classic 90s home with popcorn ceilings, a lot of golden oak, and gold and silver fixtures. Since we had a month overlap with our closing and when our apartment lease ended, we got a majority of the work done in those four weeks. You can see more of the progress and before & afters on construction2style’s blog!
There’s still projects on our to-do list, including Phase Three of our kitchen that we’re starting now! Before we get into those details, let’s rewind to the beginning.
Phase One
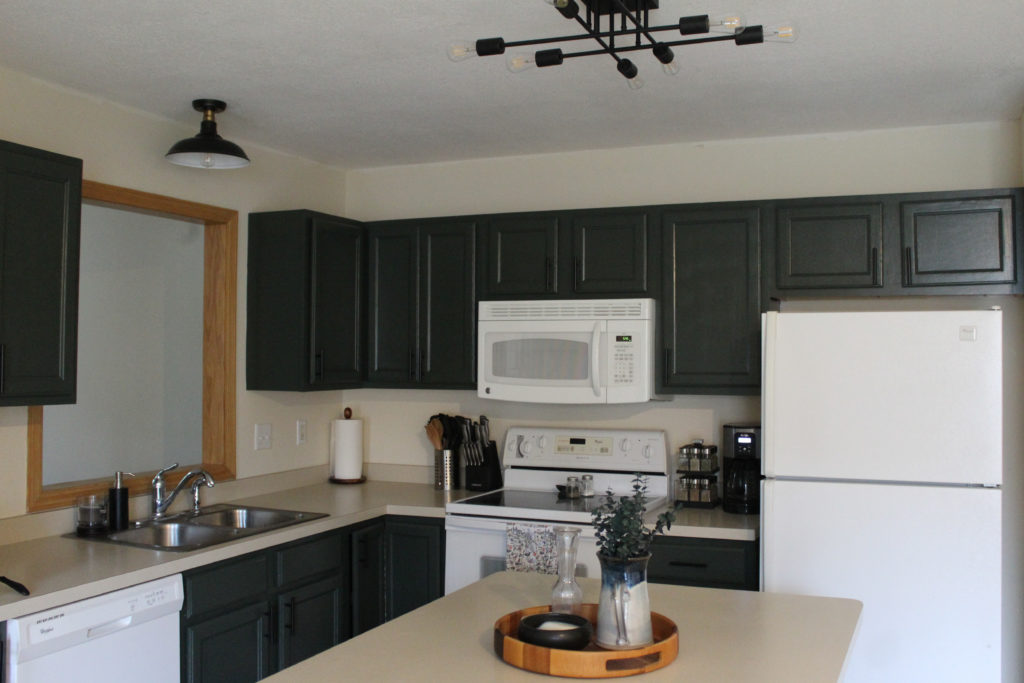
The first phase of our kitchen refresh included scraping the popcorn ceilings and adding a knockdown texture, painting the cabinets, replacing the hardware, and updating all of the lighting. These changes were lower in cost, but made a big difference! Here’s the transformation from phase one:
Before
See that ugly light above the island?! We knew that had to go, along with the pendant light hanging right in the middle of the pass through window. This view changed from this..
After
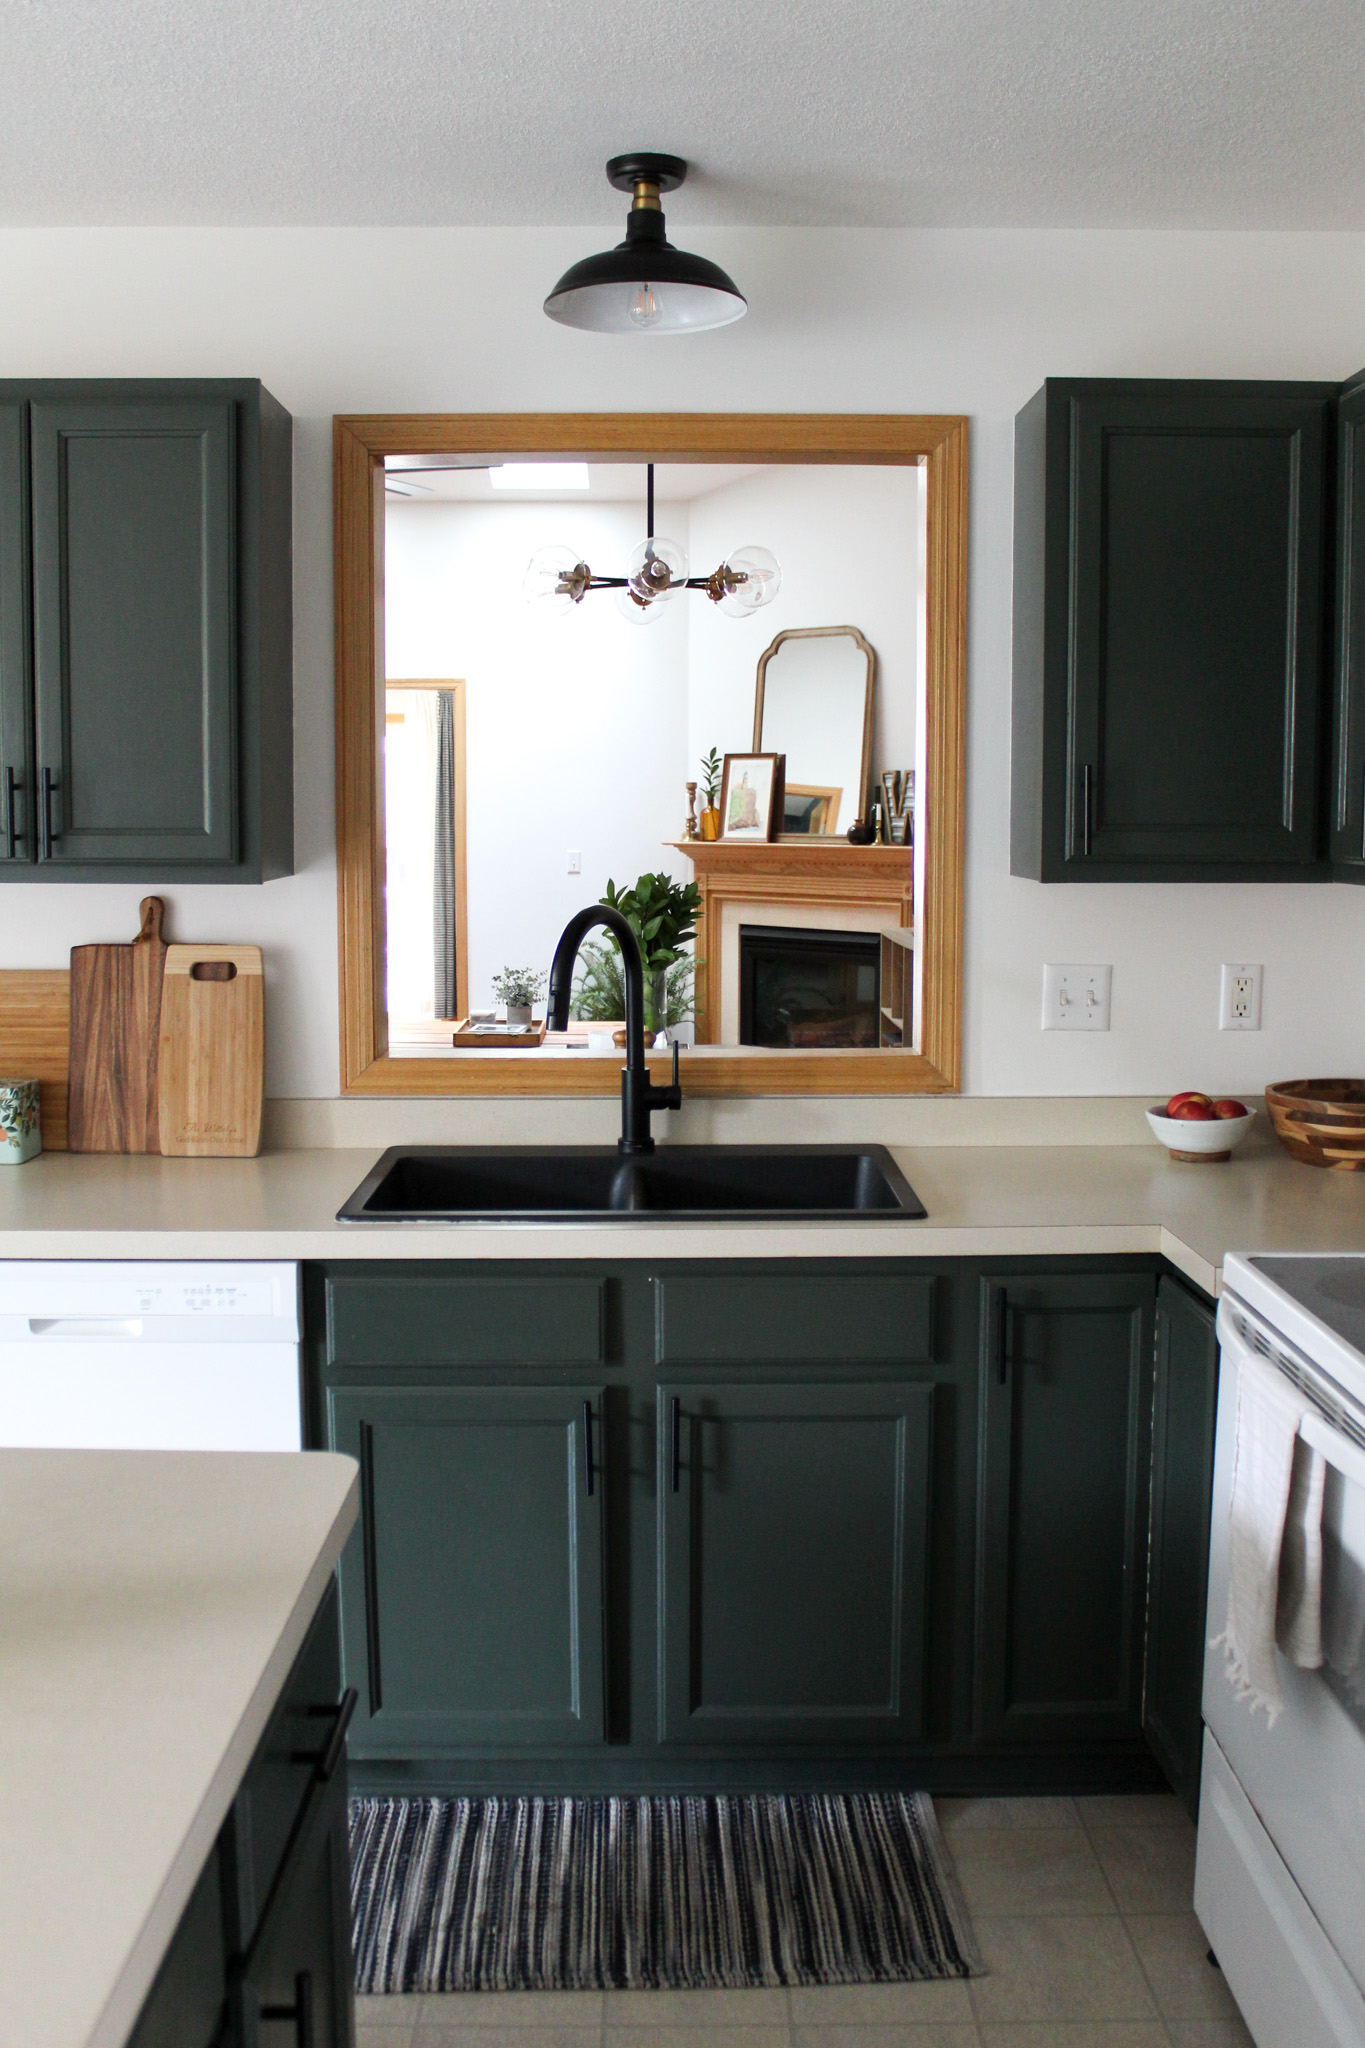
…to this! Already with these few updates, the space was feeling so much better. We painted the cabinets North Woods, installed a new kitchen island light and flush mount over the sink, and added black pulls.
Phase Two
Then in the beginning of this year, we completed phase two, which is when we replaced our faucet and sink. Check out these before and afters with the new faucet, sink, and paint.
Before
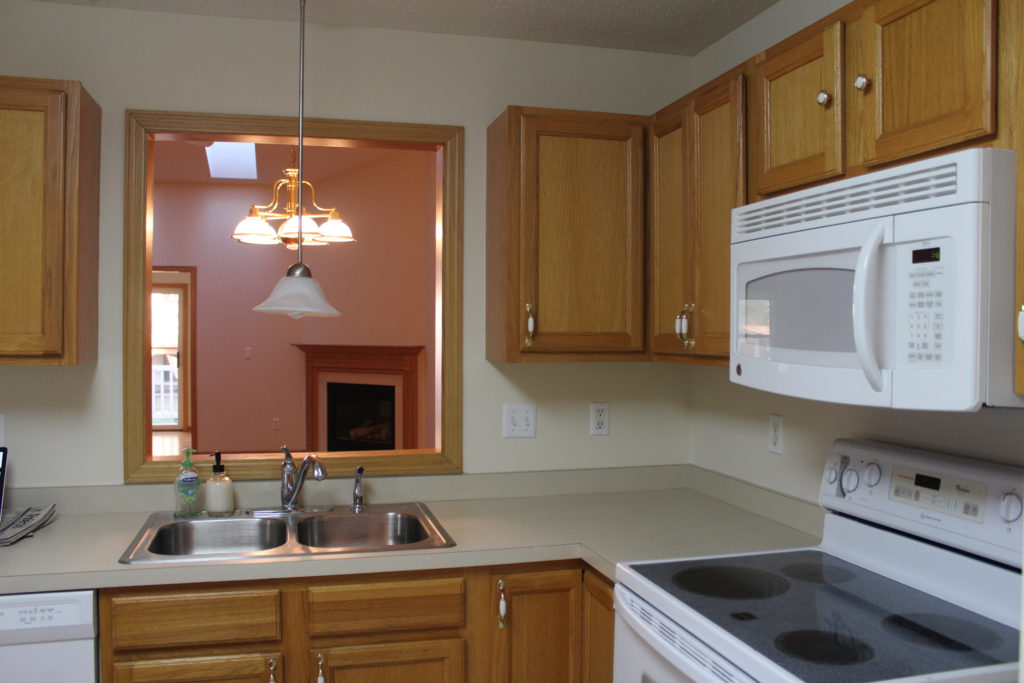
The sink was really shallow and not functional with a short faucet too. We went from this..
After
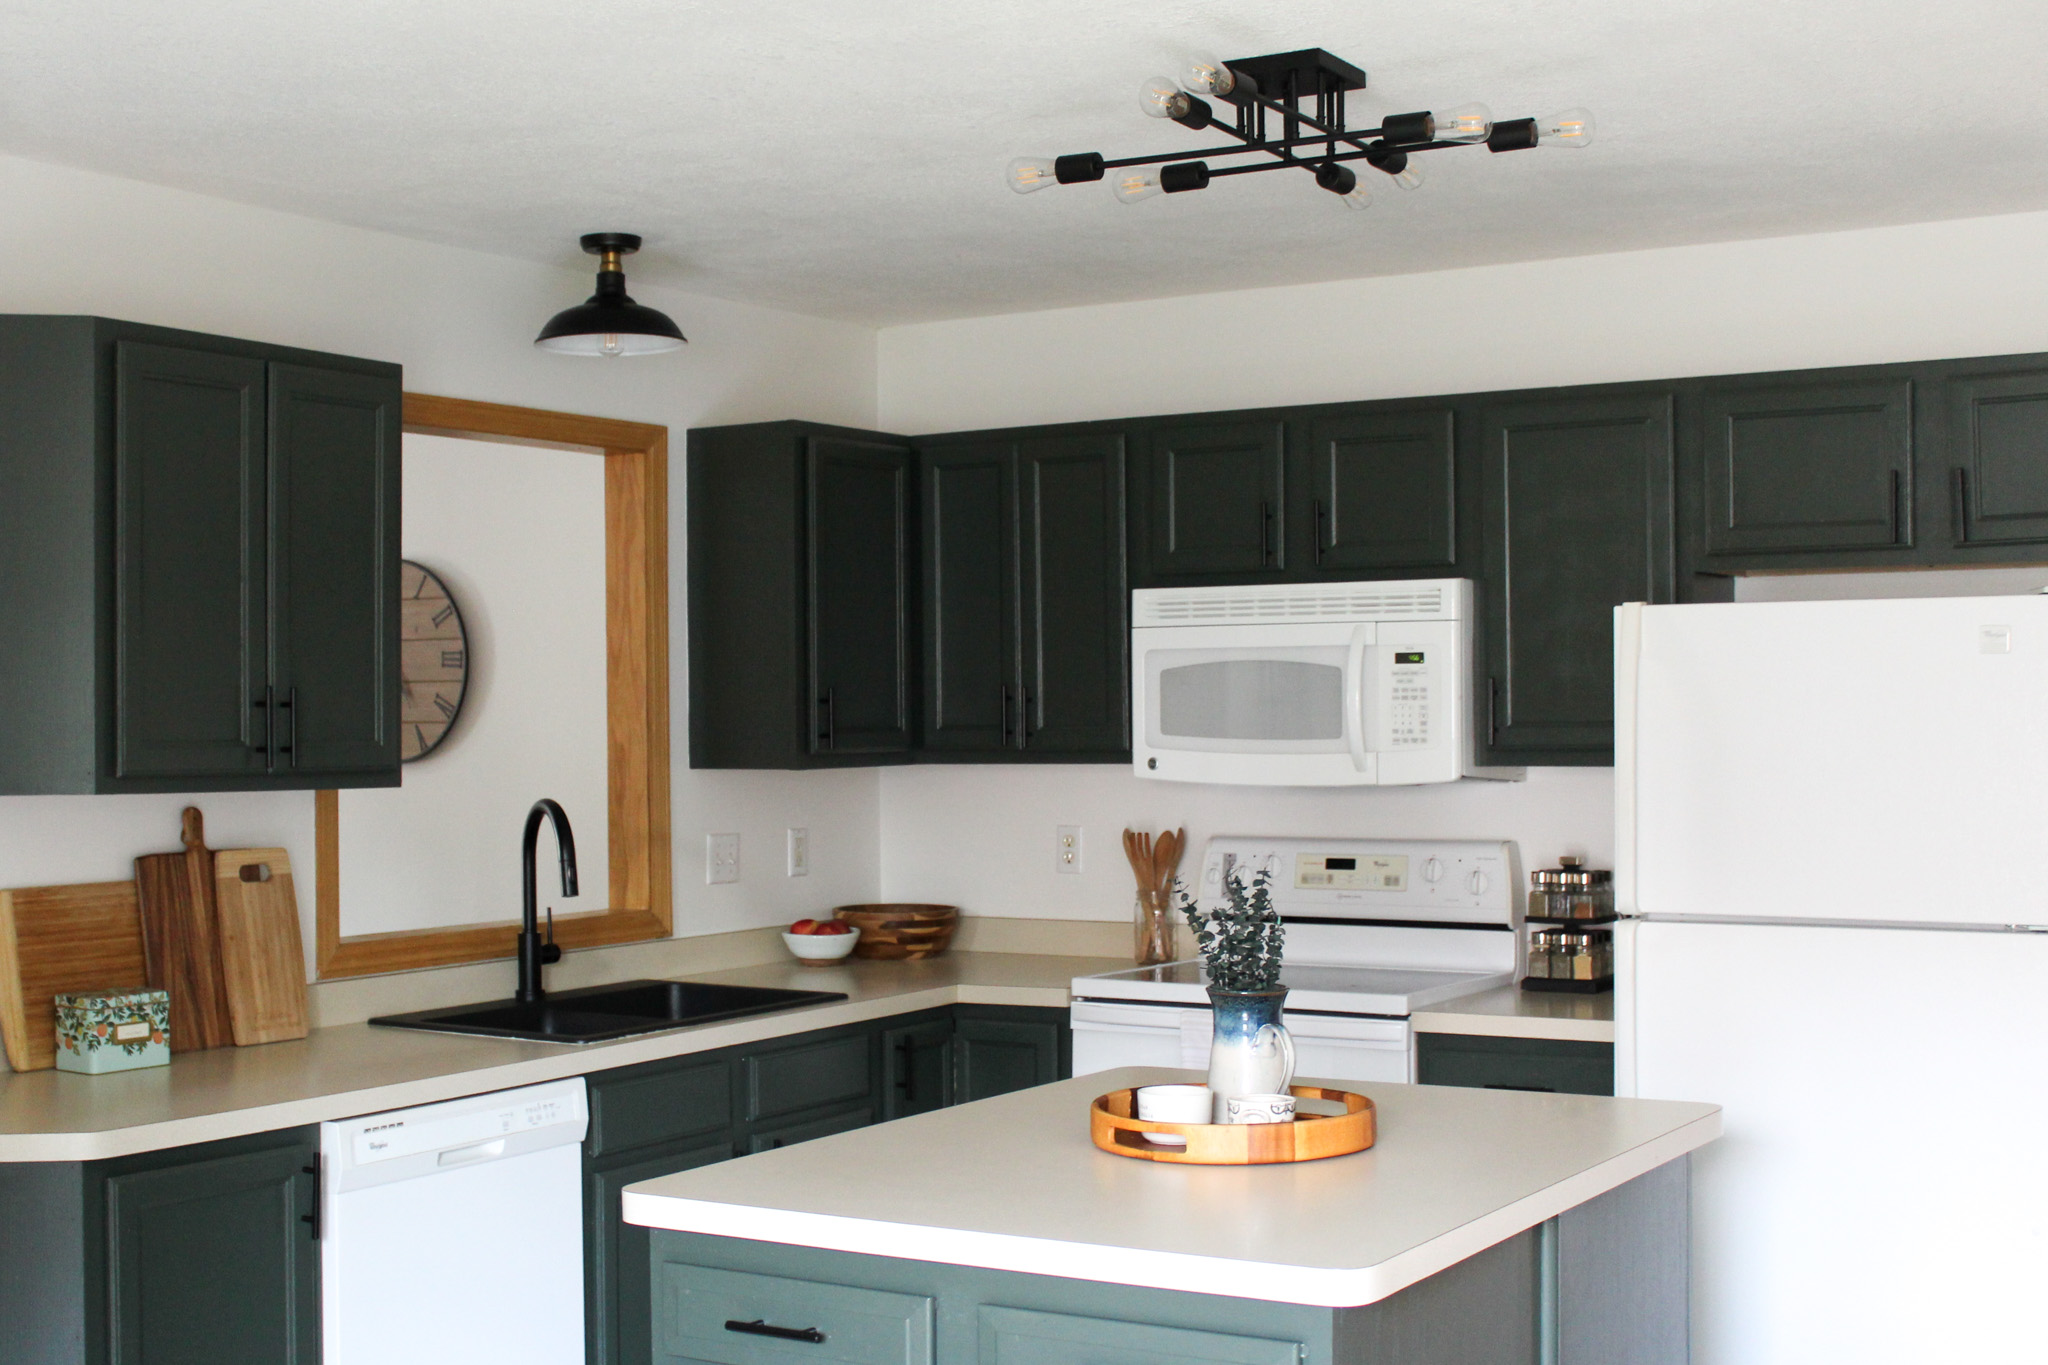
…to this! An Elkay quartz composite sink paired with a Delta Trinsic Kitchen Faucet with Touch2O Technology made if feel like a completely new kitchen!
Before
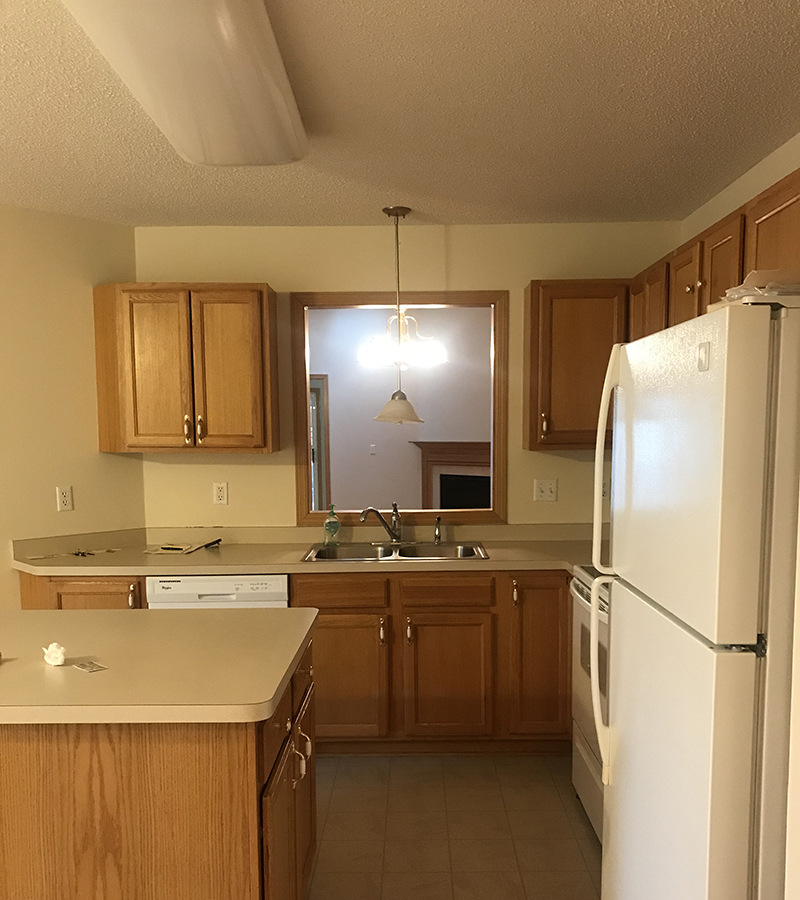
This is my favorite transformation – the view from the kitchen sink. From this…
After
…to this! The space is so much brighter, open, and definitely more functional.
The entire main level also got a fresh coat of paint and went from a creamy yellow color to Silky White. Never underestimate the power of paint – it made us love our cabinet color and millwork so much more!
Phase Three Plan
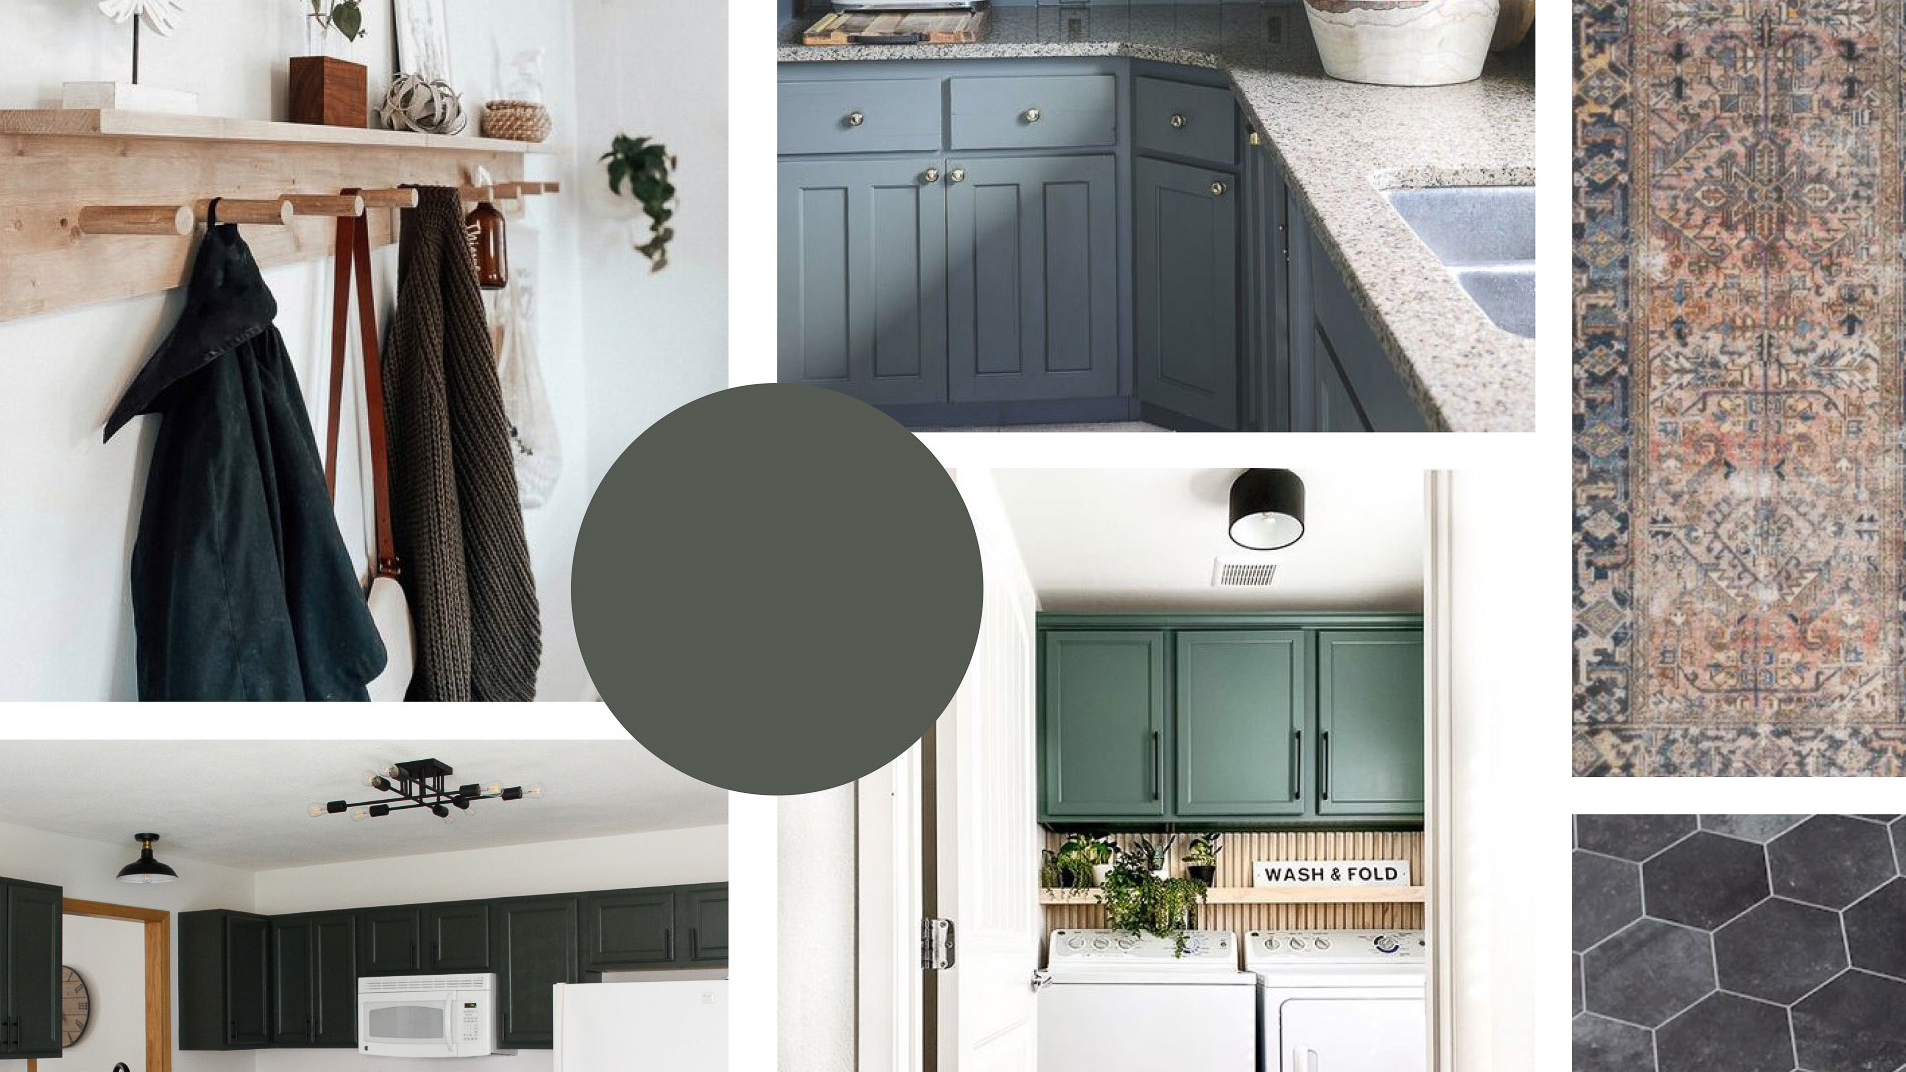
Now it’s time for Phase Three! Here’s our inspiration for this refresh:
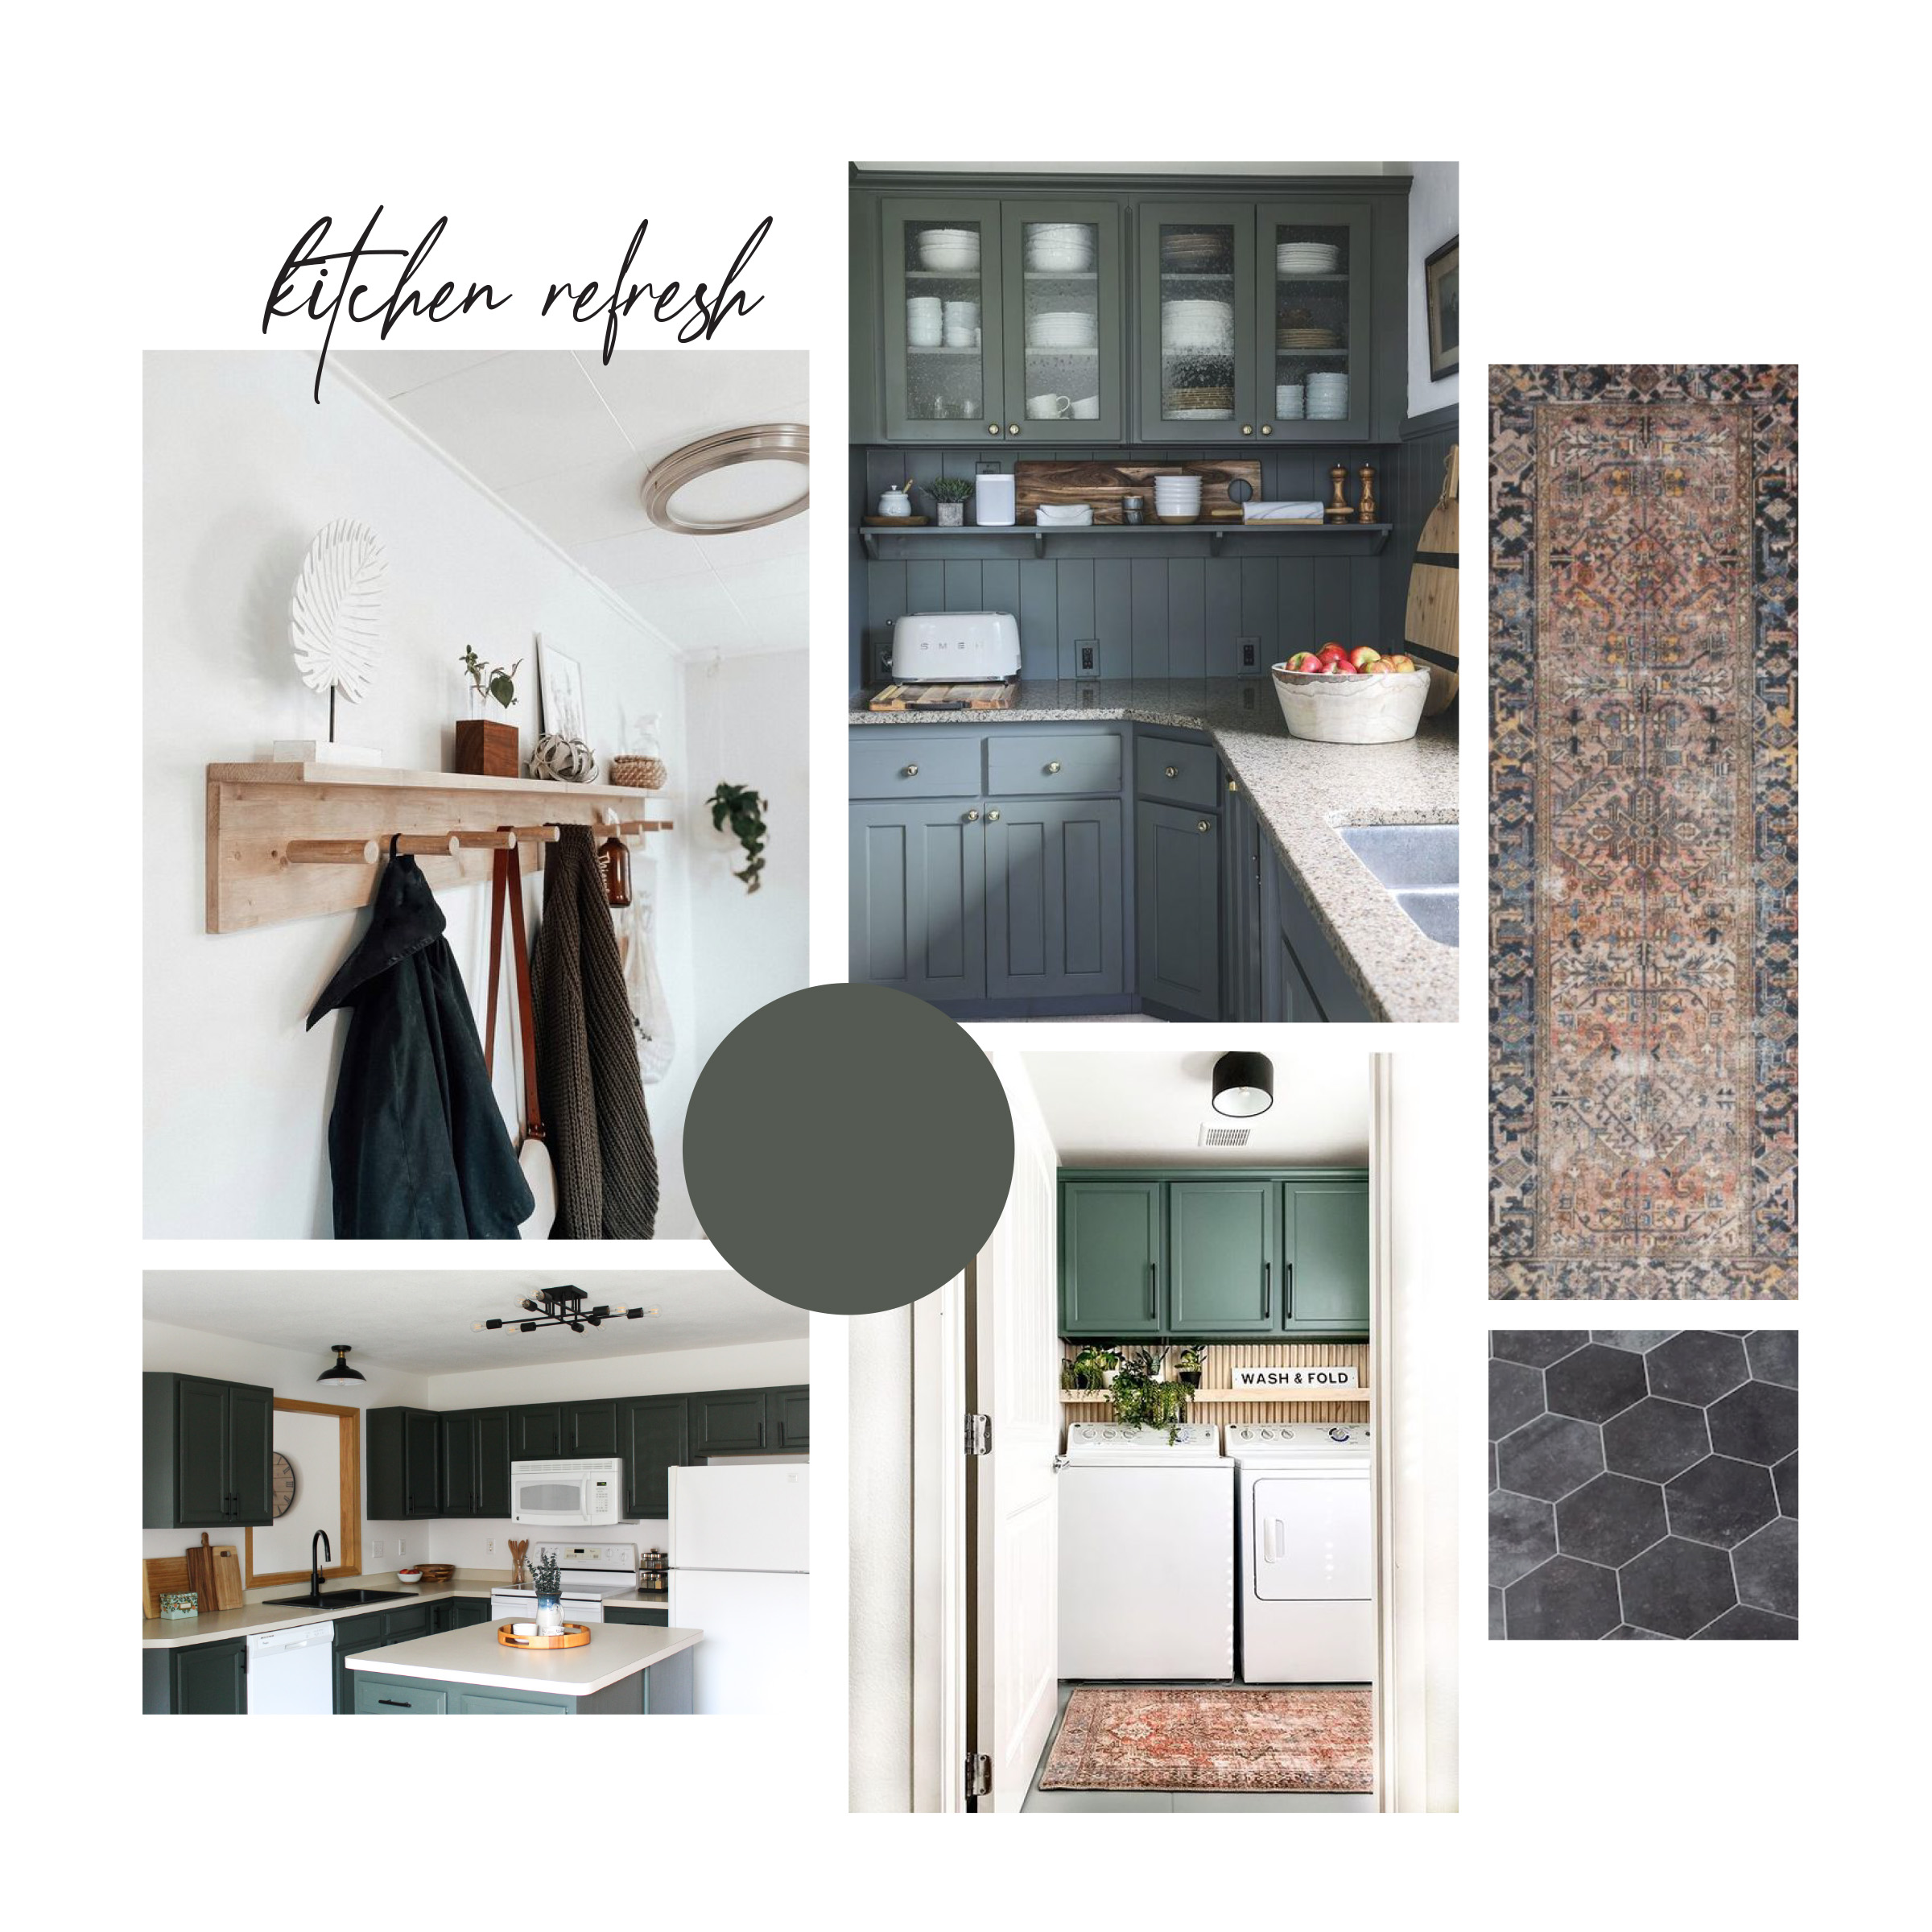
The first step will be to install peel and stick tile over our linoleum flooring. Then, we’ll install a vertical shiplap backsplash painted the same color as our cabinets. The peel & stick tile will continue into our laundry room as well, along with the vertical shiplap backsplash.
After that, we’ll build a peg rail for coats that will go on the left of the doorway and install shelves to the left of the angled cabinet below.
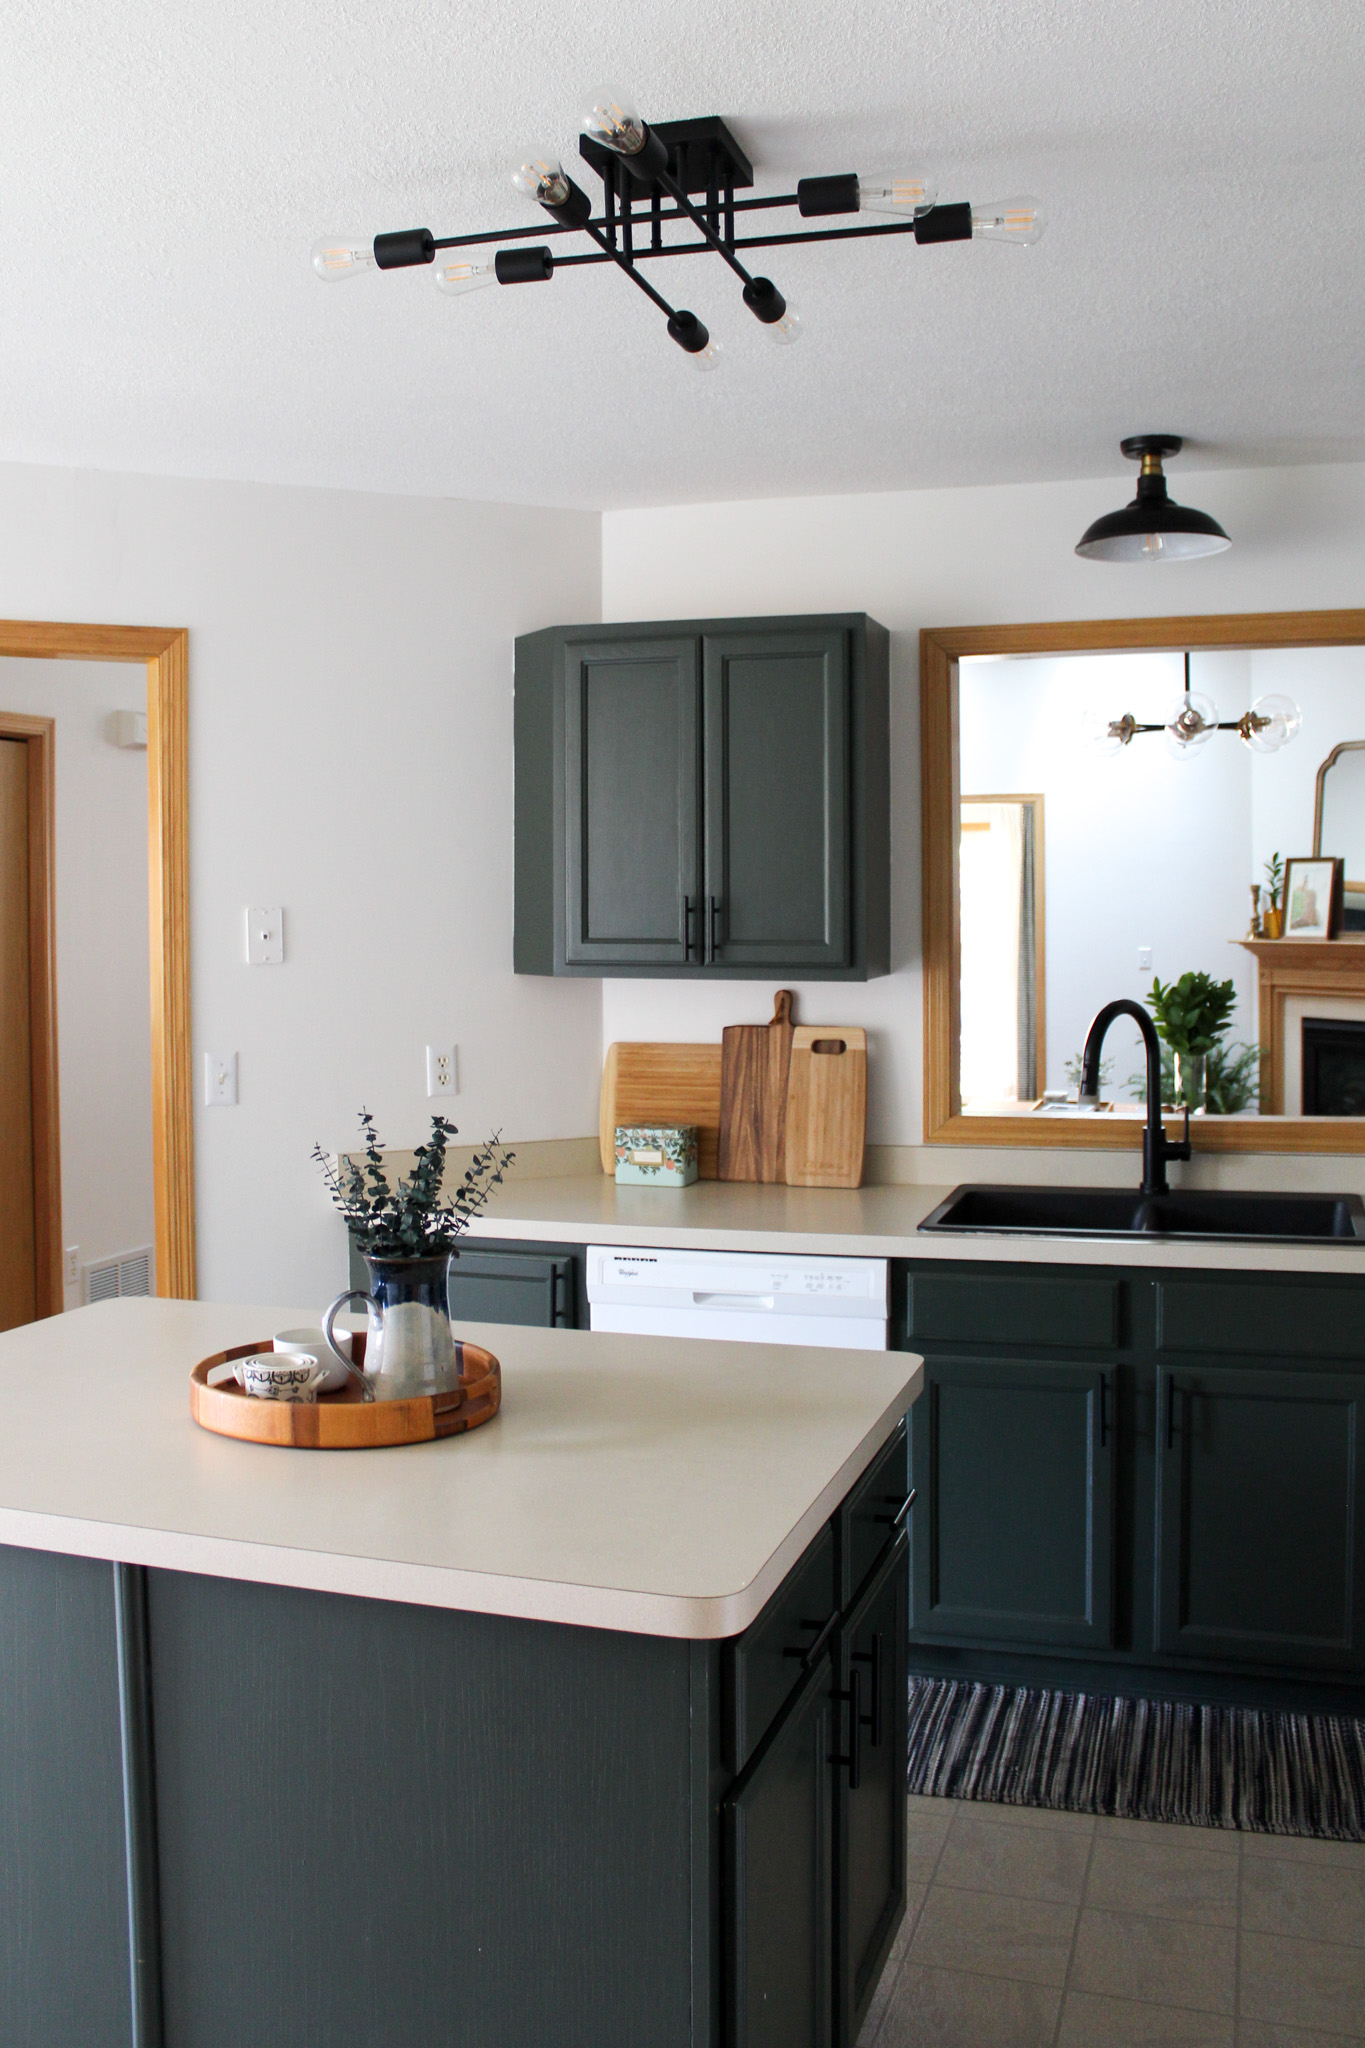
We can’t wait to bring you along as we update this space! Follow on Instagram for behind the scenes and stay tuned for the full reveal!

