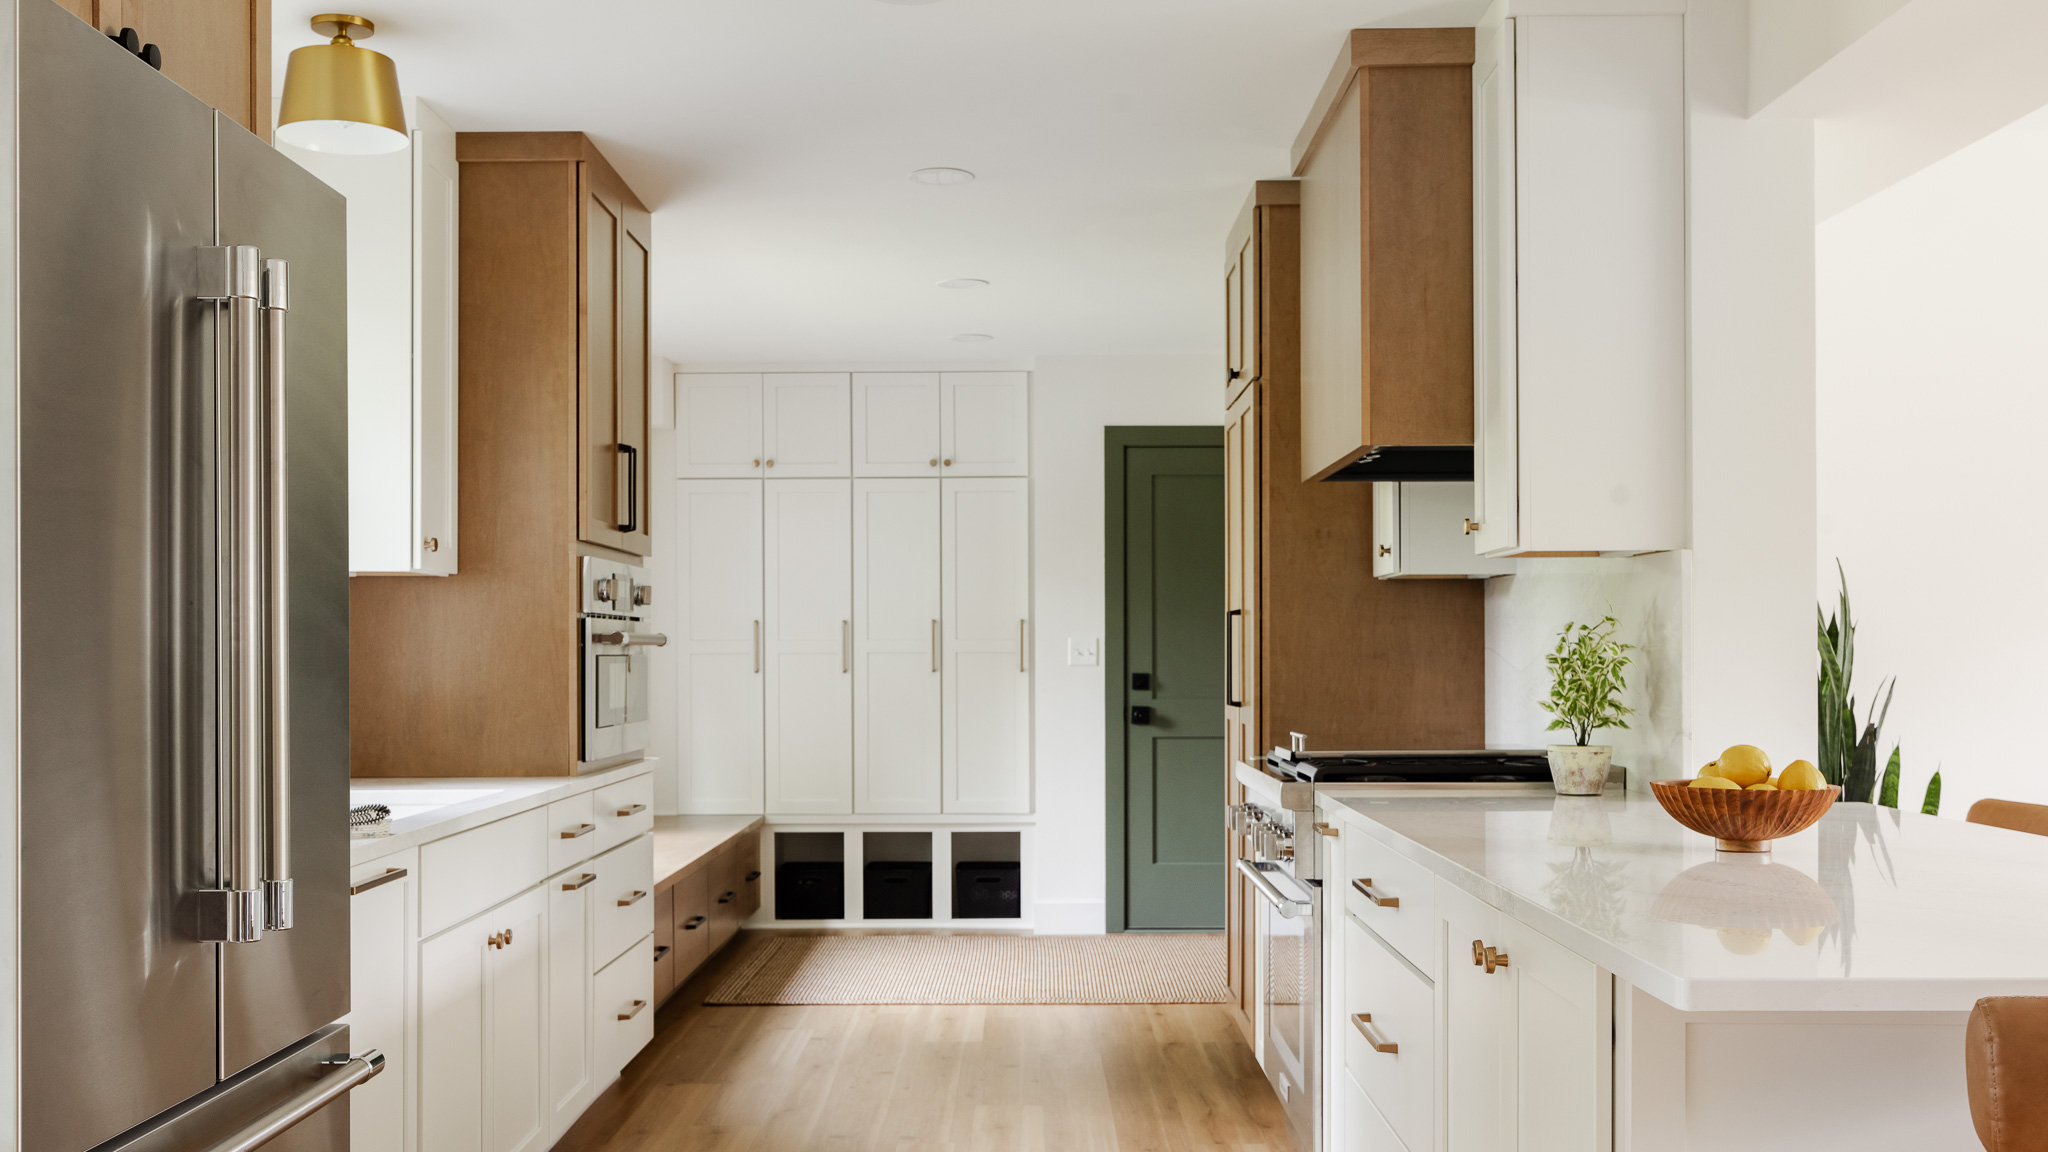
This live edge desk in my office is one of my favorite pieces of furniture in our home! After we had moved into our new house a few years ago, I was looking at desks and tutorials on how to make one. Once I found some wood slabs on Facebook Marketplace, I knew a live edge desk would be the perfect solution. Today, I’ll walk you through the steps on how we made this desk and how you can too!

Step 1: Materials and Tools
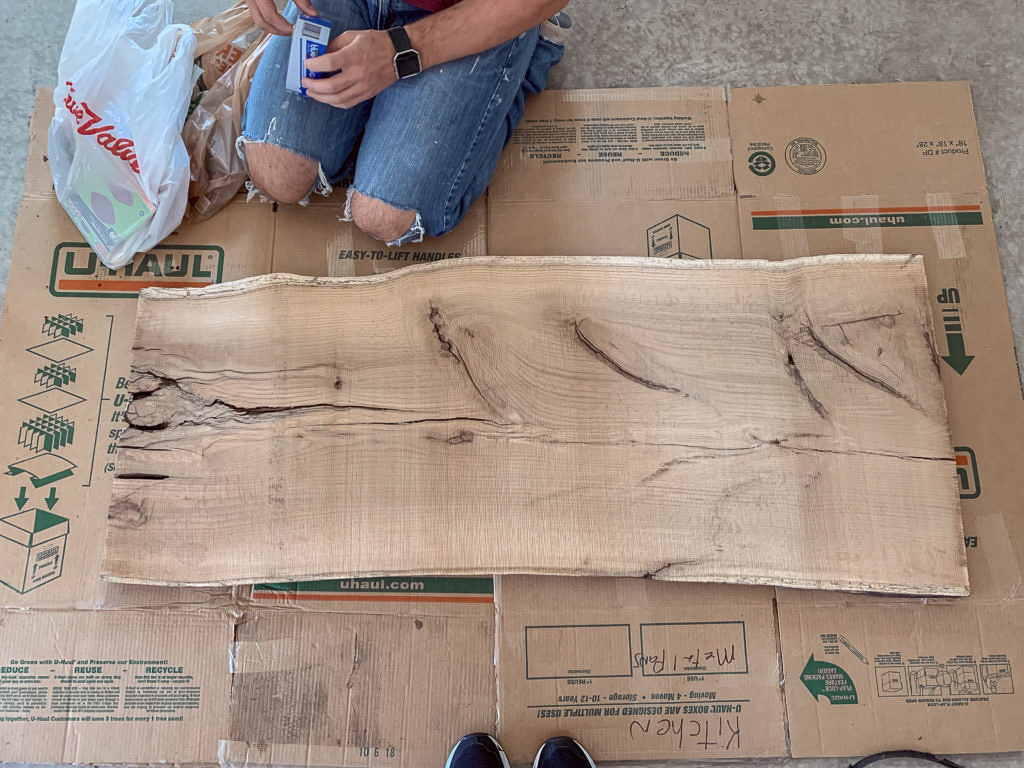
The slab we used to make the desk was red oak wood that we got from Facebook Marketplace. The guy selling the wood had already kiln dried it, so we knew the wood was treated. In terms of size, we went with a 48″ long x 24″ wide piece. If you’re looking for live edge wood, I highly recommend searching on Facebook Marketplace. The price was by the length, width, and thickness of the wood, so you can choose any size and shape you want.
- Live Edge Slab
- Metal Legs
- 80 Grit sandpaper
- 220 Grit Sandpaper
- Disposable Gloves
- Metal Legs
- Epoxy
- Orbital Sander
- Hairpin Legs
Step 2: Prep the Slab
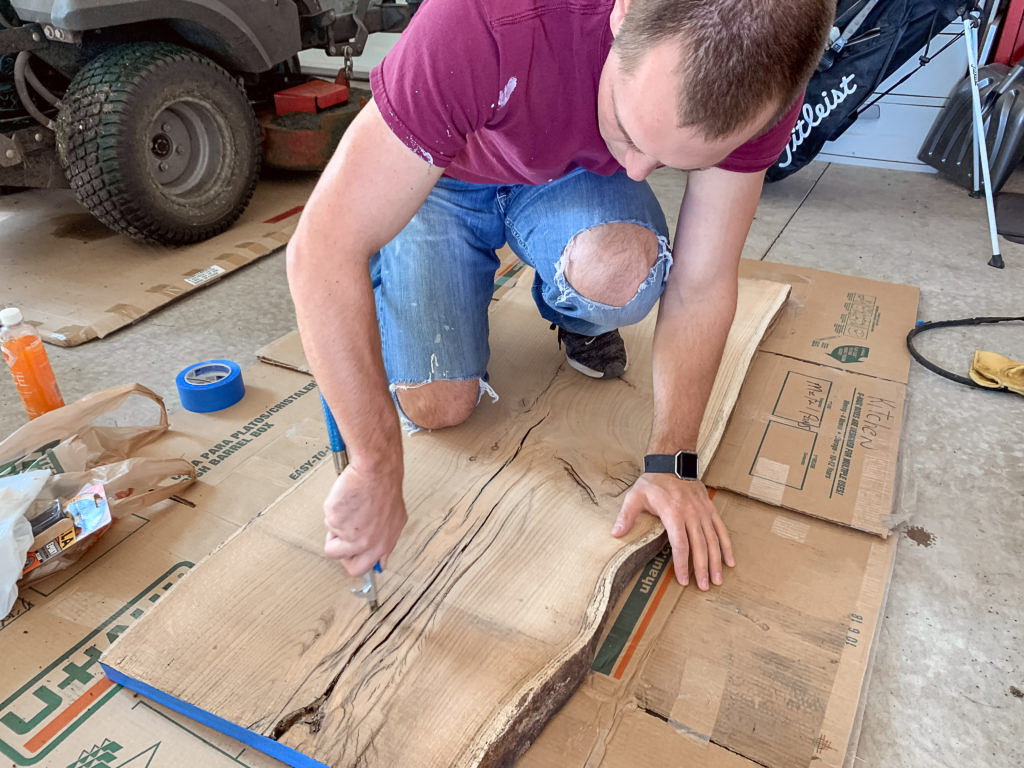
Once we had all of our materials, the next step was to prep the wood. We used an air compressor to clean out any broken pieces or dust that had gathered in the cracks. Another option would be to use a rag and blow air into the holes.
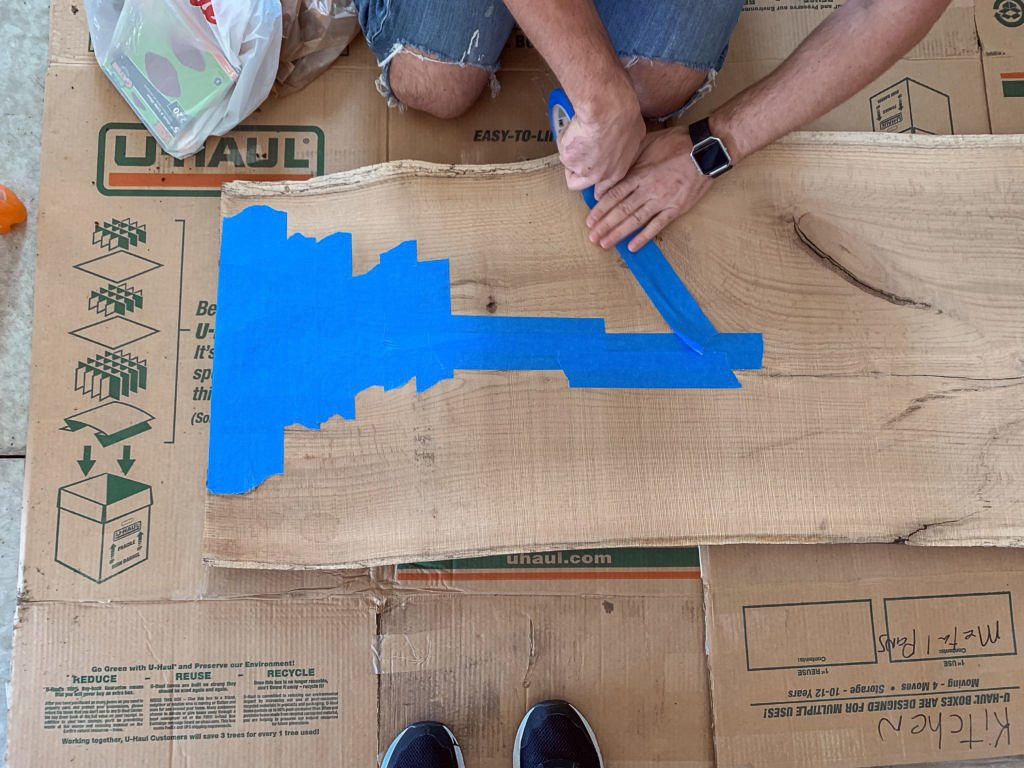
The other step to preb the slab was taping the bottom so the epoxy would settle into the wood and not flow right out the bottom.
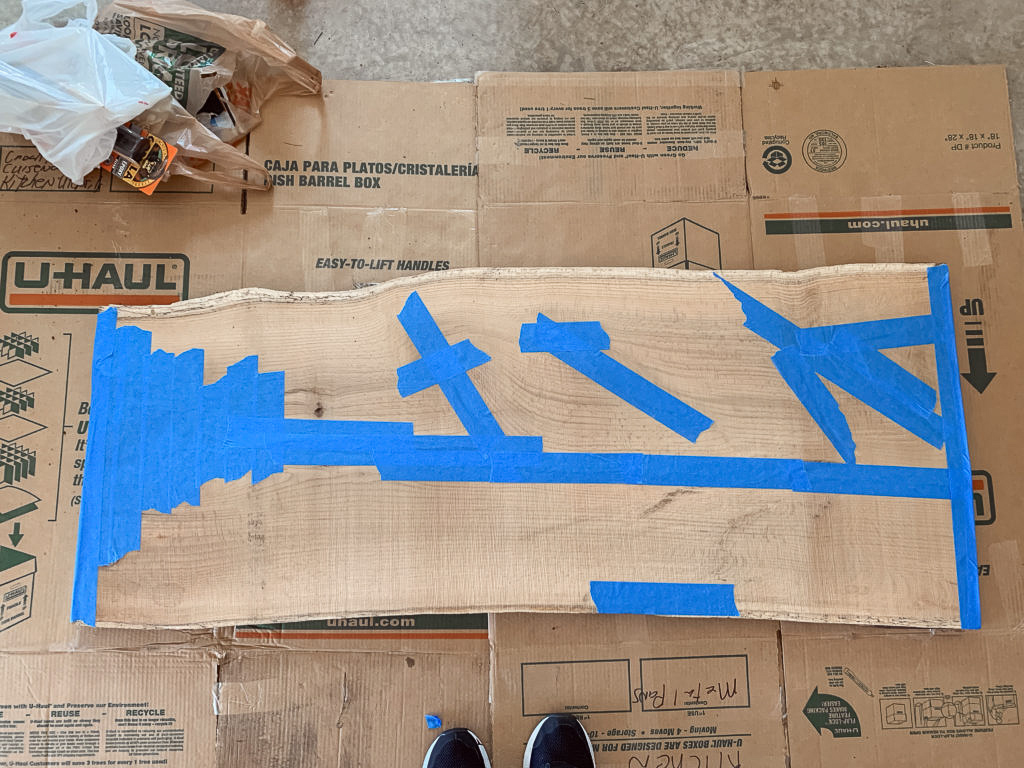
Step 3: Fill with Epoxy
Once the bottom was sealed up with tape, we turned the slab over to start on the epoxy. I’d suggest getting some gloves because the epoxy is very sticky! The epoxy package came with a stick that we used for filling the holes. It took multiple packages since some of the grooves were deeper than others. The goal is to get the slab to be flat, so you’re able to set a computer or other items on it.
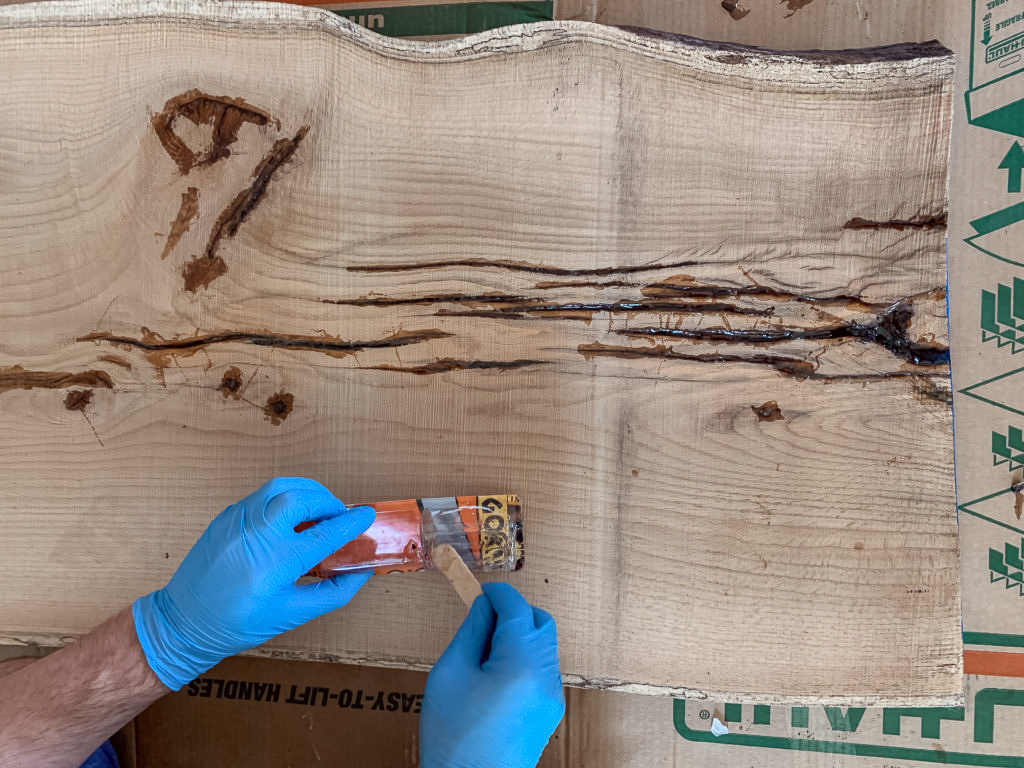
Step 4: Sand and Poly
Even though the package says to wait 30 minutes for the epoxy to cure, we kept checking it and gave it 2 hours to ensure it was solid before sanding.
To save some time on sanding and not go through as much sandpaper, you can use a hammer and chisel to break off large pieces of epoxy so the surface is more smooth.
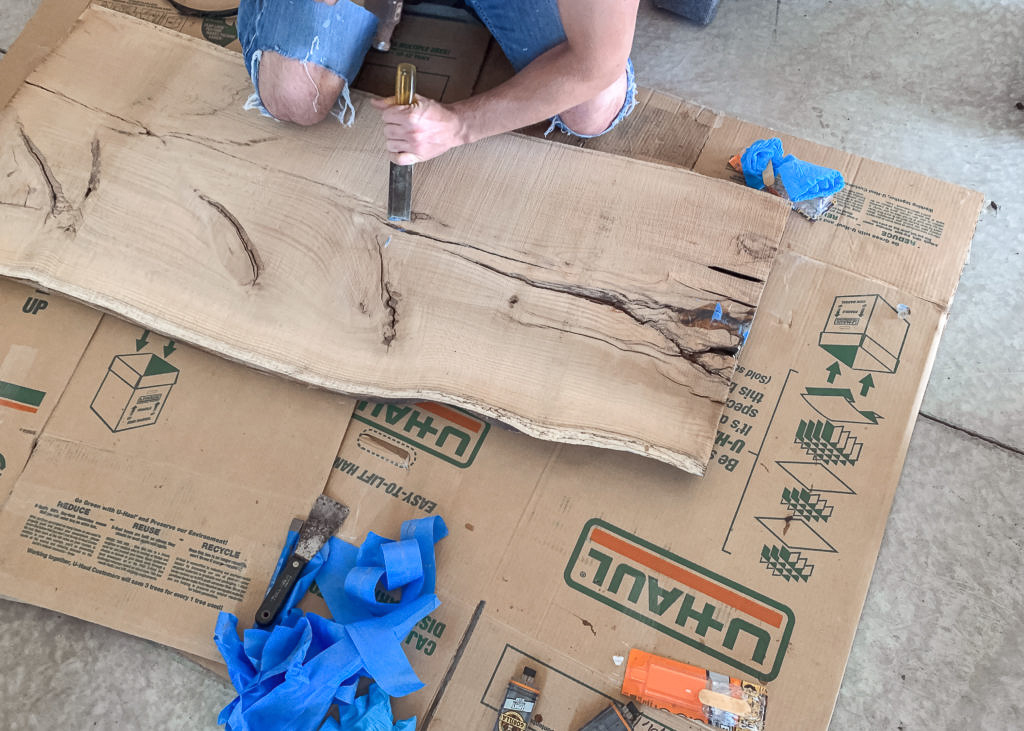
Then it was time to sand and sand again. For this, we used an orbital sander with 80 grit sandpaper. Since the epoxy was pretty thick, we had to go over certain areas multiple times.
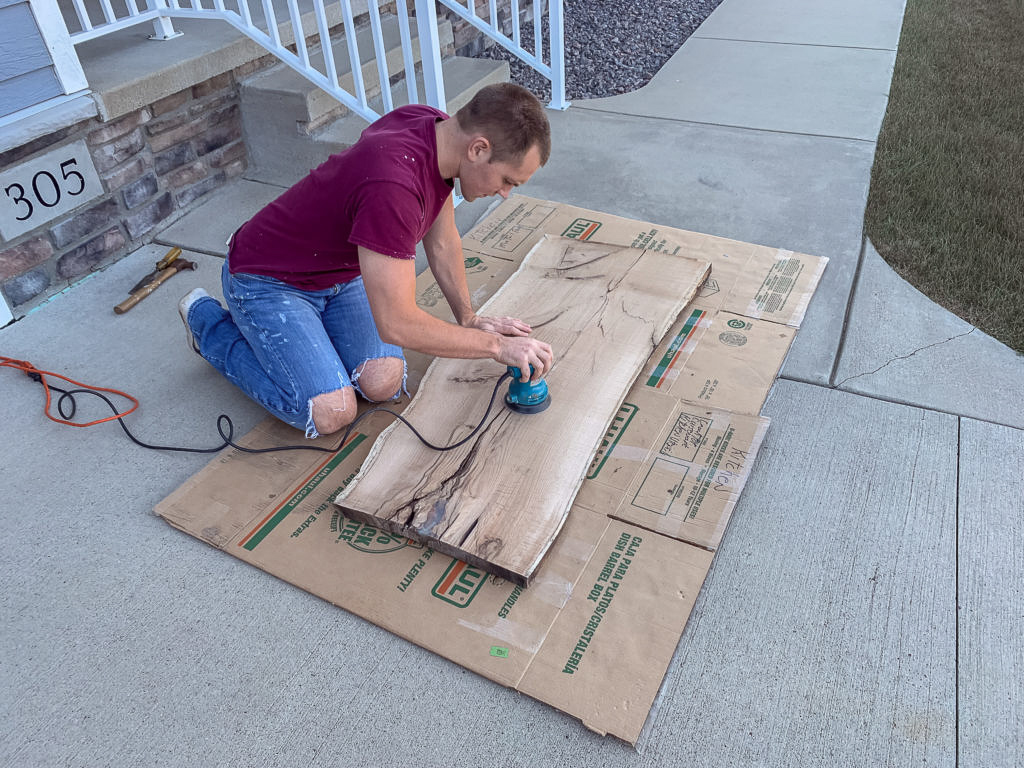
To seal the wood, we then applied polyurethane with a foam brush. This ensures nothing will get into the wood and creates a protective finish. Even though we didn’t use epoxy on the bottom, we still applied 3 coats of poly to seal it up. On the front, we applied 4 coats since it will be used more (plus, Matt is very thorough so he wanted to go the extra mile!). You’ll have to wait 2 hours between coats of poly and we’d recommend lightly sanding between them so each coat has a smooth and clean finish.
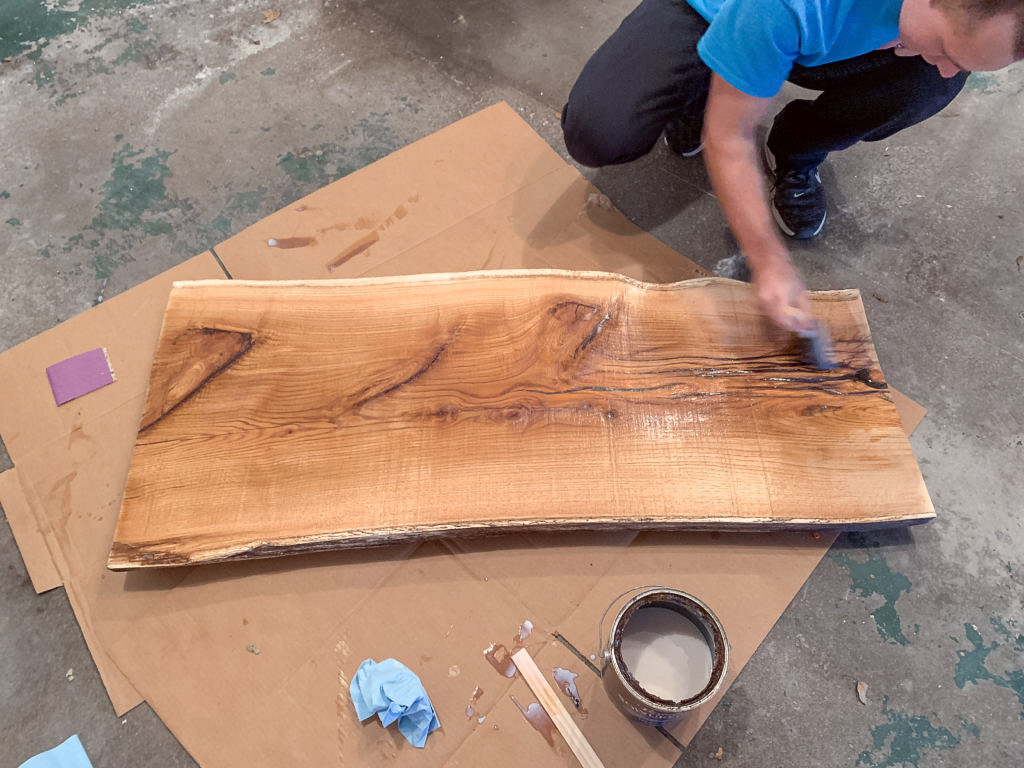
Step 5: Add the Legs
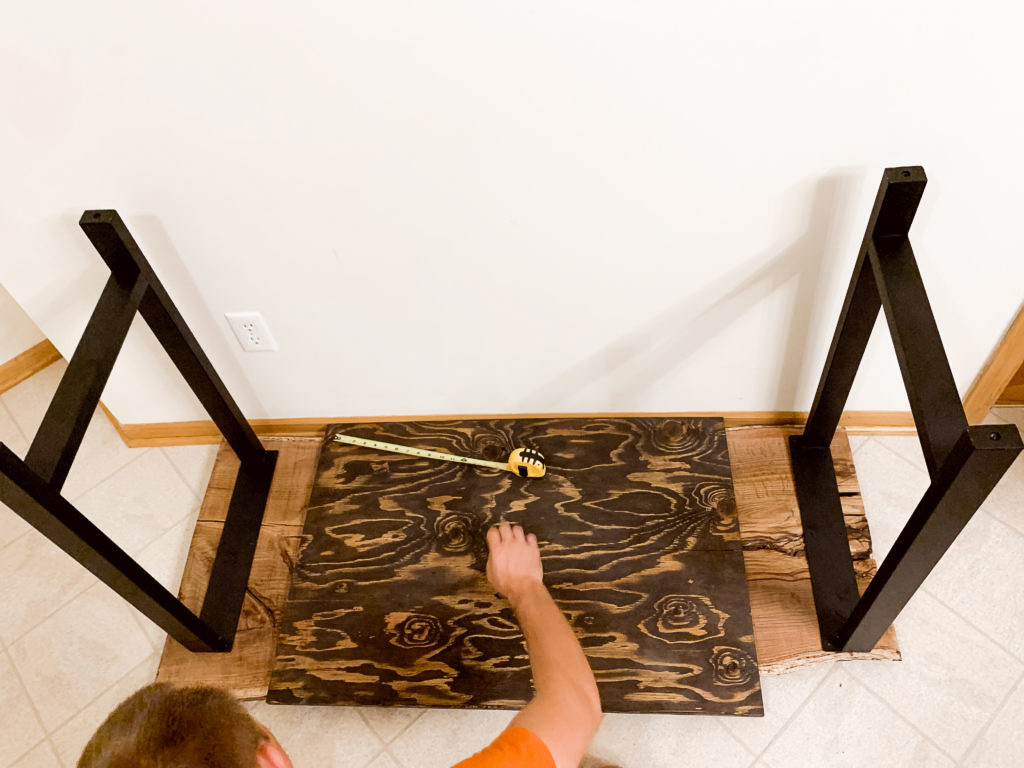
And the last step is adding your legs! Whether you choose hairpin legs or more sturdy ones like we did, this process is the same. You’ll want to use a wall or square piece of wood to measure since live edge pieces aren’t completely straight. We used a tape measure to mark off the placement for the legs and then drilled them into the slab with the screws that came with them.
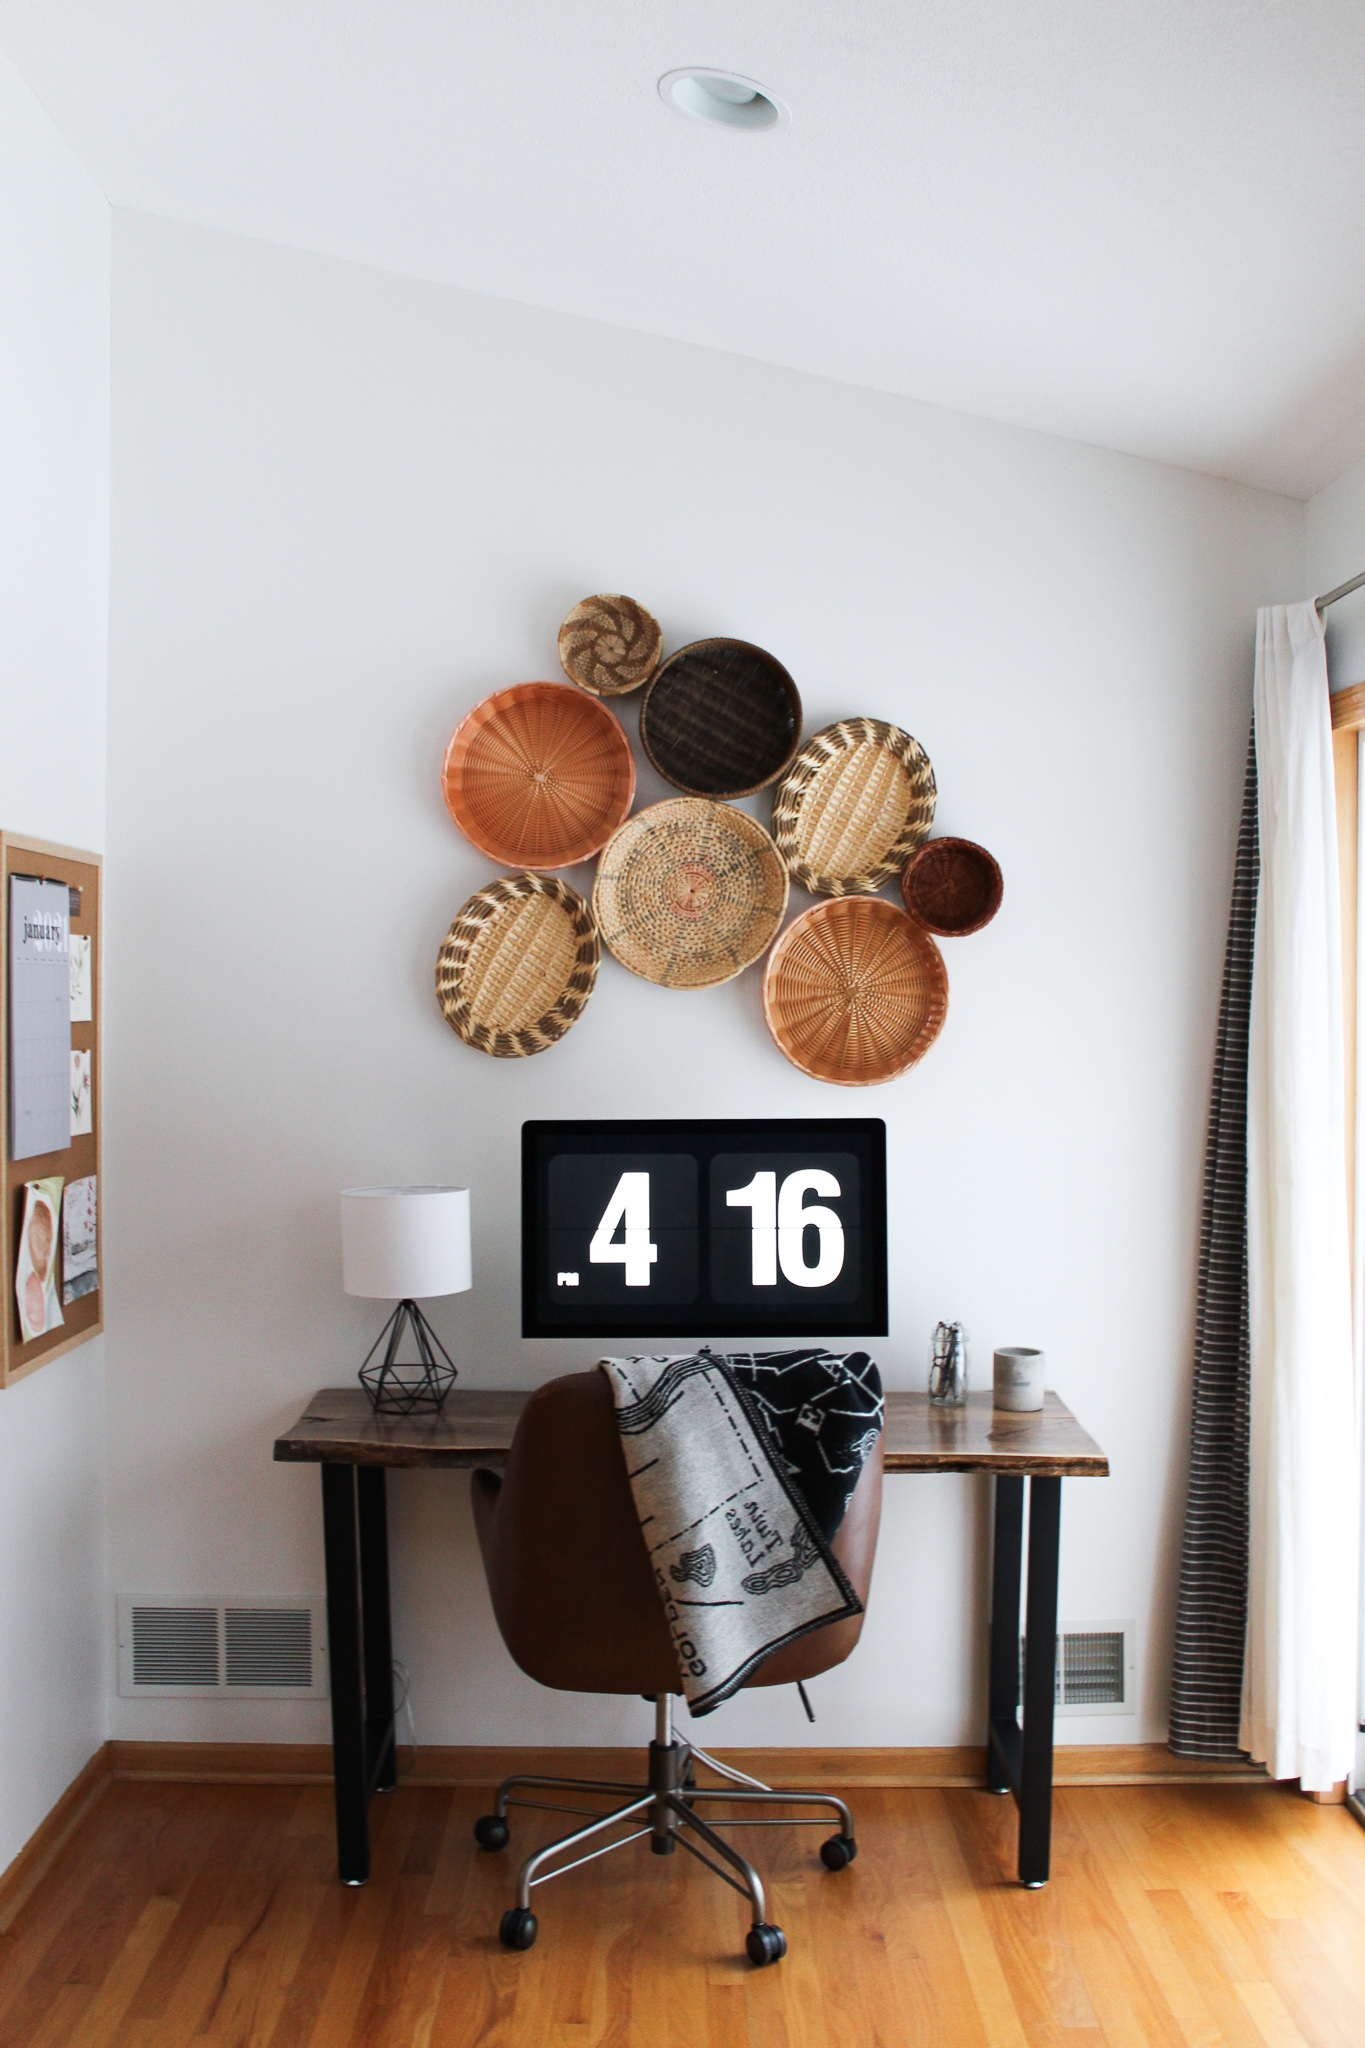
The live edge desk turned out beautifully! I paired it with this leather chair that I scored from a thrift store, which complemented it perfectly. I love coming into my office every day and working from this spot. For more details on my office and how to create a basket wall, check out this post!


