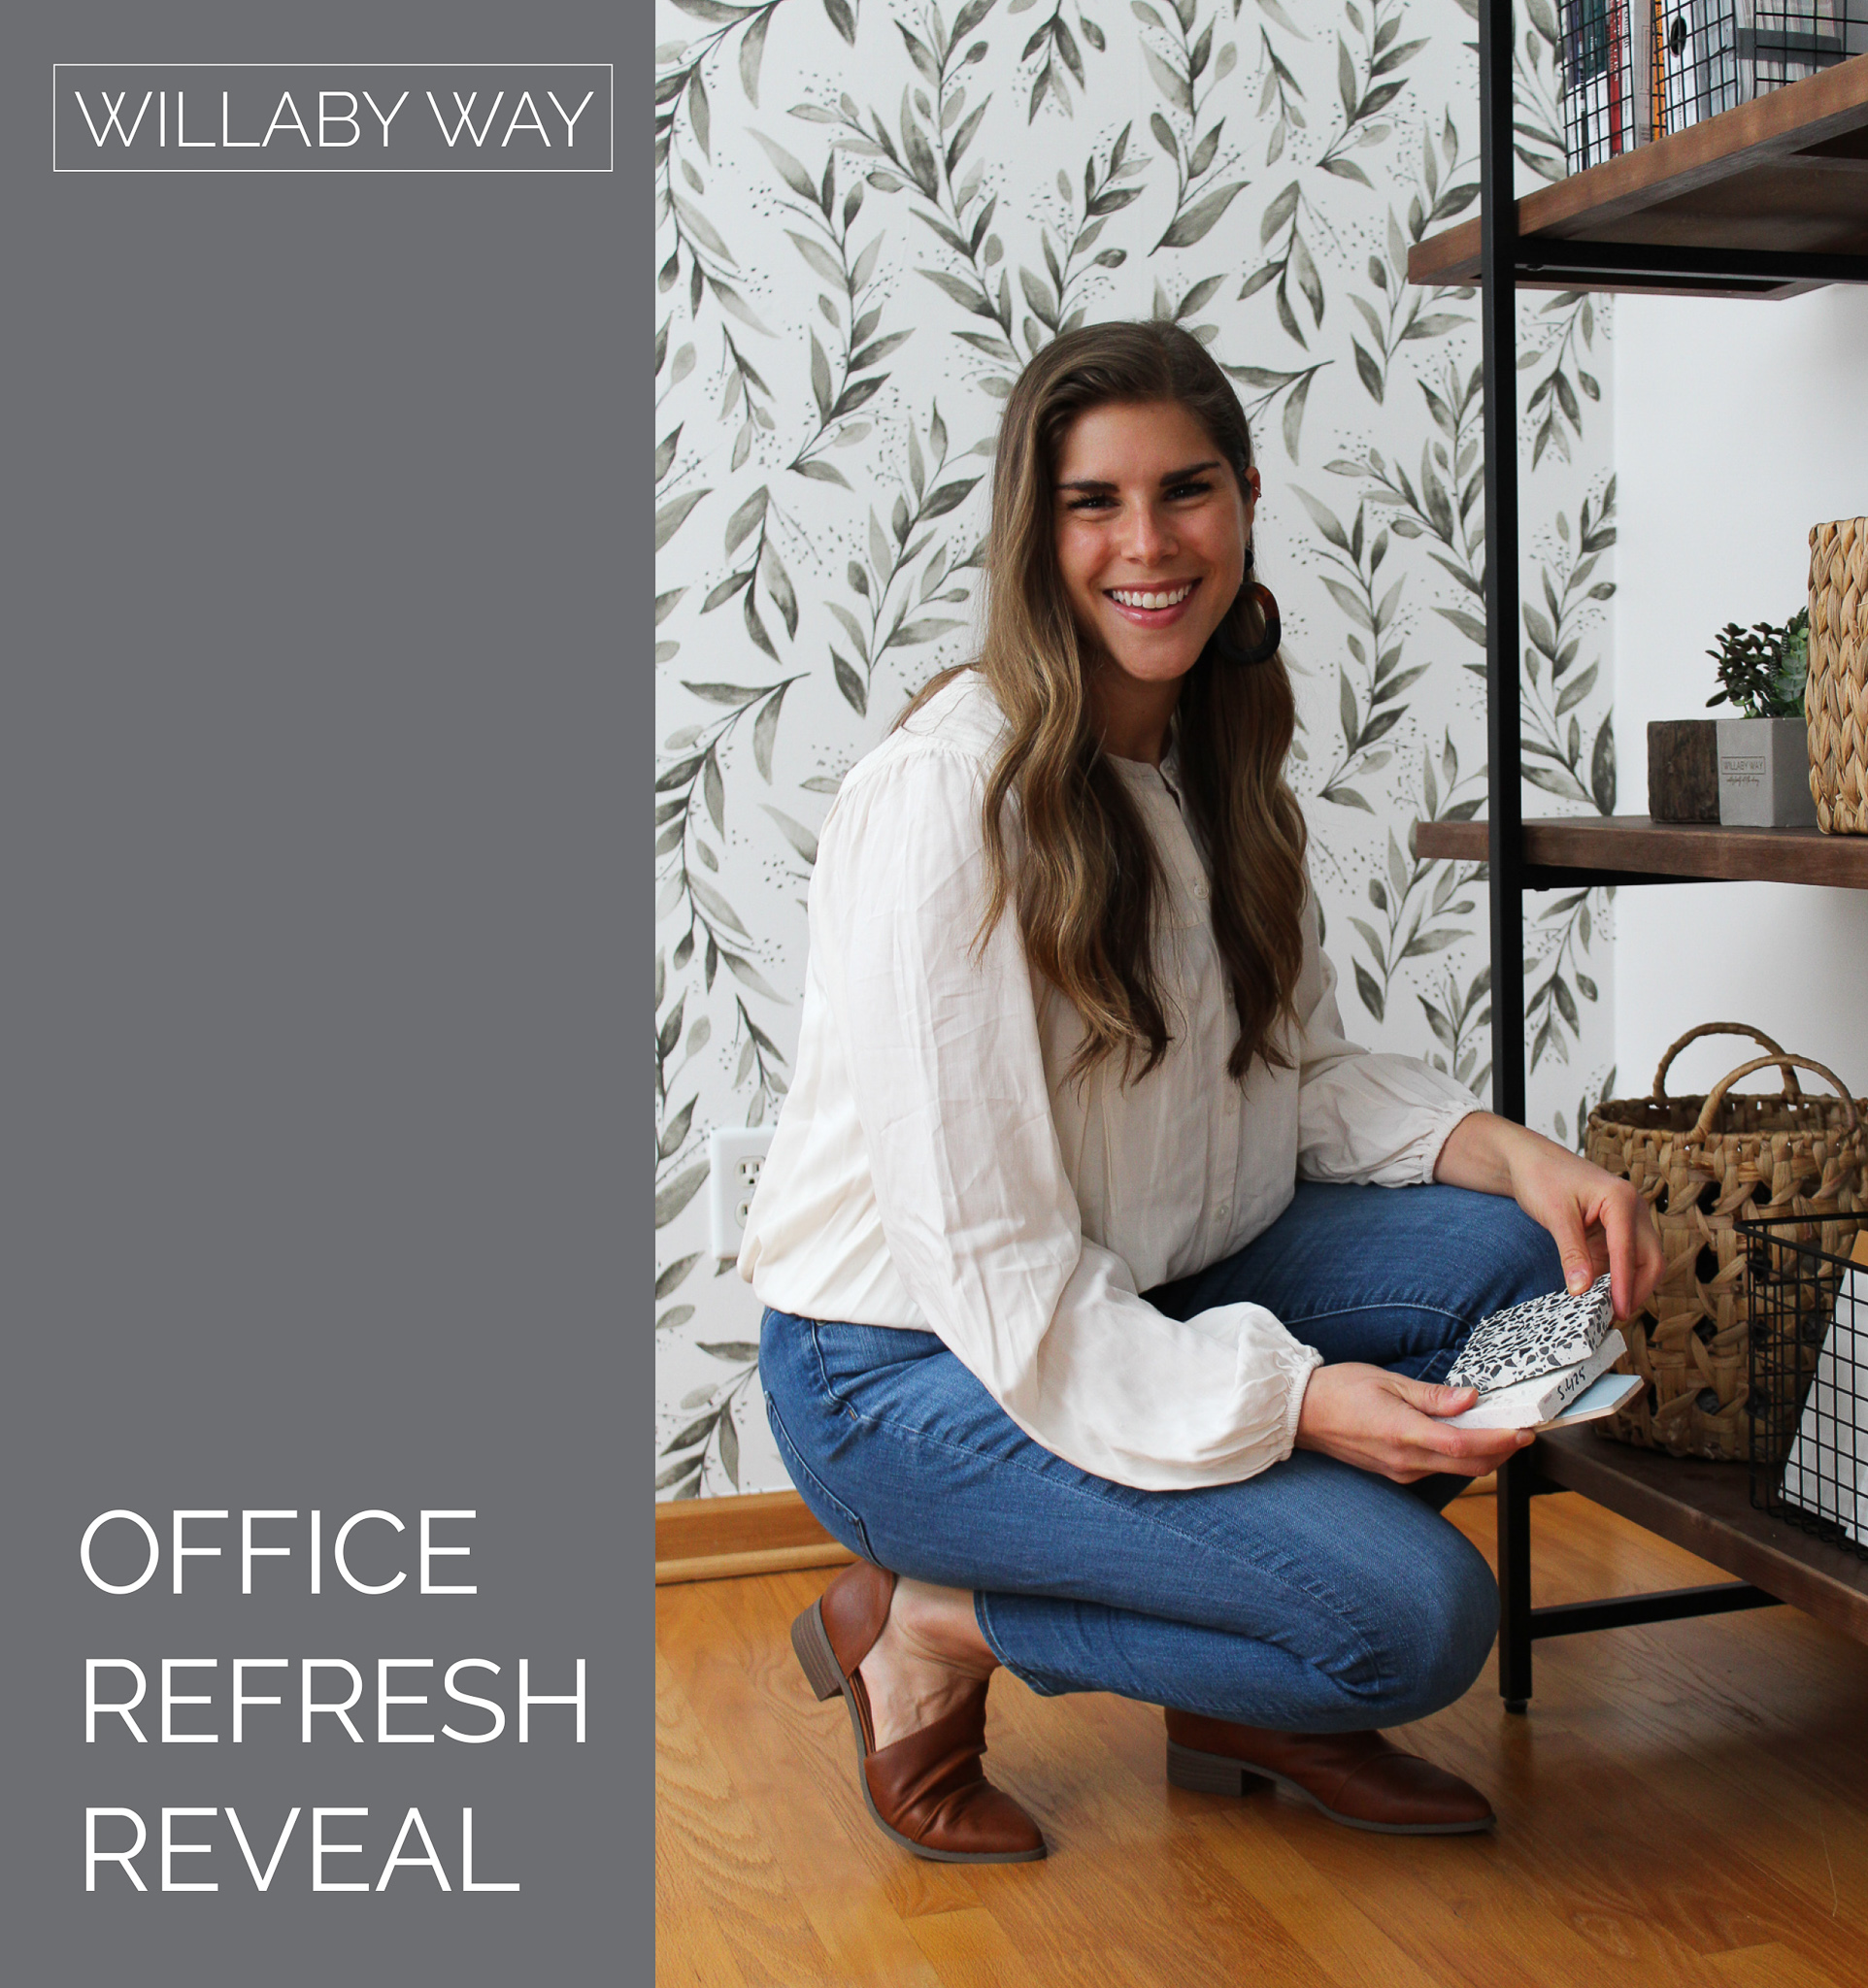
The office refresh is complete and I am so pumped about it!!
Since I started Willaby Way, I spend my days working from my home office, which also doubles as our sunroom. That means it gets a ton of natural light throughout the day, which I love. My DIY live edge desk has been part of my set up for awhile and I knew that I wanted to complete this space to make it really feel like an office. It’s not a huge room, so I wanted to make the most of the layout to include storage and some furniture, while still maintaining a clean and simple look. We had painted the walls a pure white last year, so the blank slate allowed me to get creative with wallpaper and the decor.
Office Inspiration
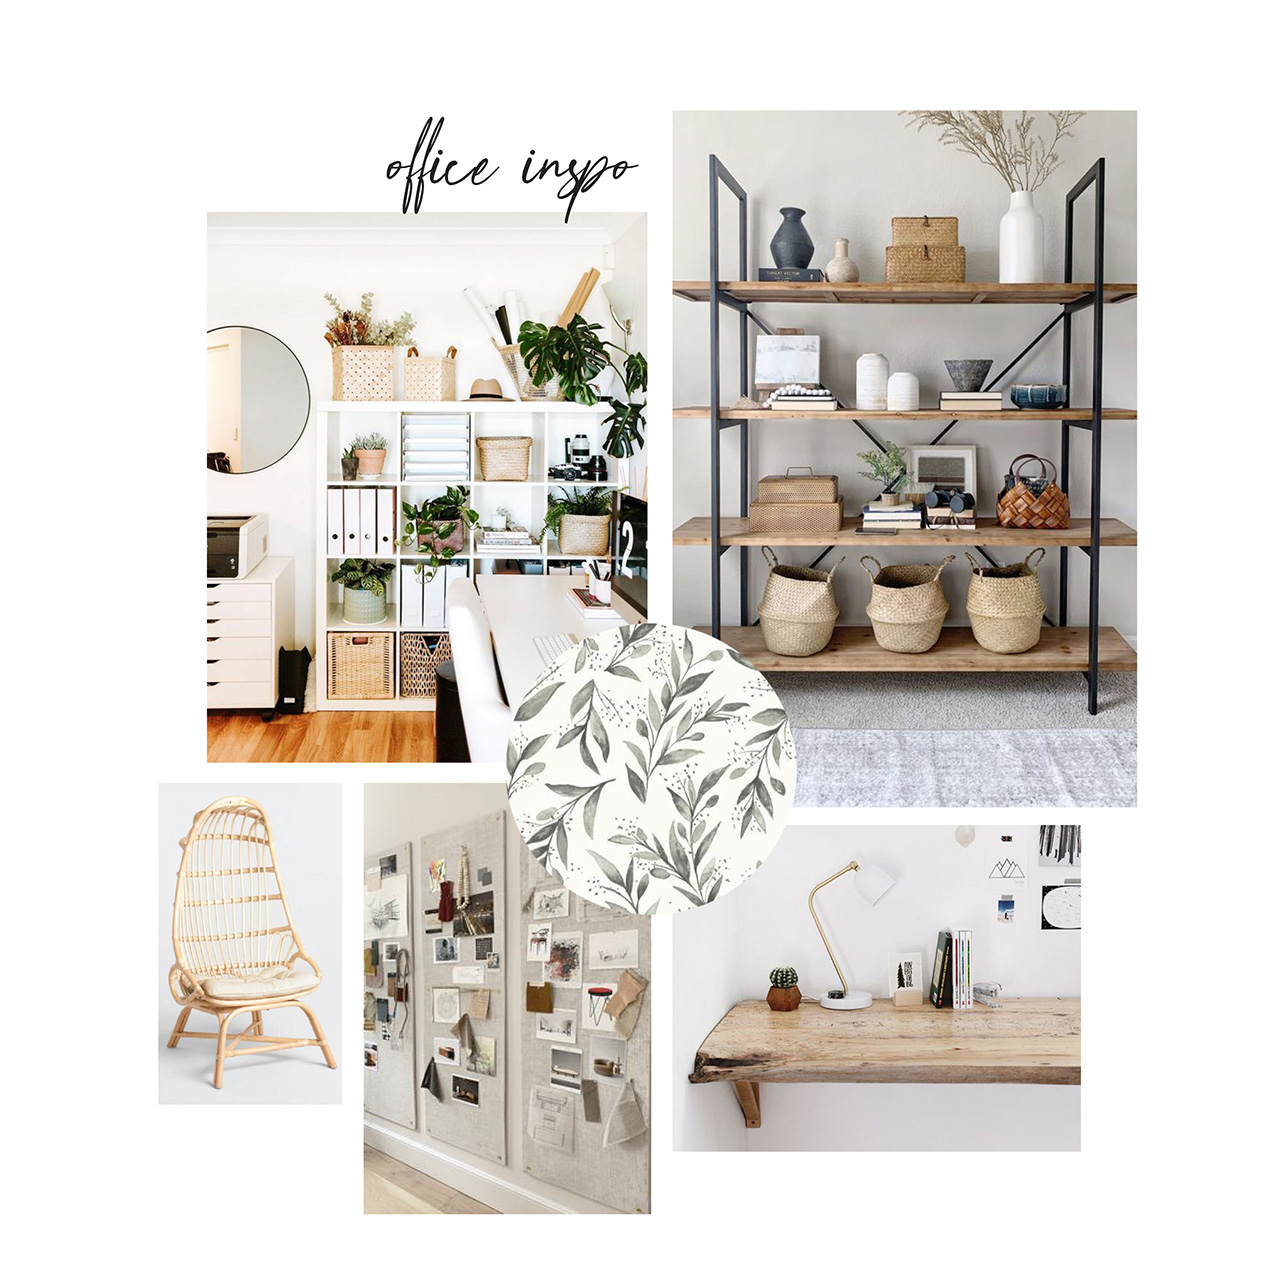
Before we bought anything, I created a mood board and put together a plan for the space. This allowed me to get the vision I had in my head into one place. I use mood boards for both my own projects and my client projects because they bring specific furniture pieces, patterns, colors, and textures together to create a vision before even starting the project.
The plan for the office included a shelving unit, wallpaper accent wall, bulletin board, and seating area.
As I created the design for my office, one of the main focuses was to add storage. I had boxes of design samples in our guest room that I wanted to store in my office for easy access. This way, I can grab the samples before heading off to meet a client in their home.
Another element that I wanted to focus on was creating great backgrounds for video calls and Instagram videos. My initial consultations with clients are typically over video calls, so I knew creating a beautiful background would make me feel confident taking the call right from my desk. I also record my videos for Instagram from my office, and I wanted each angle to have a great background in my office.
Finally, I wanted my office to be a representation of my brand so that clients can see a bit of my personality in my own home office. I wanted to create a space that would allow me to be creative with current and future projects.
Now, let’s get into the details that were added to make this office the newly refreshed space for Willaby Way…
Wallpaper
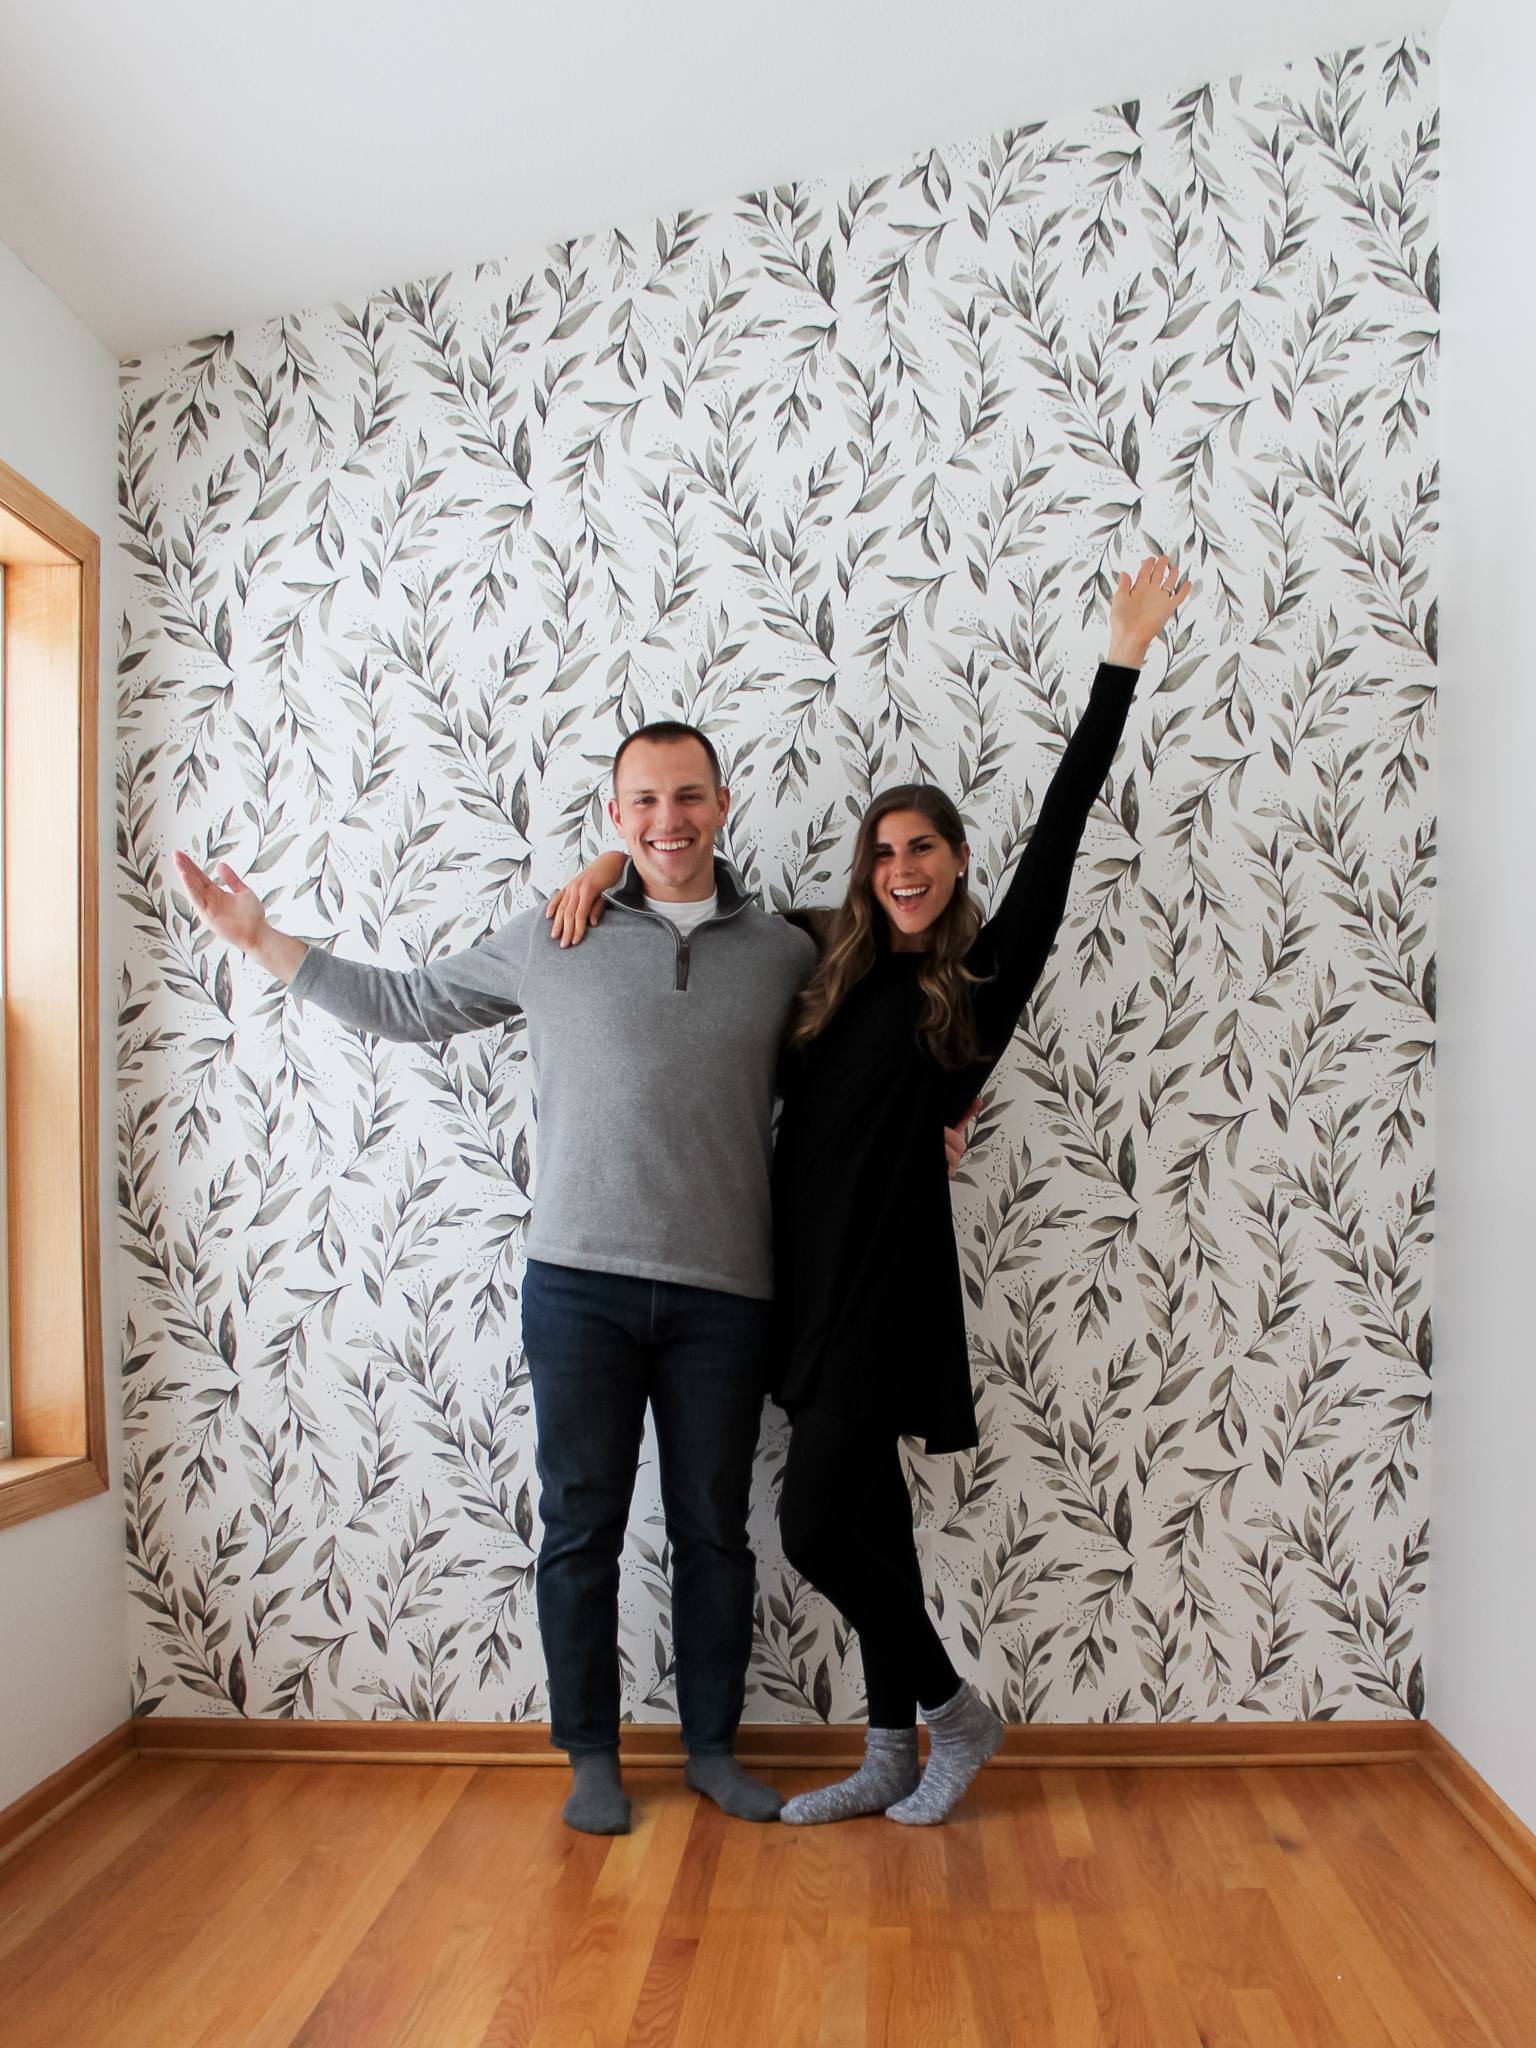
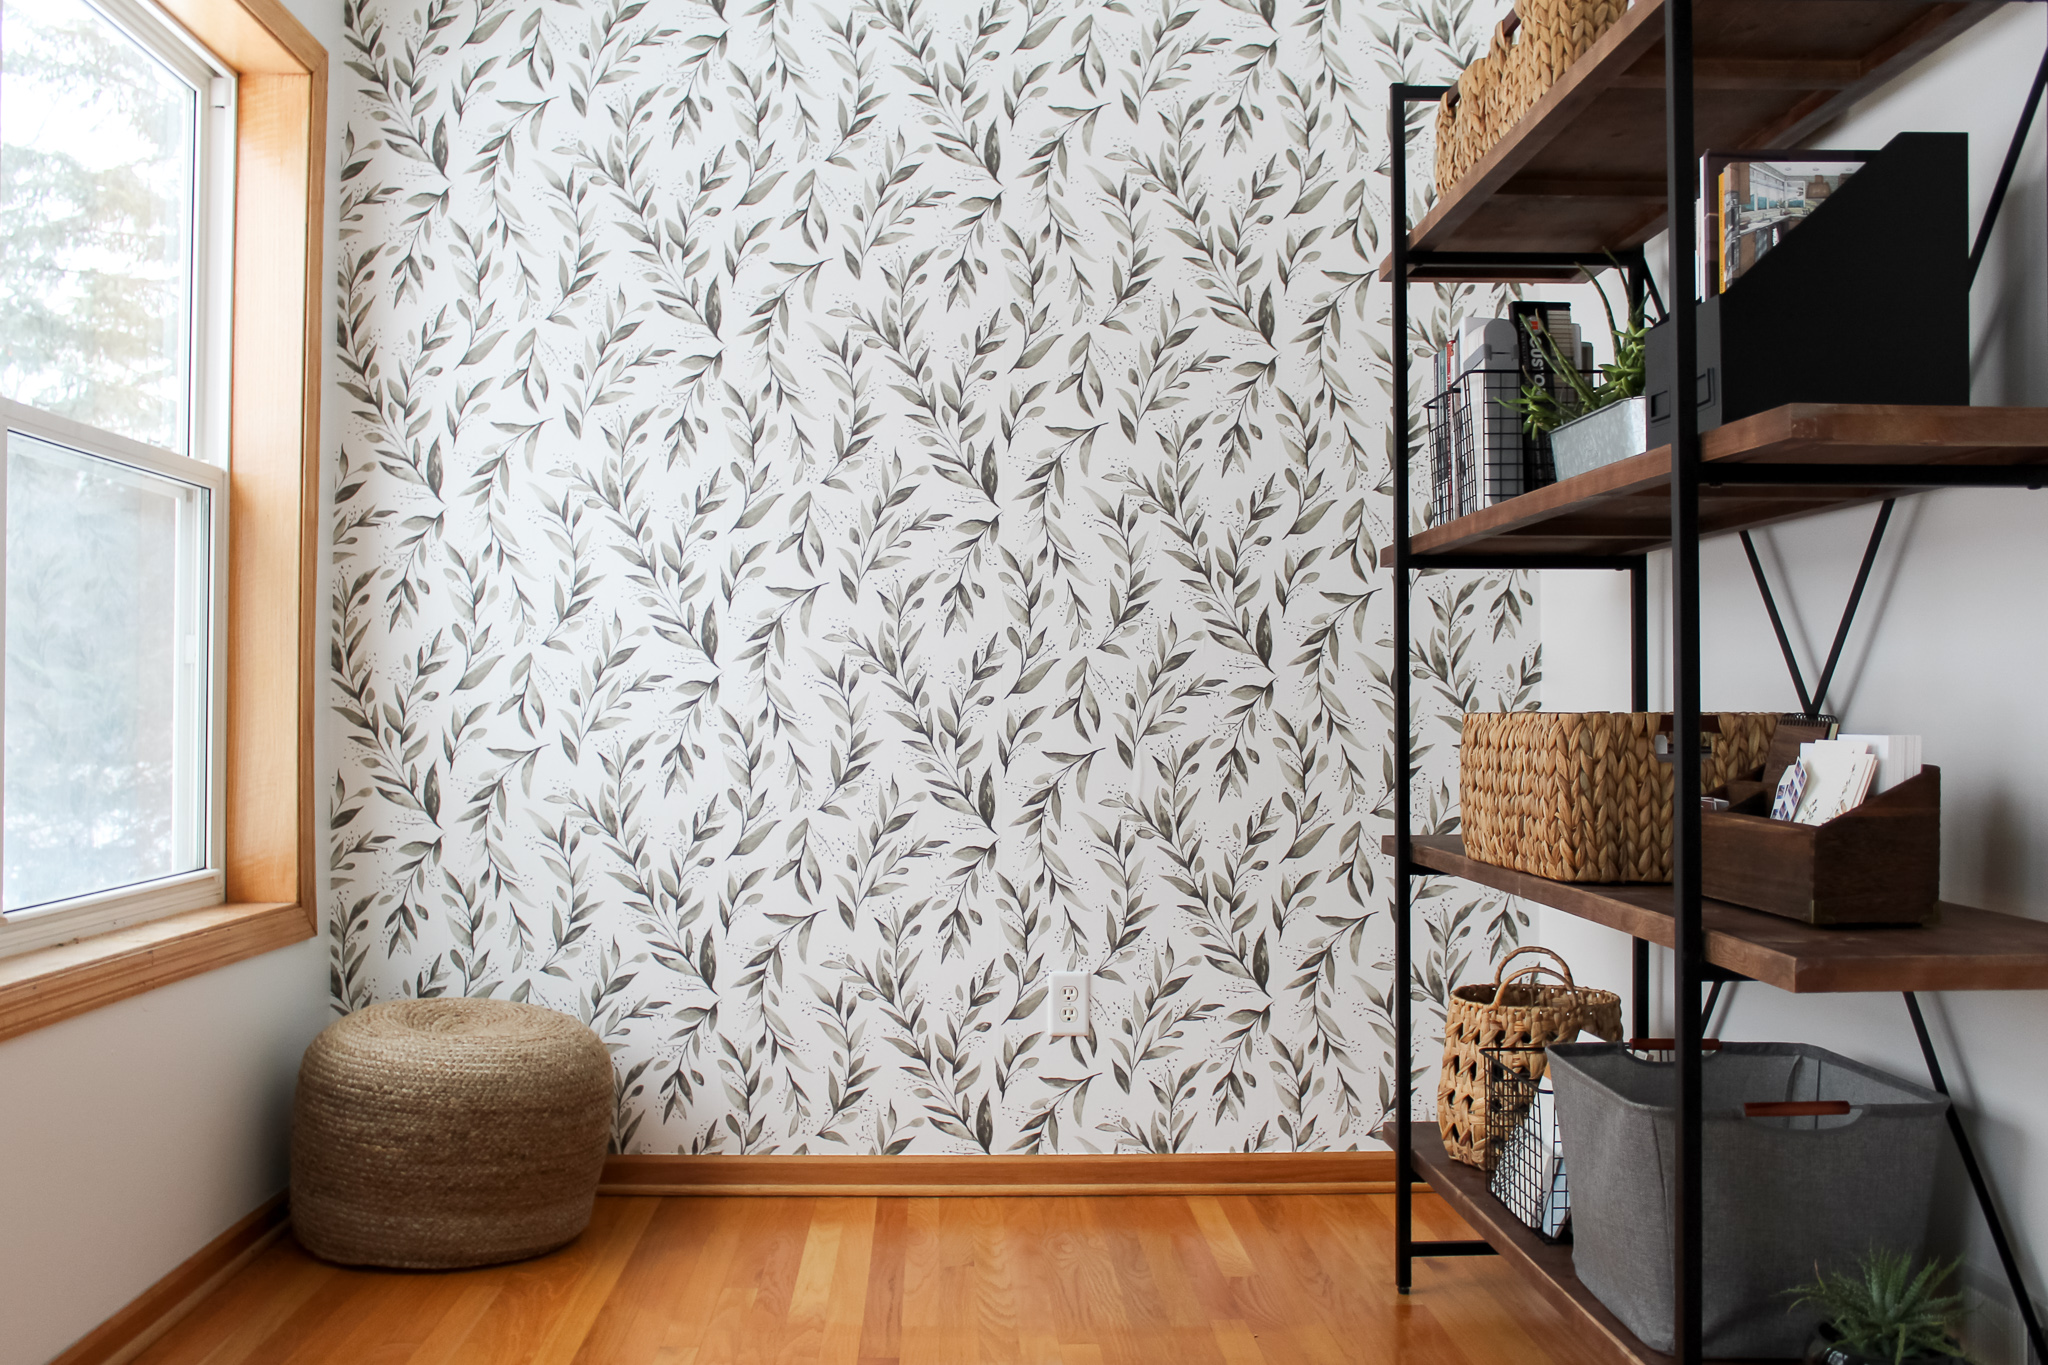
The first step in the office refresh was installing the wallpaper. Wallpaper is back, but the install has (thankfully!) evolved from hard-to-apply and hard-to-remove wallpaper to peel & stick options in endless modern designs. After looking at various wallpaper designs for awhile, I was so excited to incorporate this Magnolia olive branch wallpaper in my office. We chose a peel and stick wallpaper so we didn’t have to mess with any glue or adhesive.
Tools & Materials
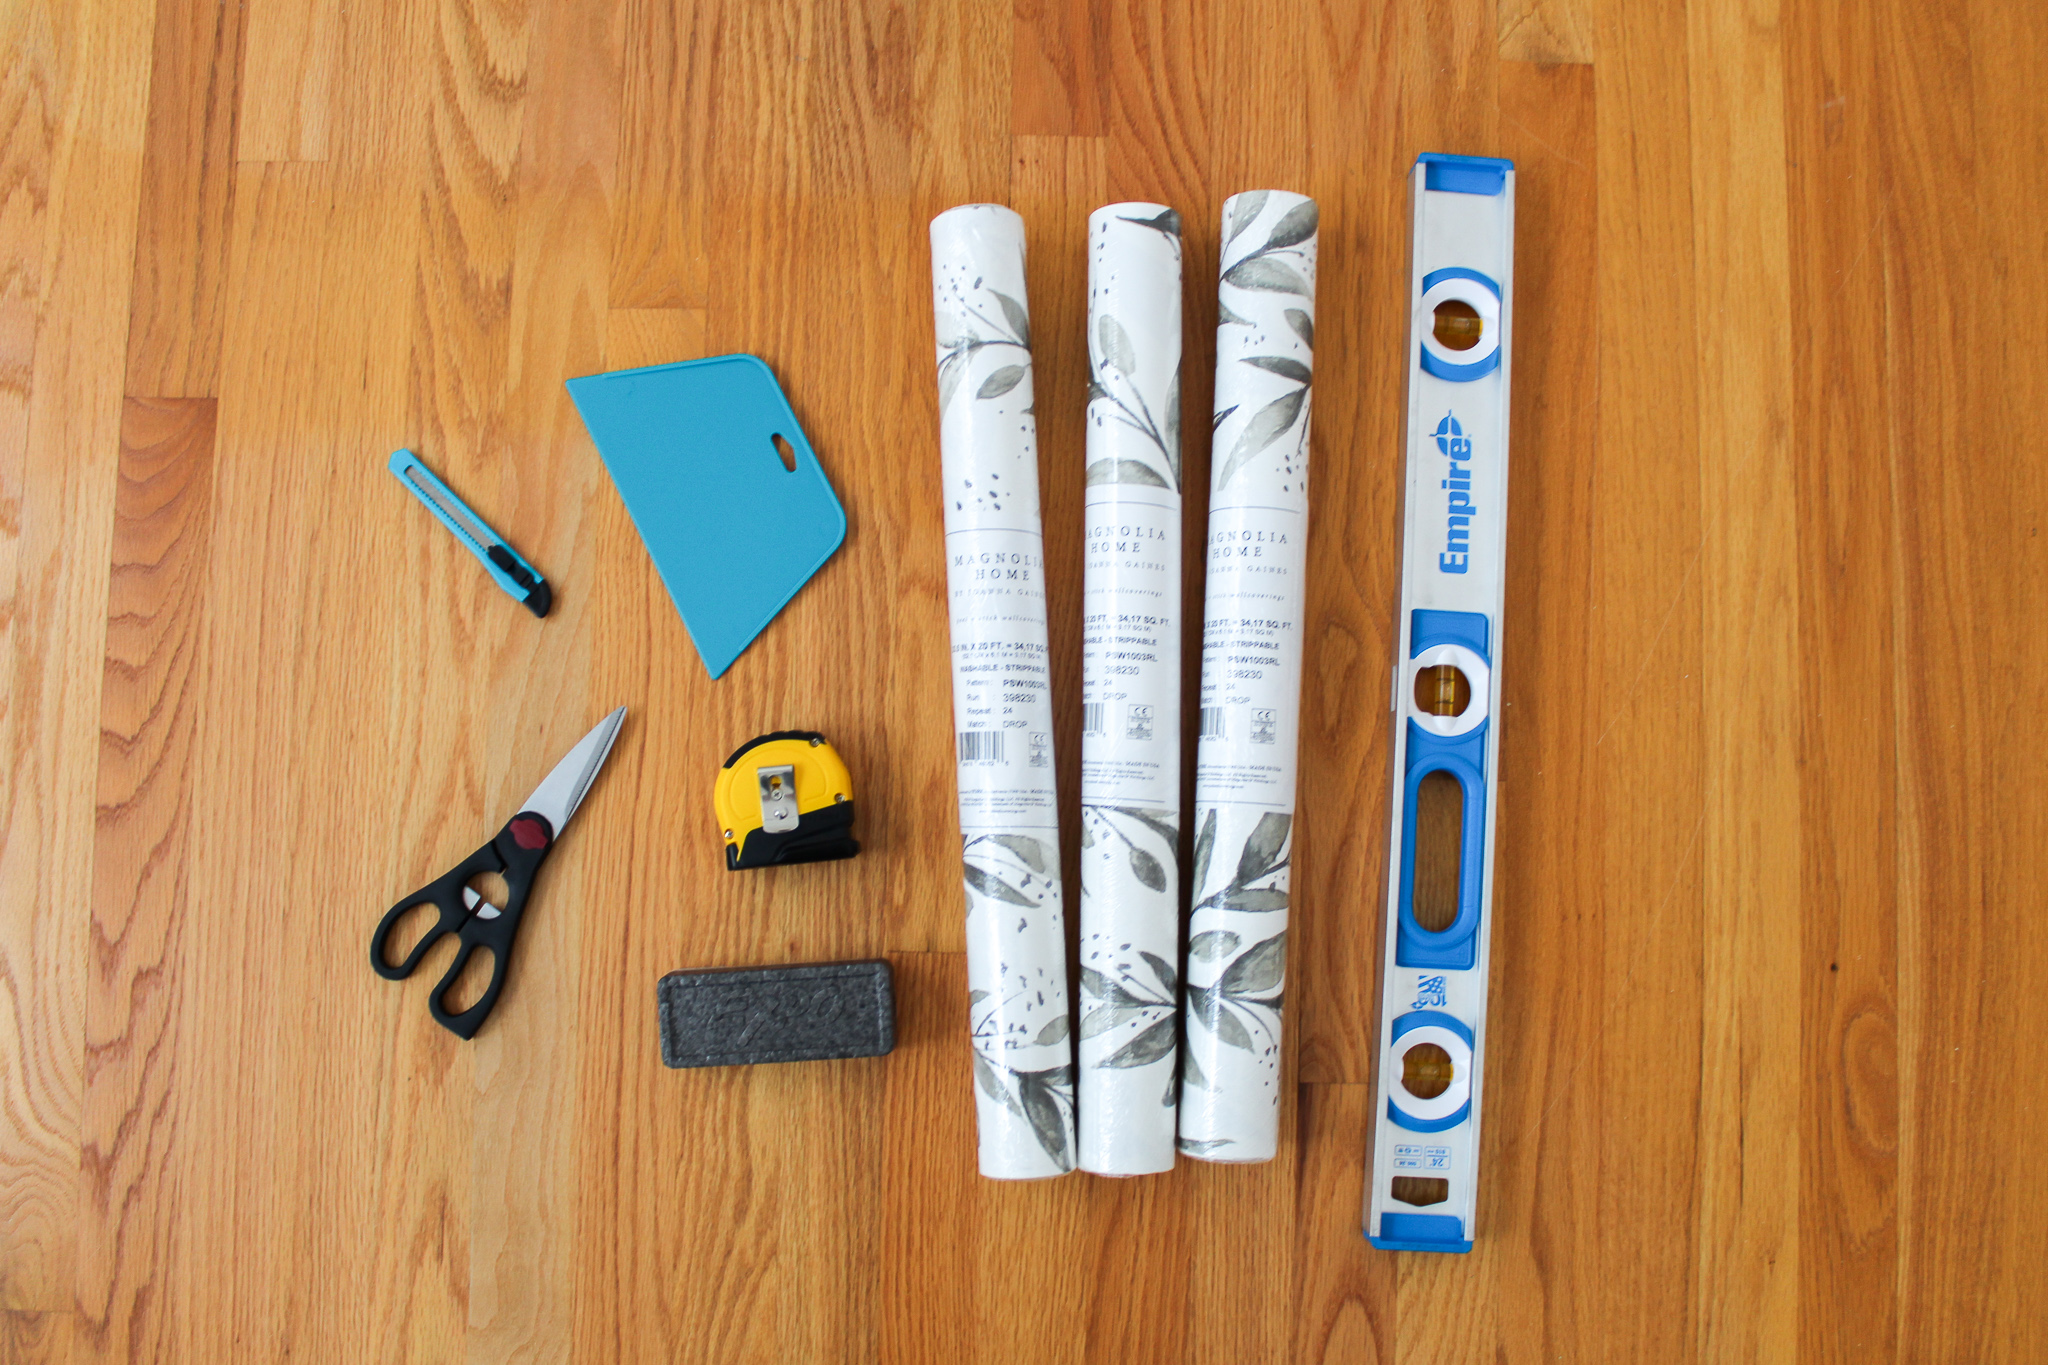
Here’s what we used to install the wallpaper:
- Wallpaper | $50/roll – we used 3 rolls
- Tape Measure | $5
- Level | $20
- Smoother & Utility Knife Kit | $5
- Scissors
- Eraser (Matt watched a video where they used this to smooth out the wallpaper, but we found the smoother was better!)
- Not shown, but helpful – a hairdryer (we used this for any bubbles that came up later to re-adhere it to the wall)
Prep & Measure
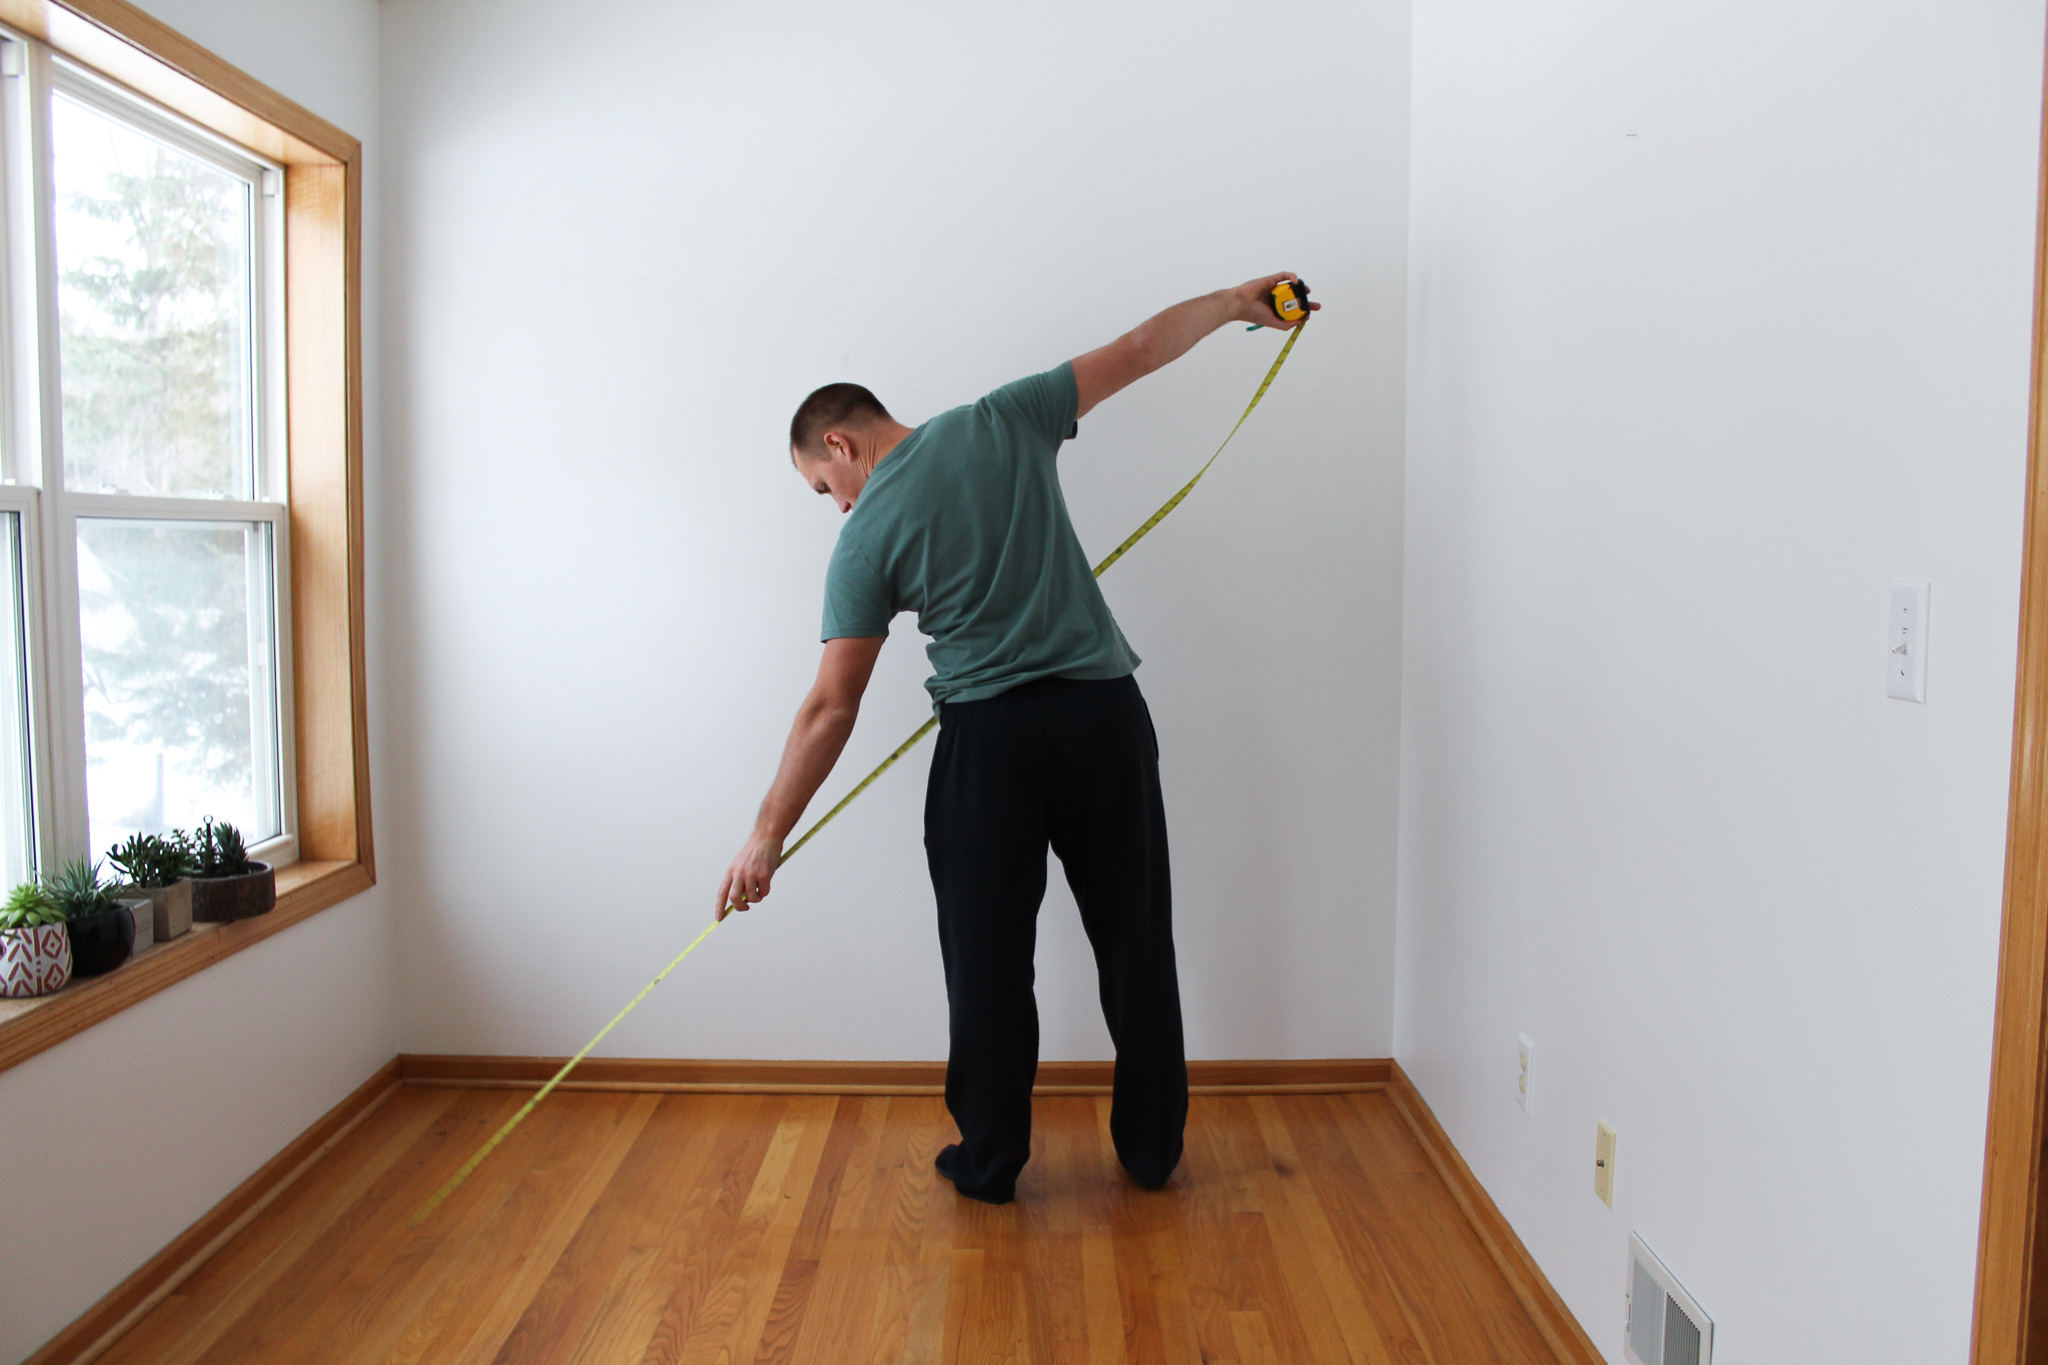
We measured the wall prior to ordering the wallpaper, but measured again when we were ready to install. This is also the time to ensure your wall is clean and you’ve removed any outlet covers.
Plan out the Layout
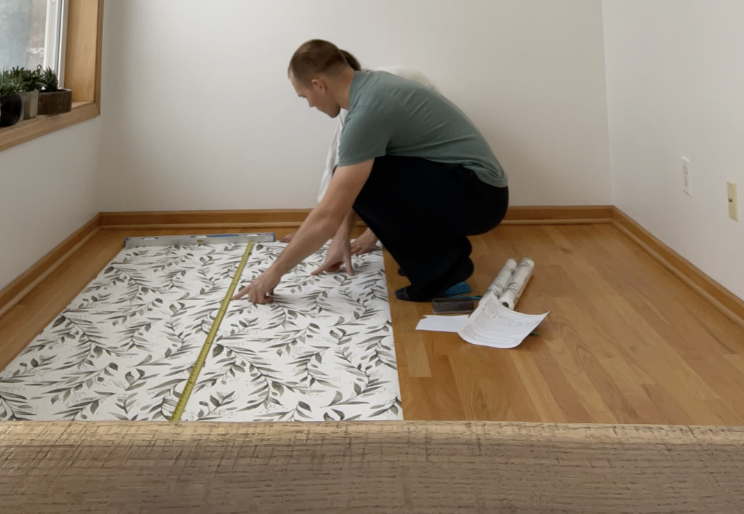
We measured the strips we would need starting from right side top. One thing to keep in mind when installing wallpaper is where the pattern repeats. You’ll have to match it up and it doesn’t always allow you to use the full piece of wallpaper. My recommendation – after learning the hard way – would be to install your first piece and then cut the next piece, rather than cutting them all up front.
Make the First Piece Level
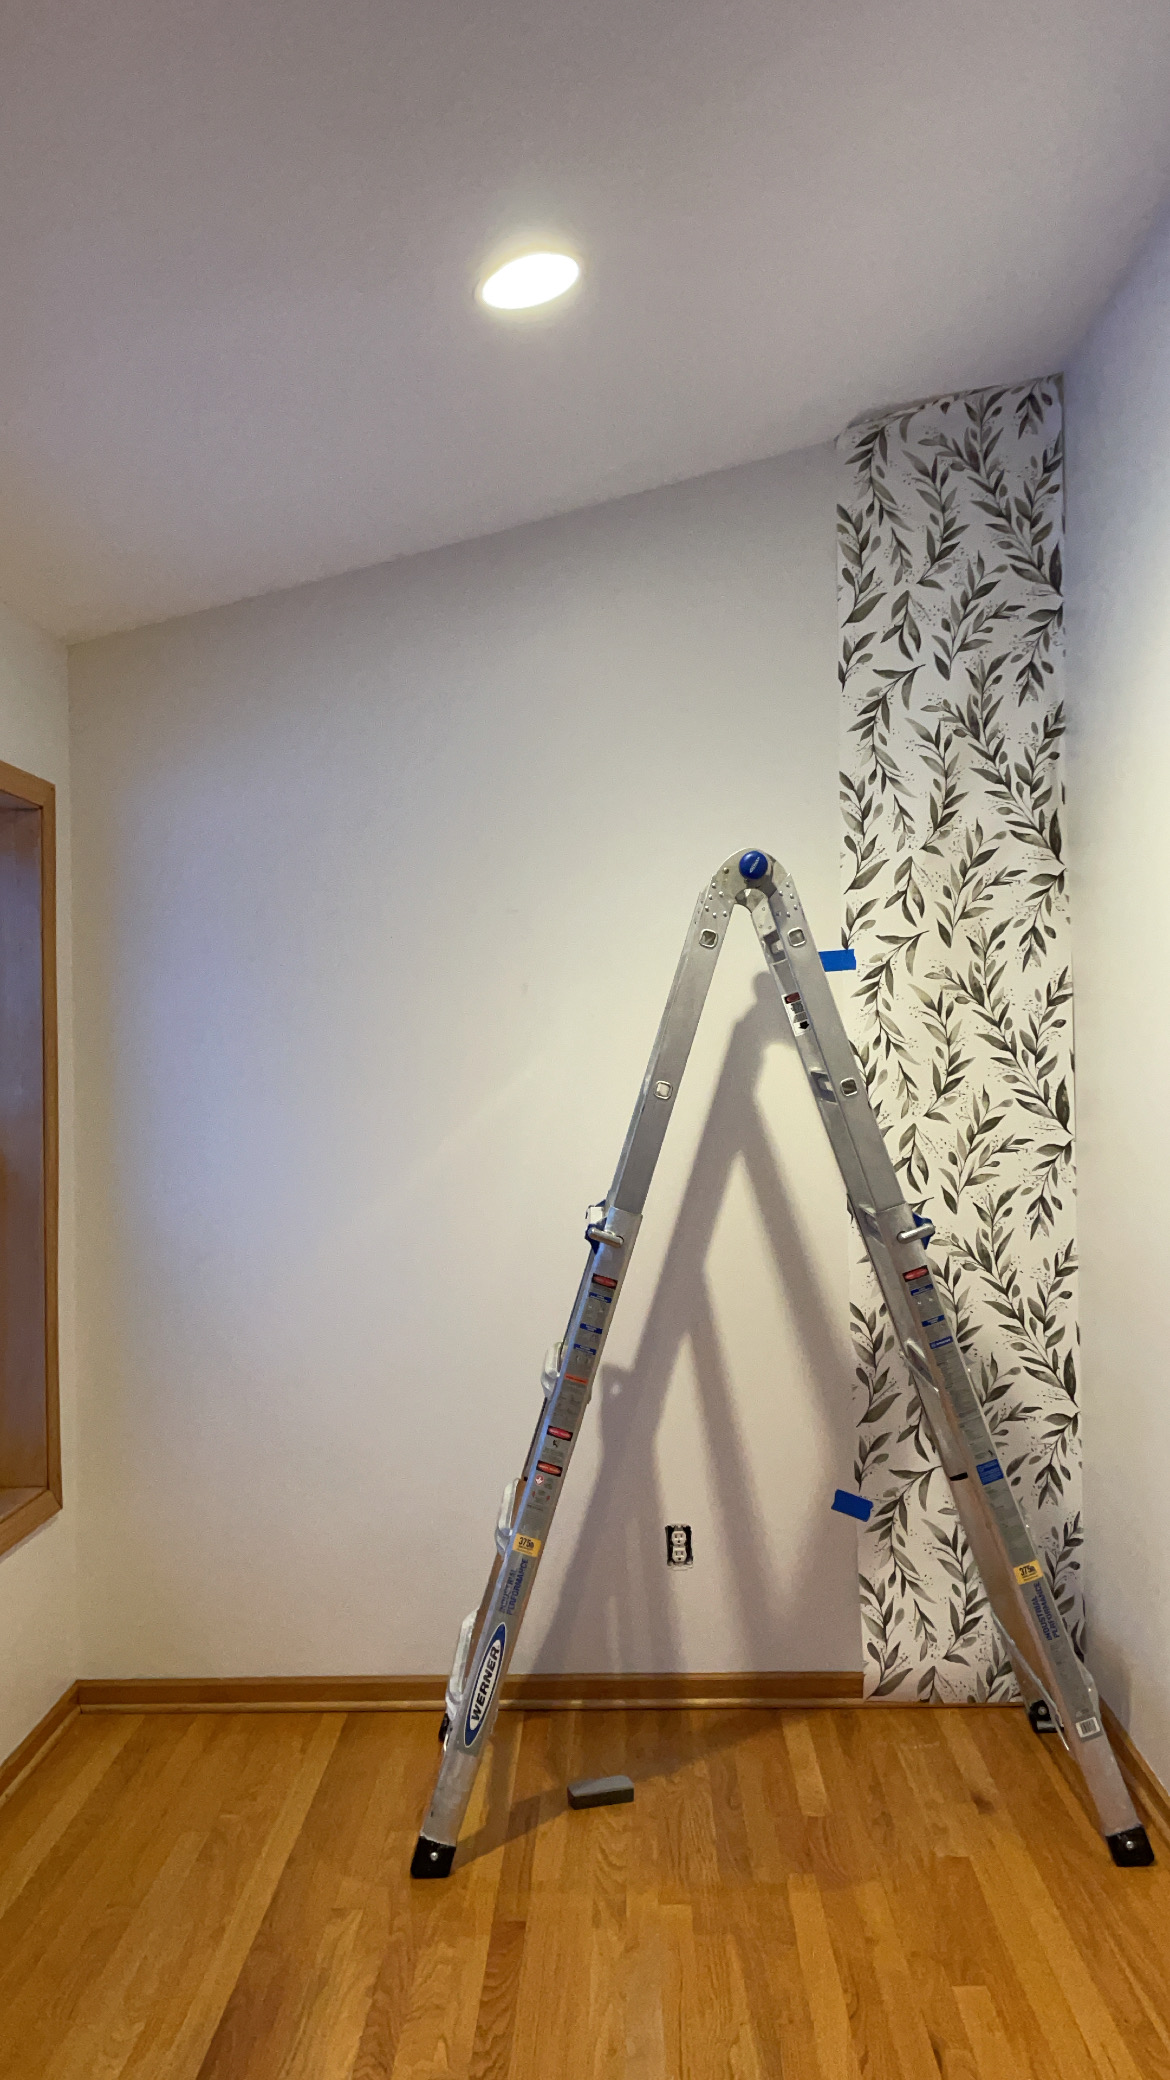
Since we were working with an angled ceiling, we made sure the wallpaper would completely cover the top and sides and then used a level to ensure it was straight on the left side. This took the longest time, but was worth it so that the rest of the pieces were straight. Since our longest piece was over 10 feet, we used tape to ensure it was level before we starting hanging it.
Hang the Wallpaper
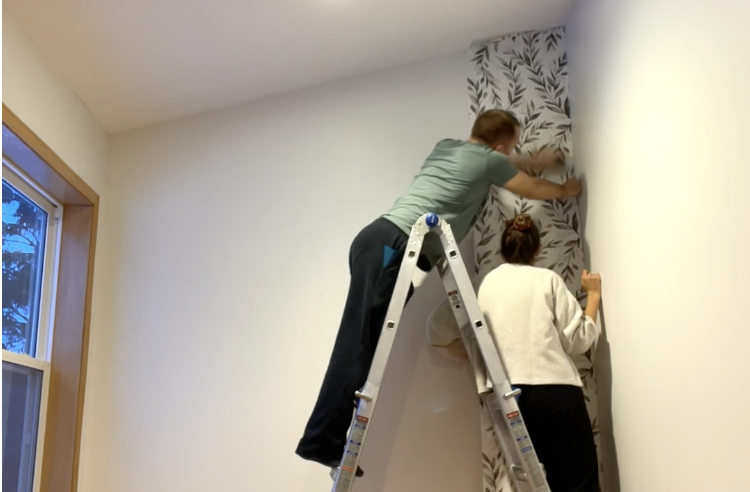
I removed the backing about 12-24 inches at a time while Matt stuck it to the wall, making sure we were staying level and straight. Once the first piece was up, it went much faster and we got the swing of things! We used the plastic smoother to get the wallpaper as clean and crisp as possible, ensuring there weren’t any bubbles or creases.
Cut off Excess
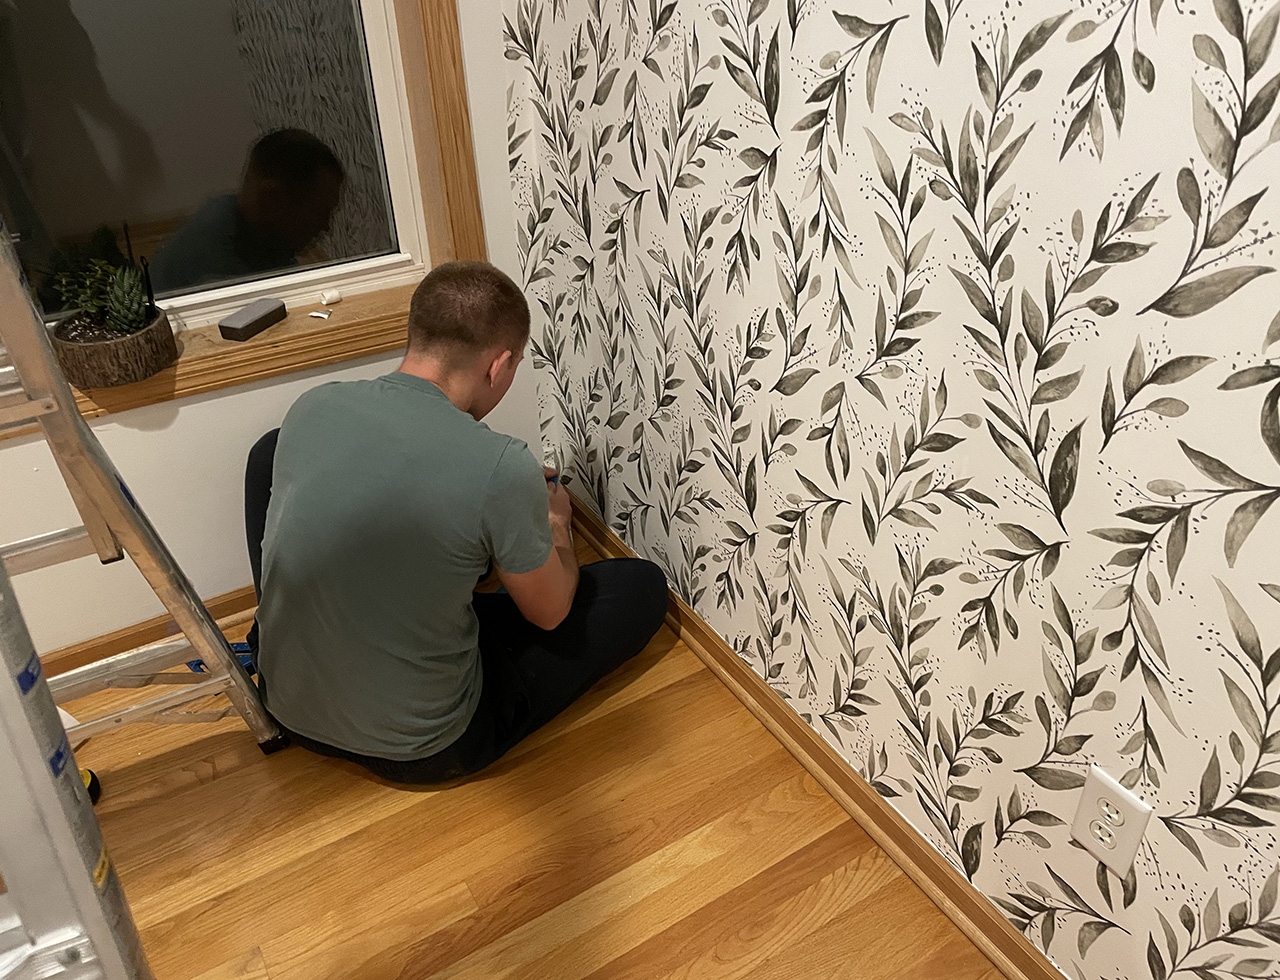
As you’re installing the wallpaper, you’ll have a bit of excess on the top and bottom of the pieces depending on your pattern repeat. After the wallpaper was all installed, we used the utility knife to remove the excess, making an even and clean cut.
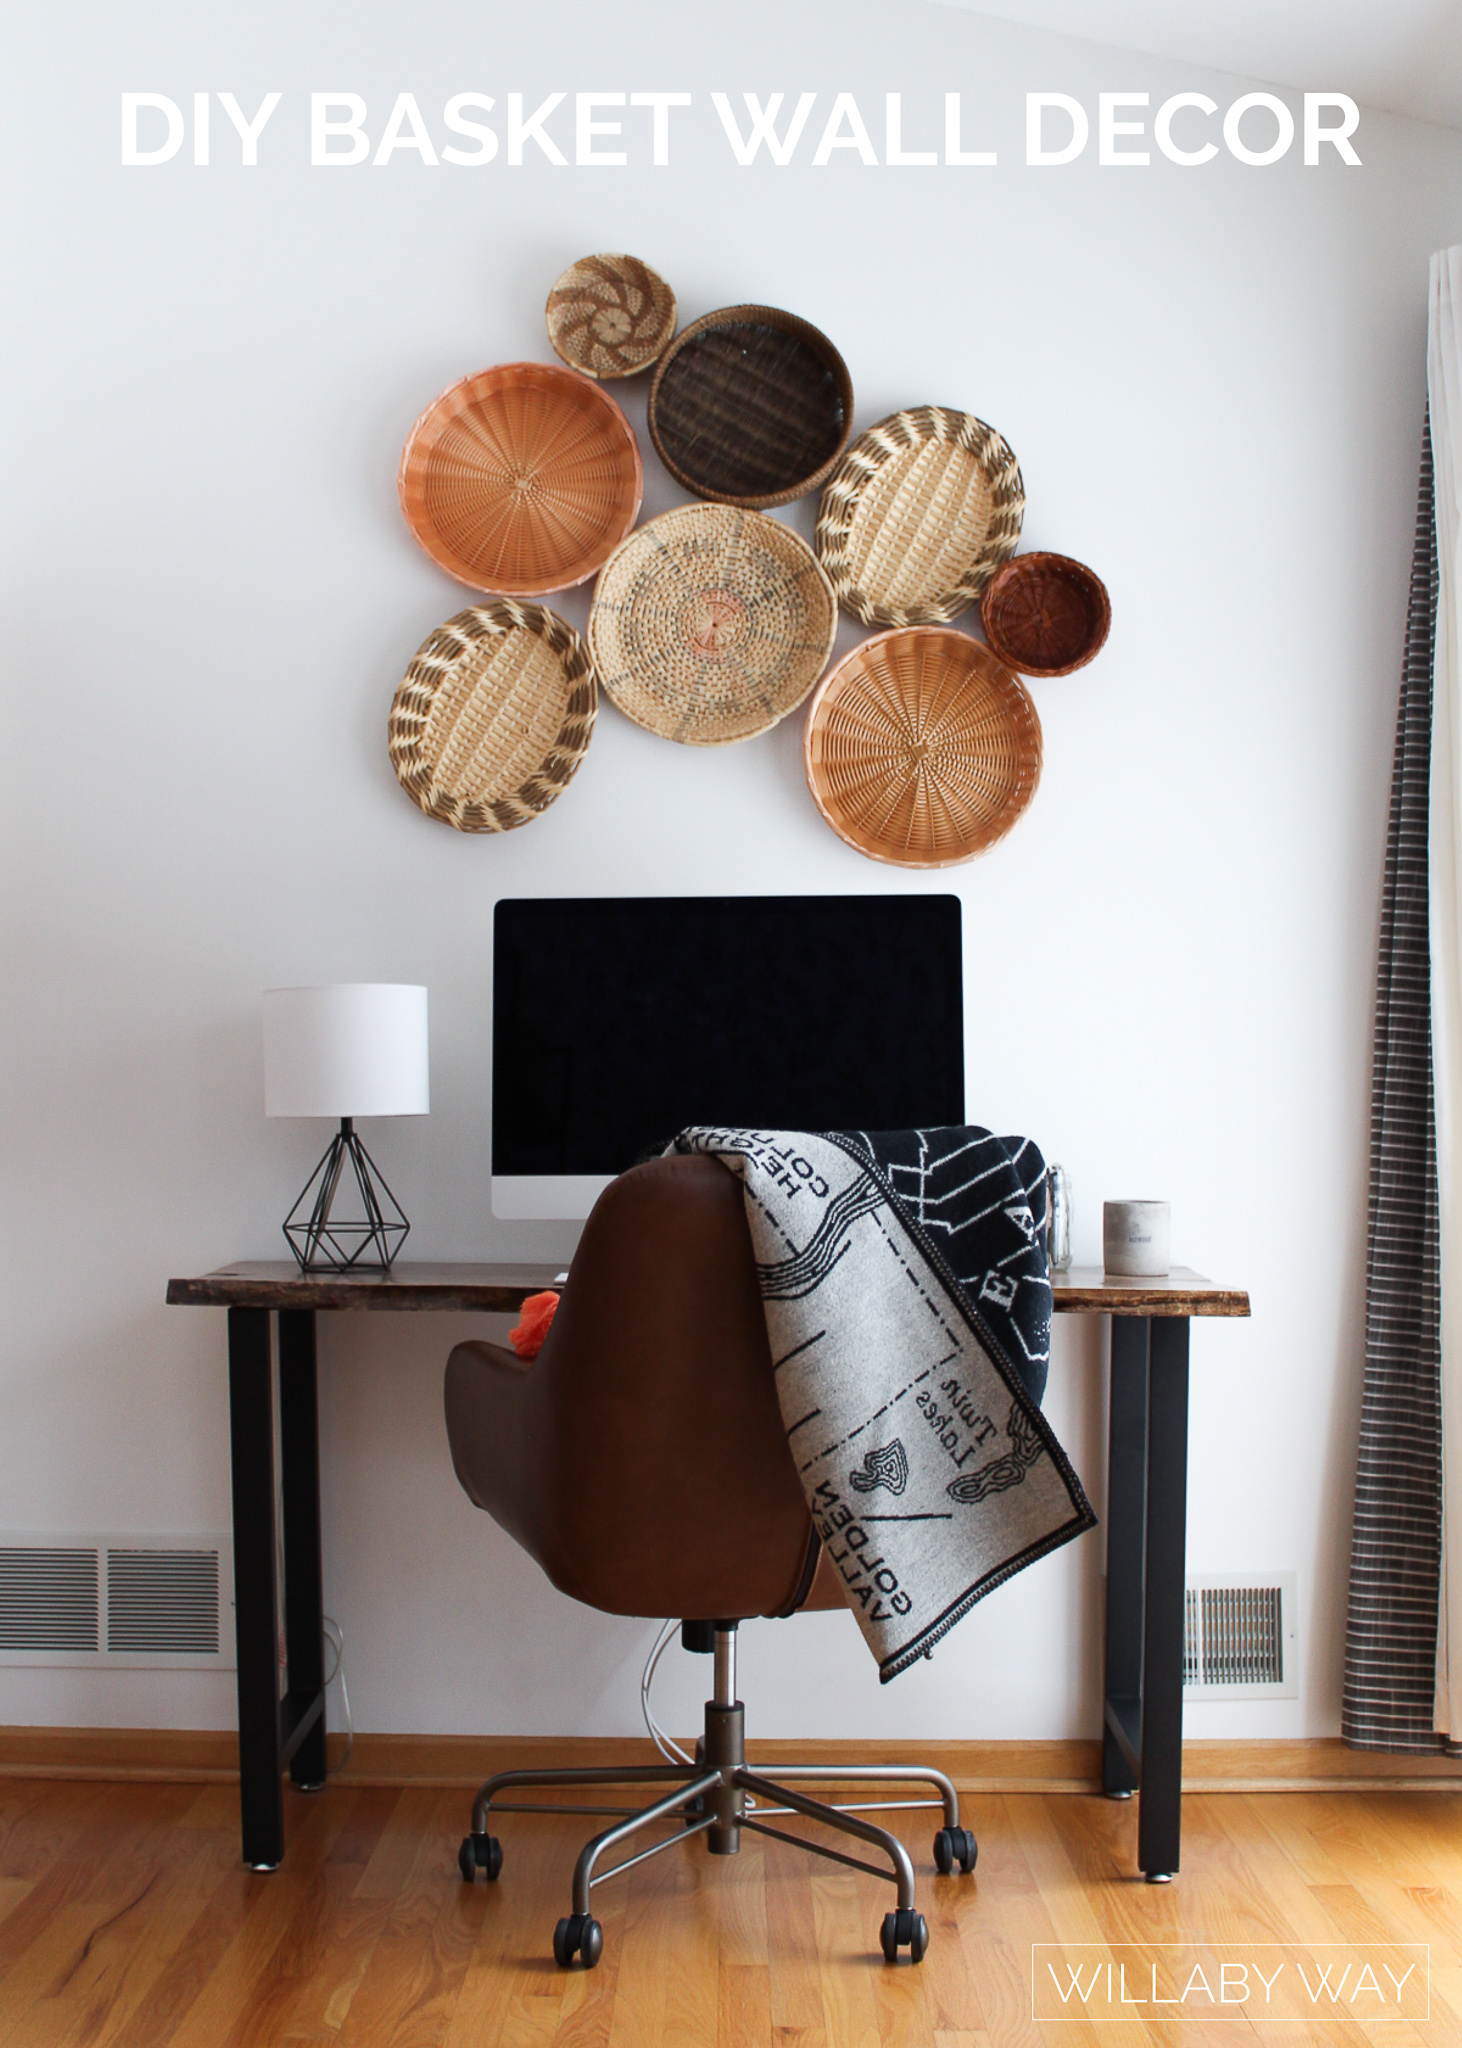
Basket Wall
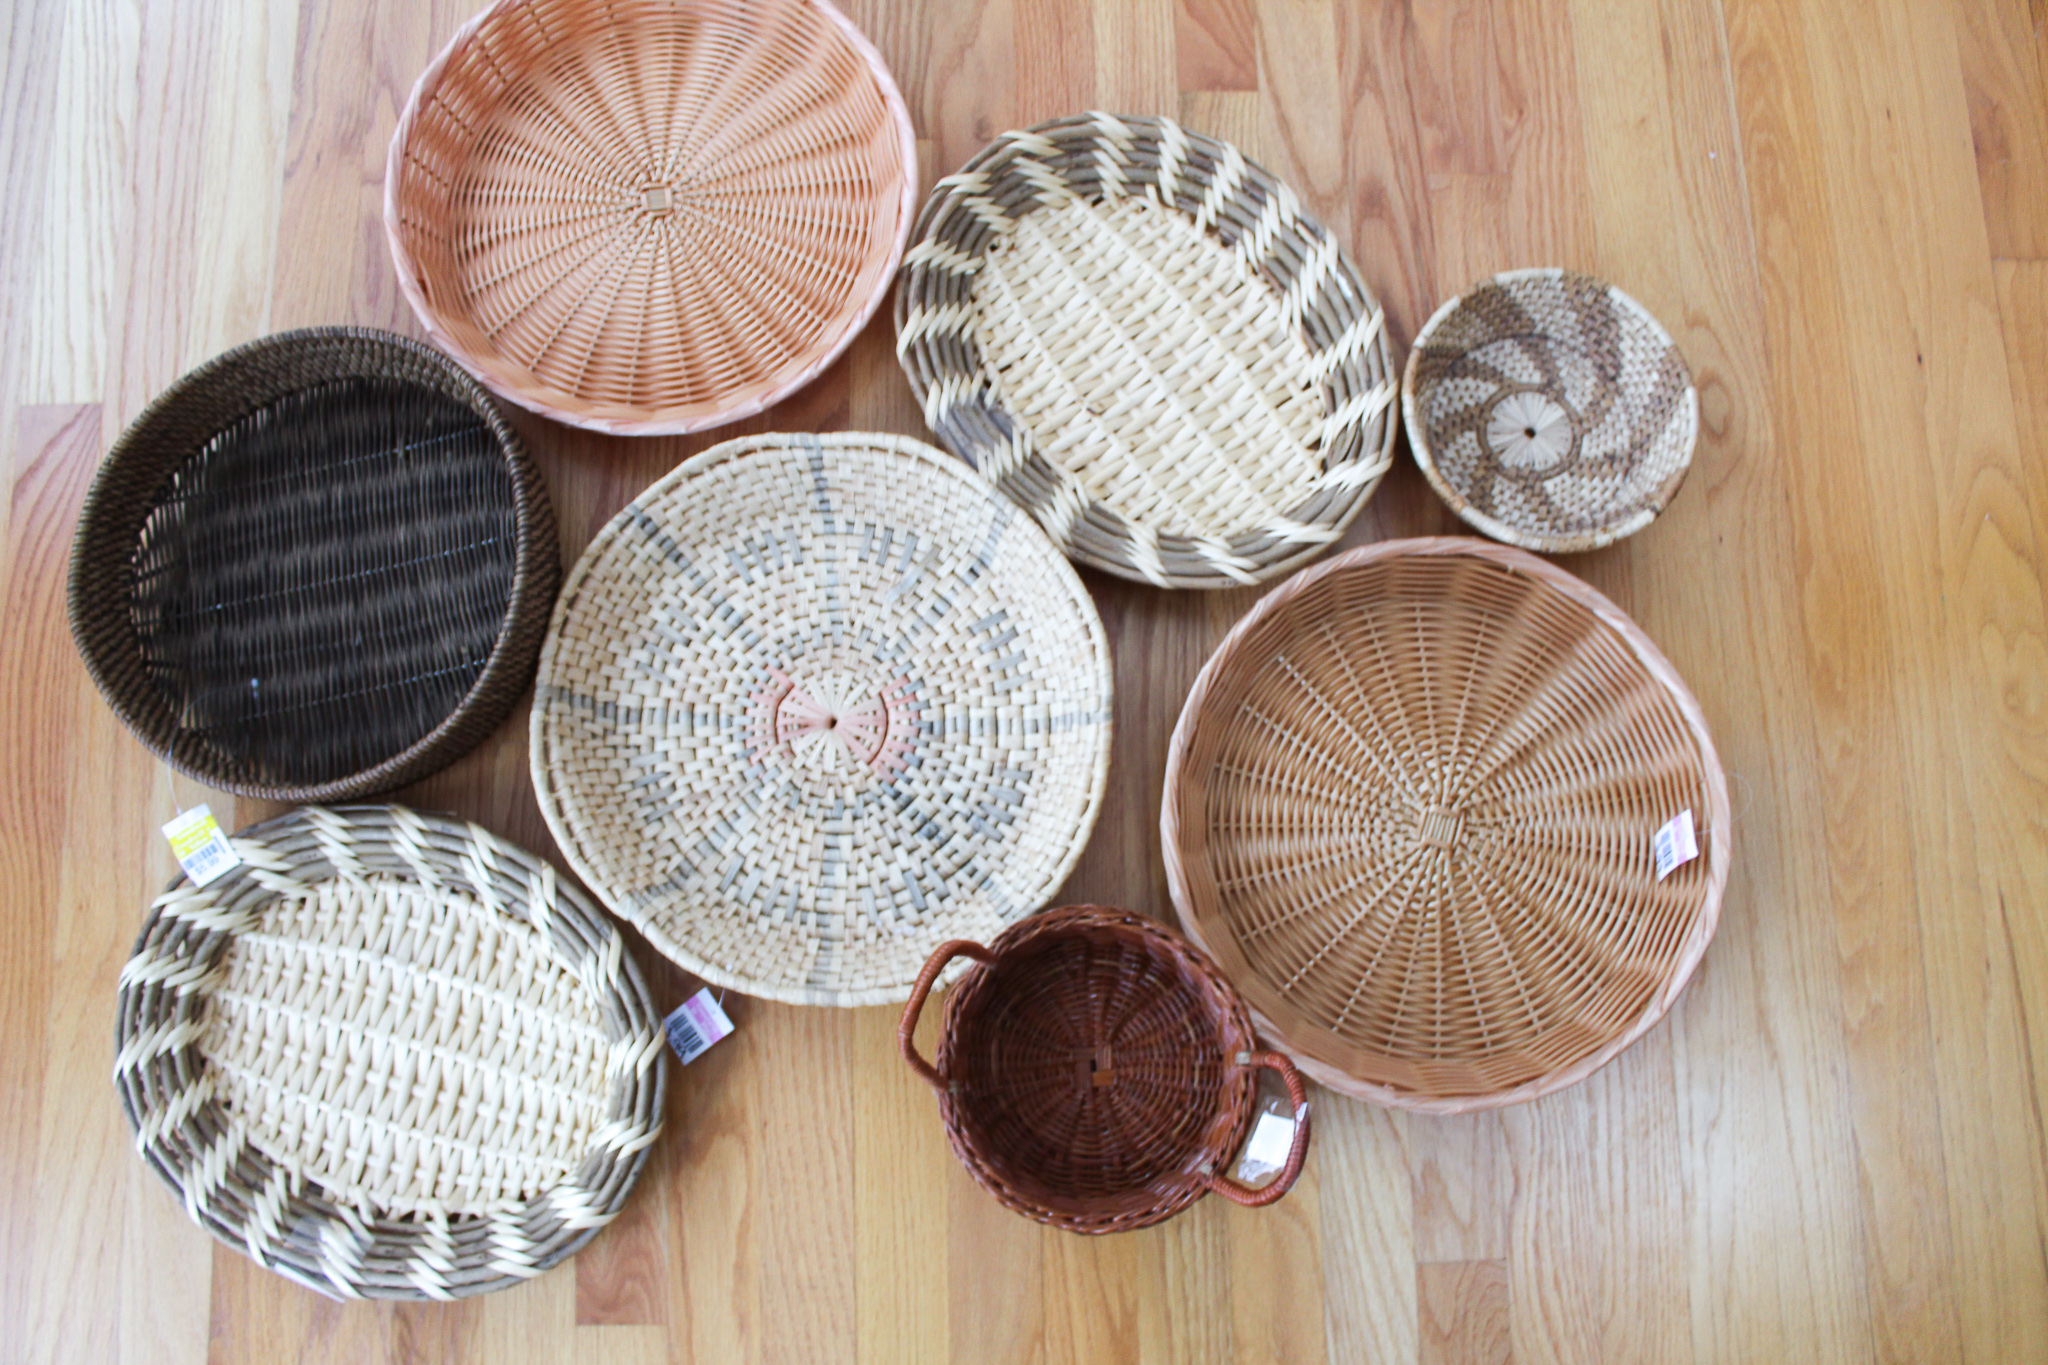
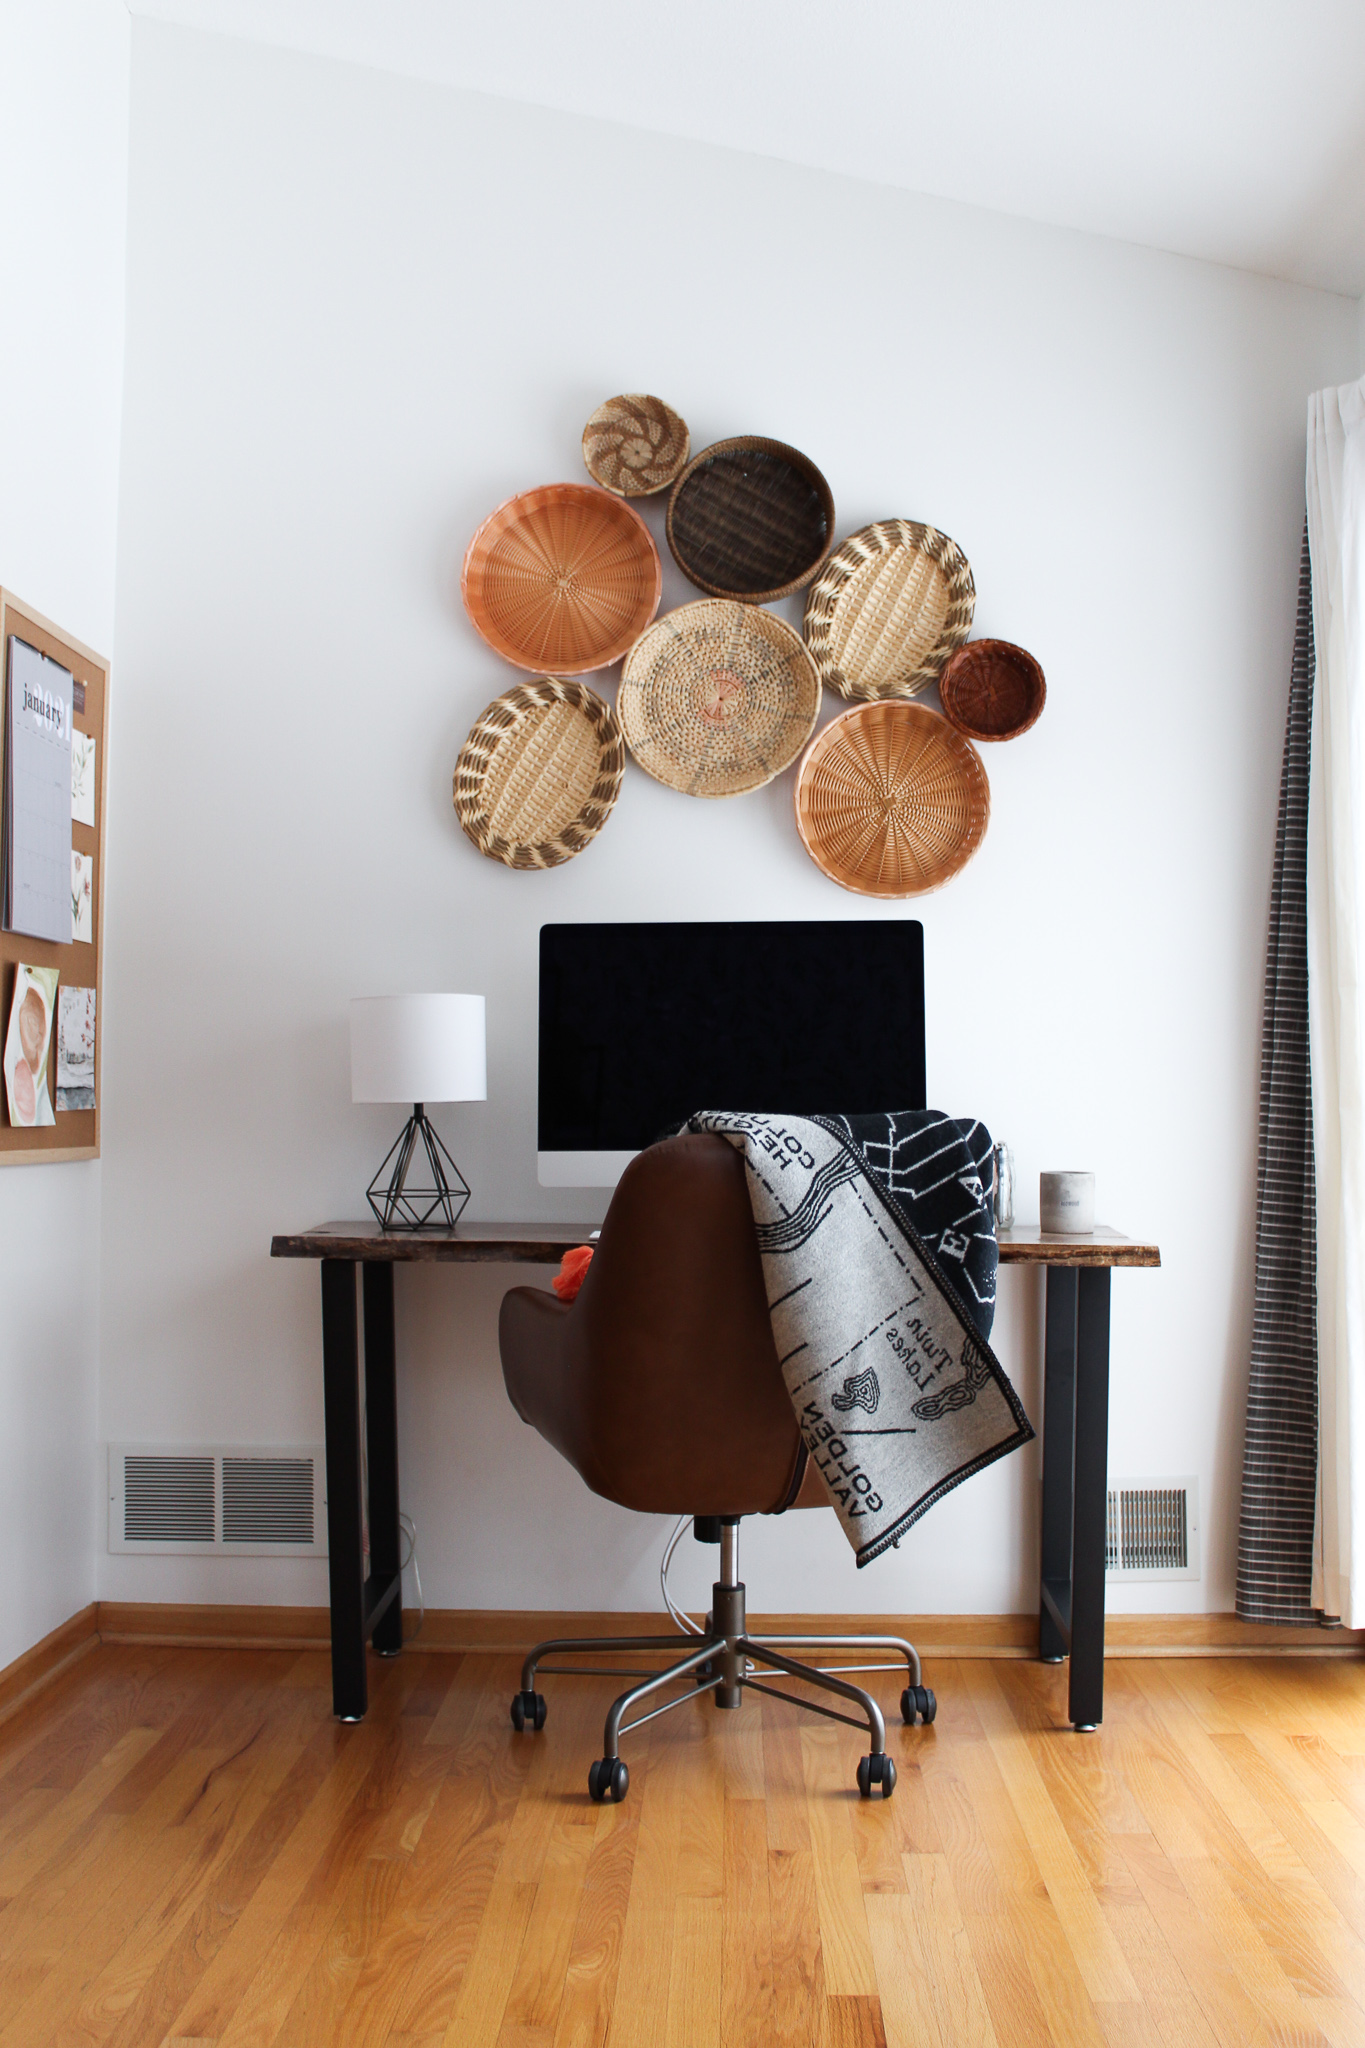
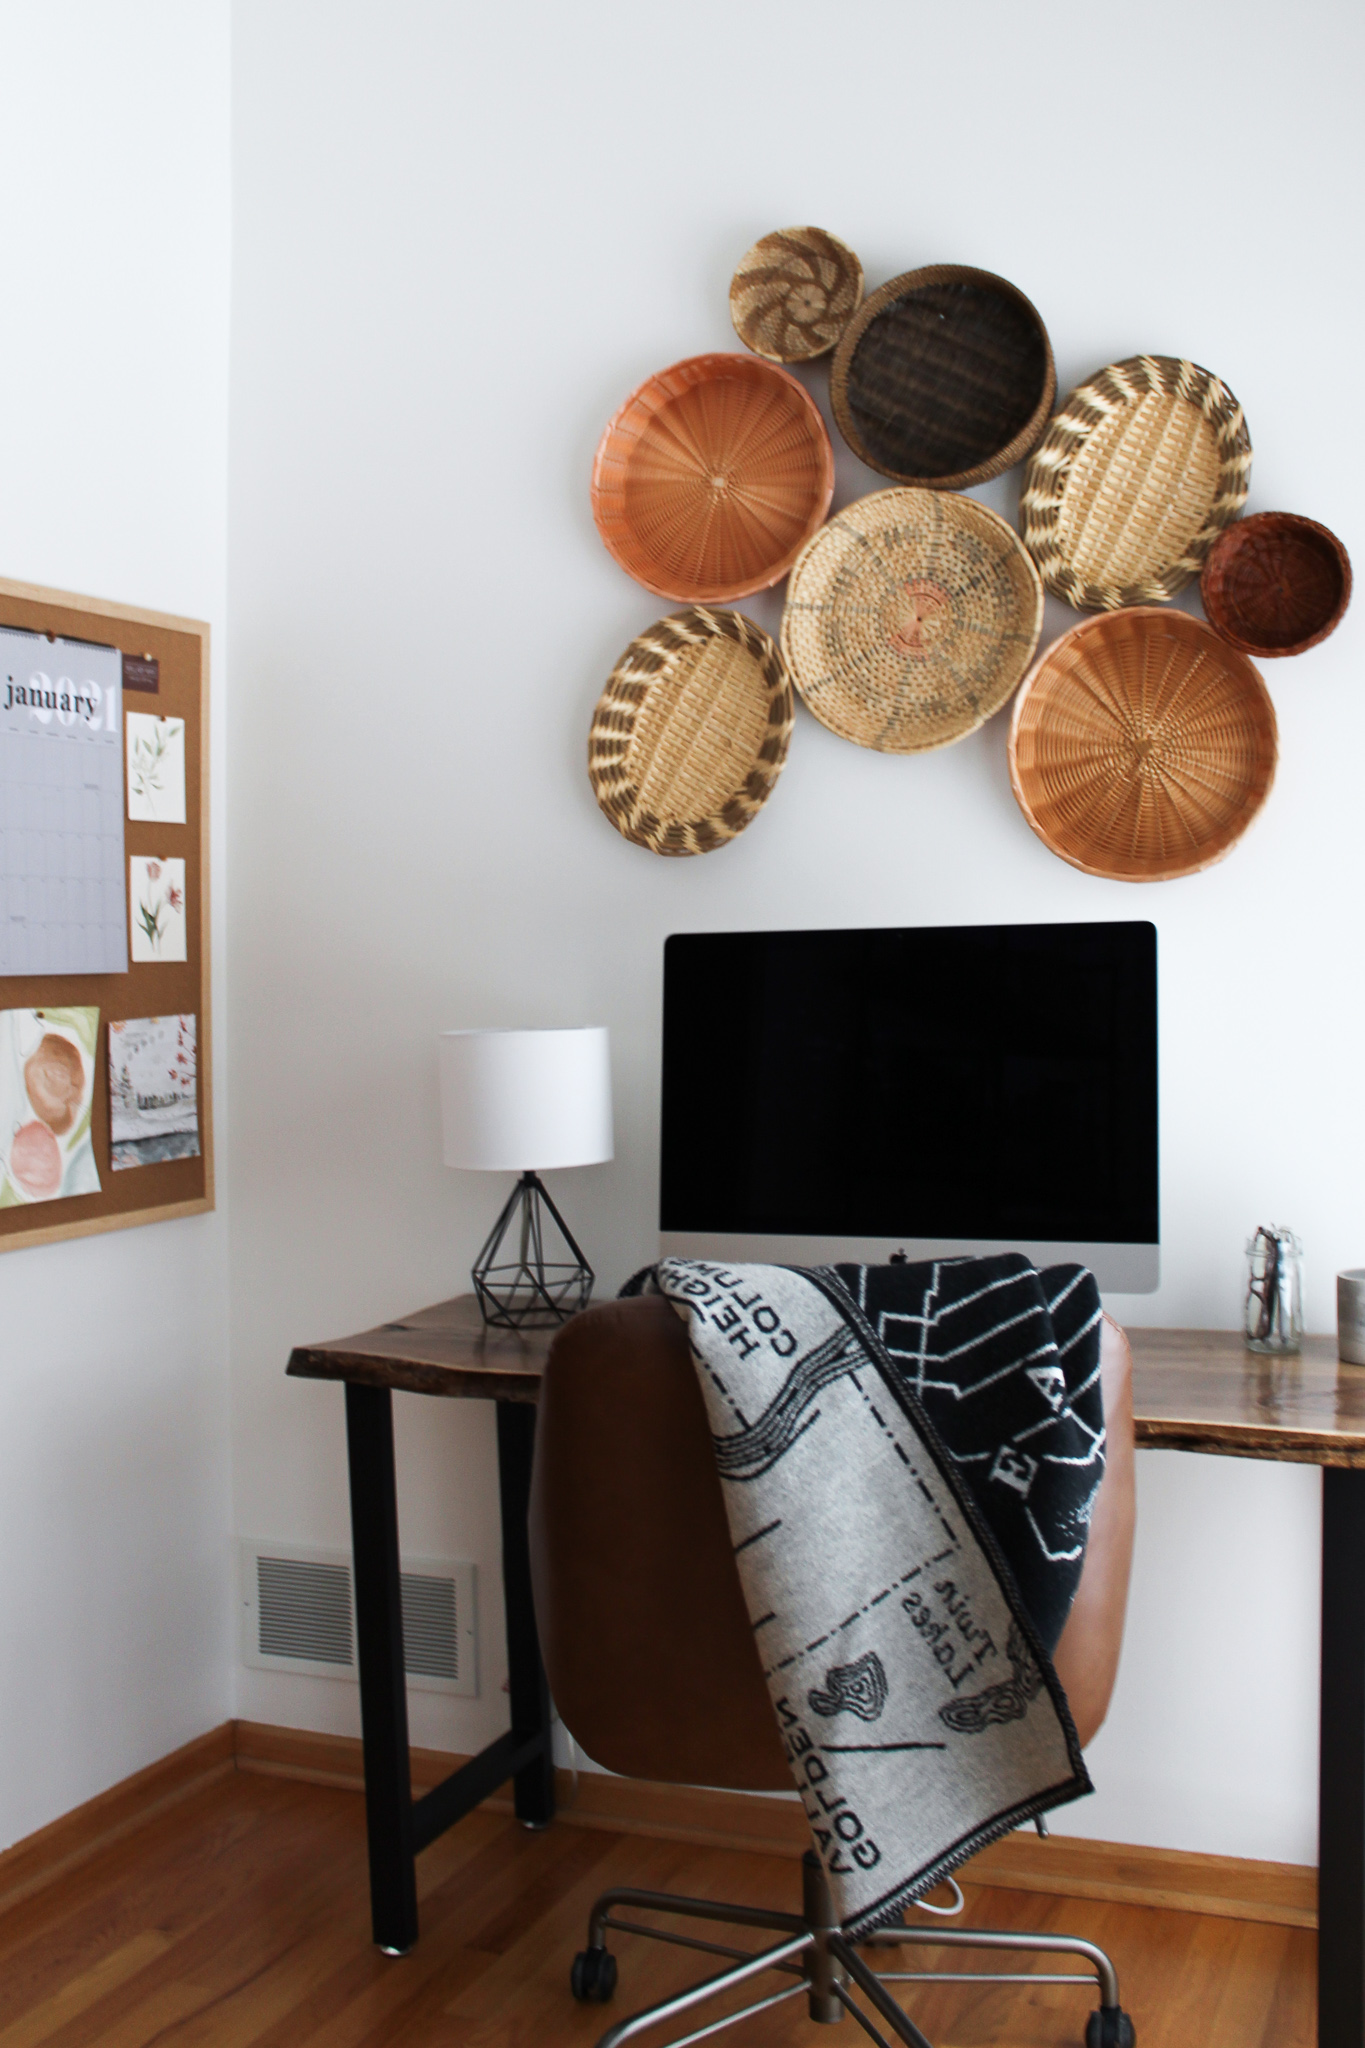
The wall behind my desk was a blank slate and I wanted to add decor that was a larger size and would add visual interest above my computer. I had seen the basket trend on Instagram, so I went to GoodWill to search for some fun baskets. I found these eight for under $20 and only removed the handles from the dark bottom one!
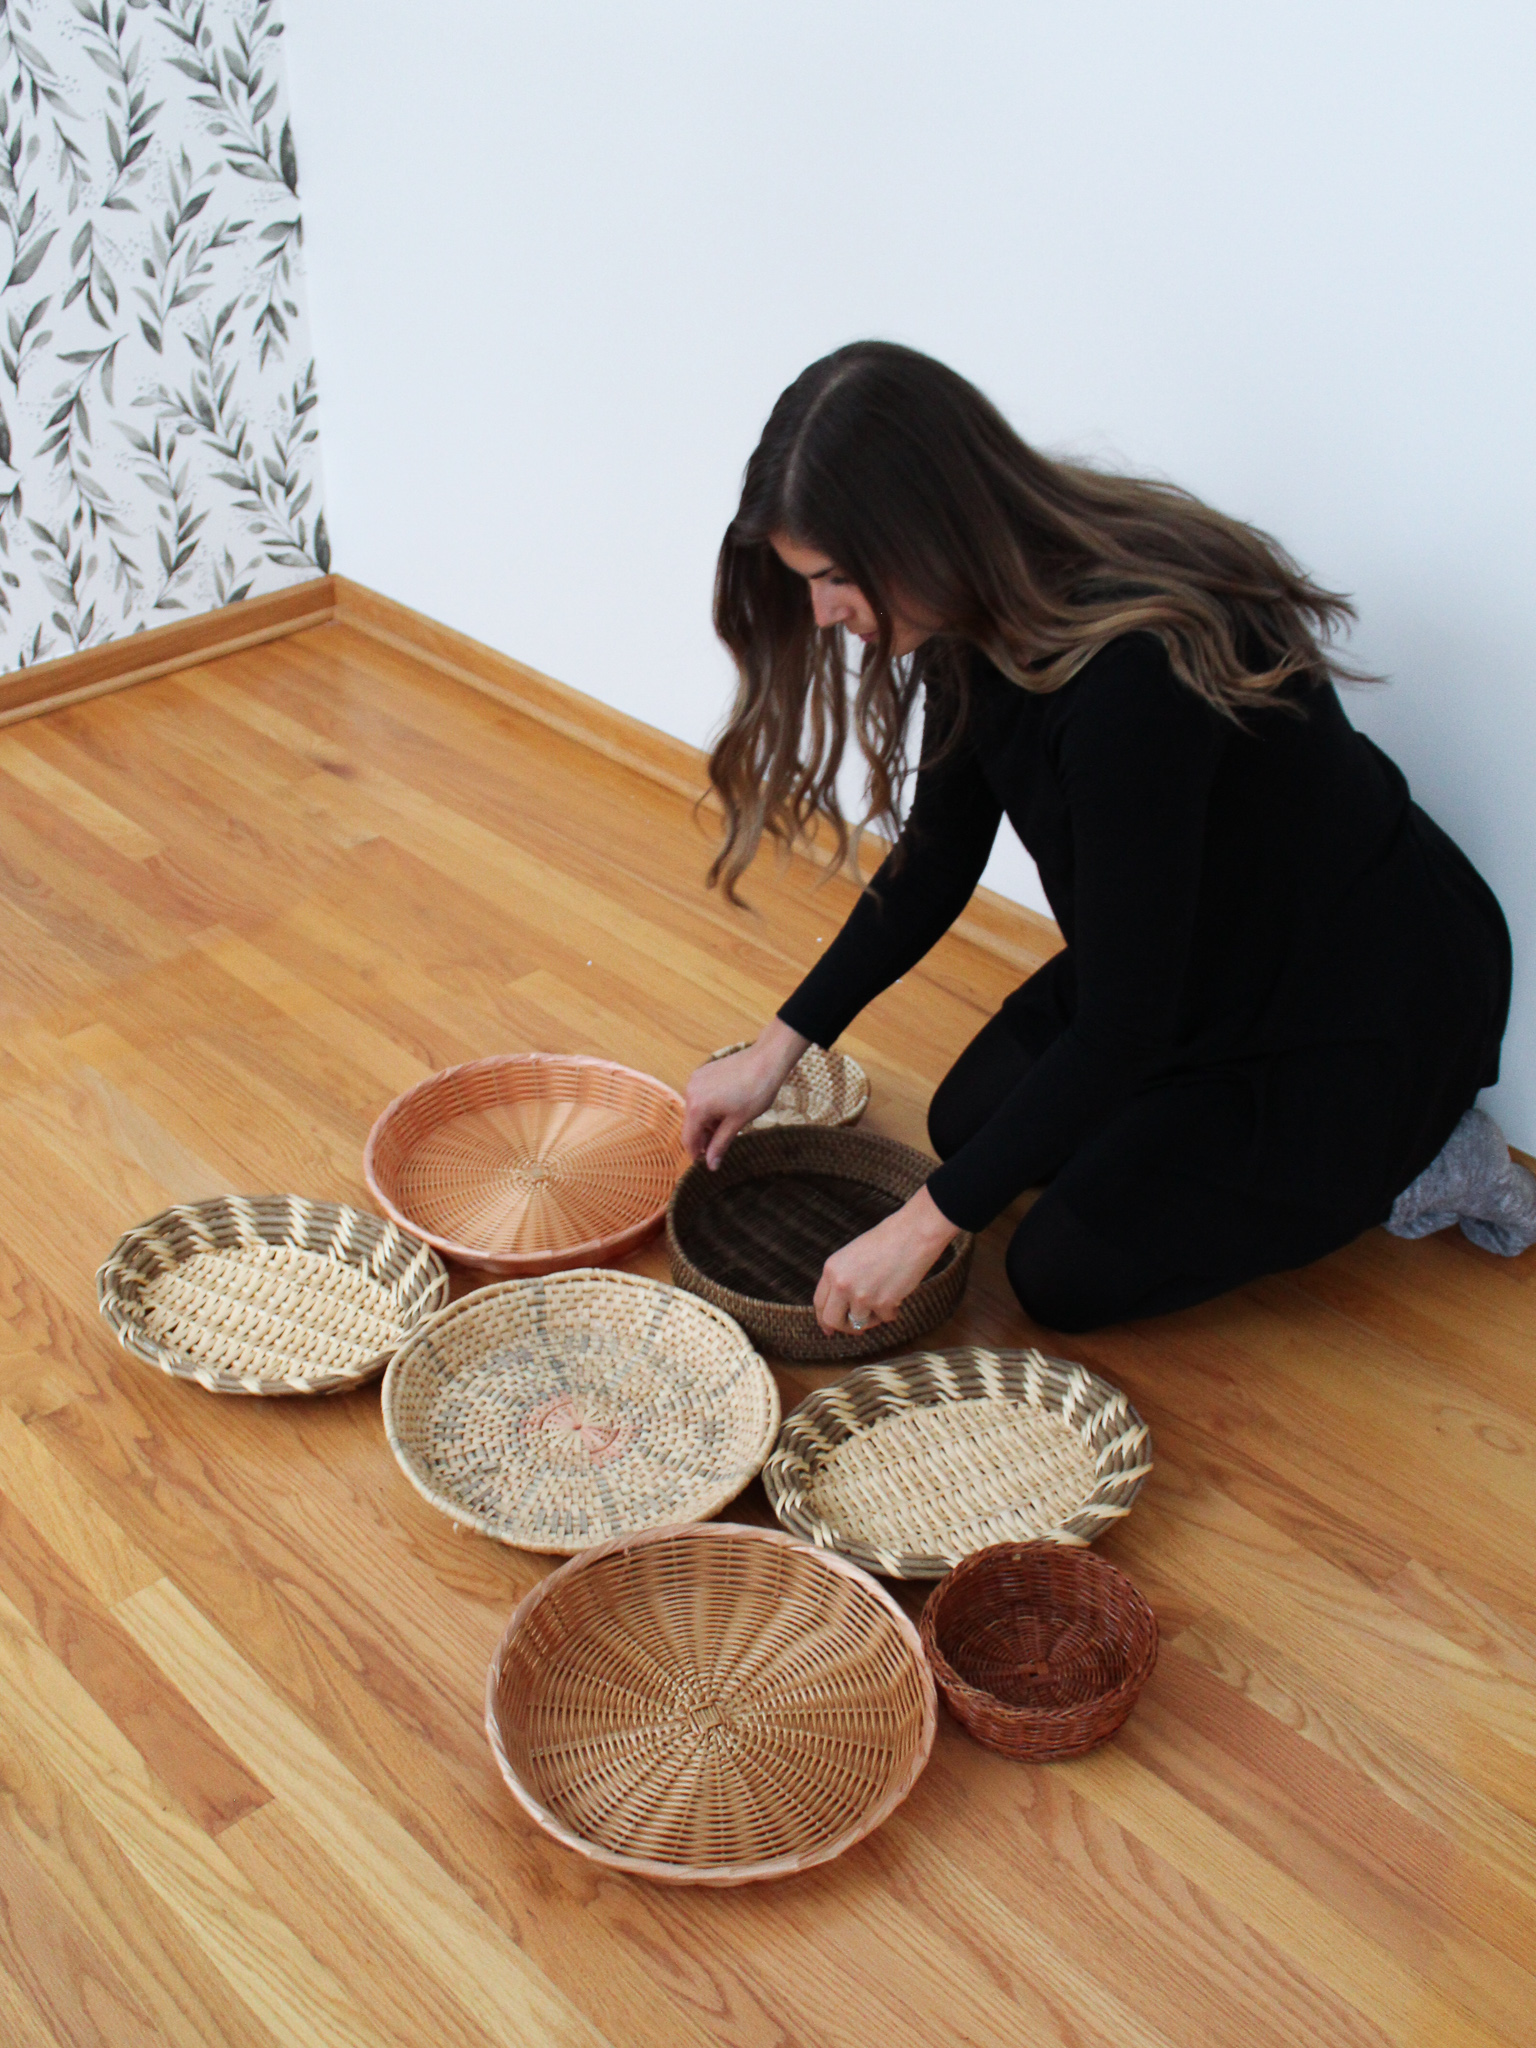
Before I nailed any holes or hung the baskets, I laid them out on the ground. This allowed me to see what arrangement looked best based on the colors and depth of the baskets. This was a helpful step so that we had a plan when nailing them to the wall.
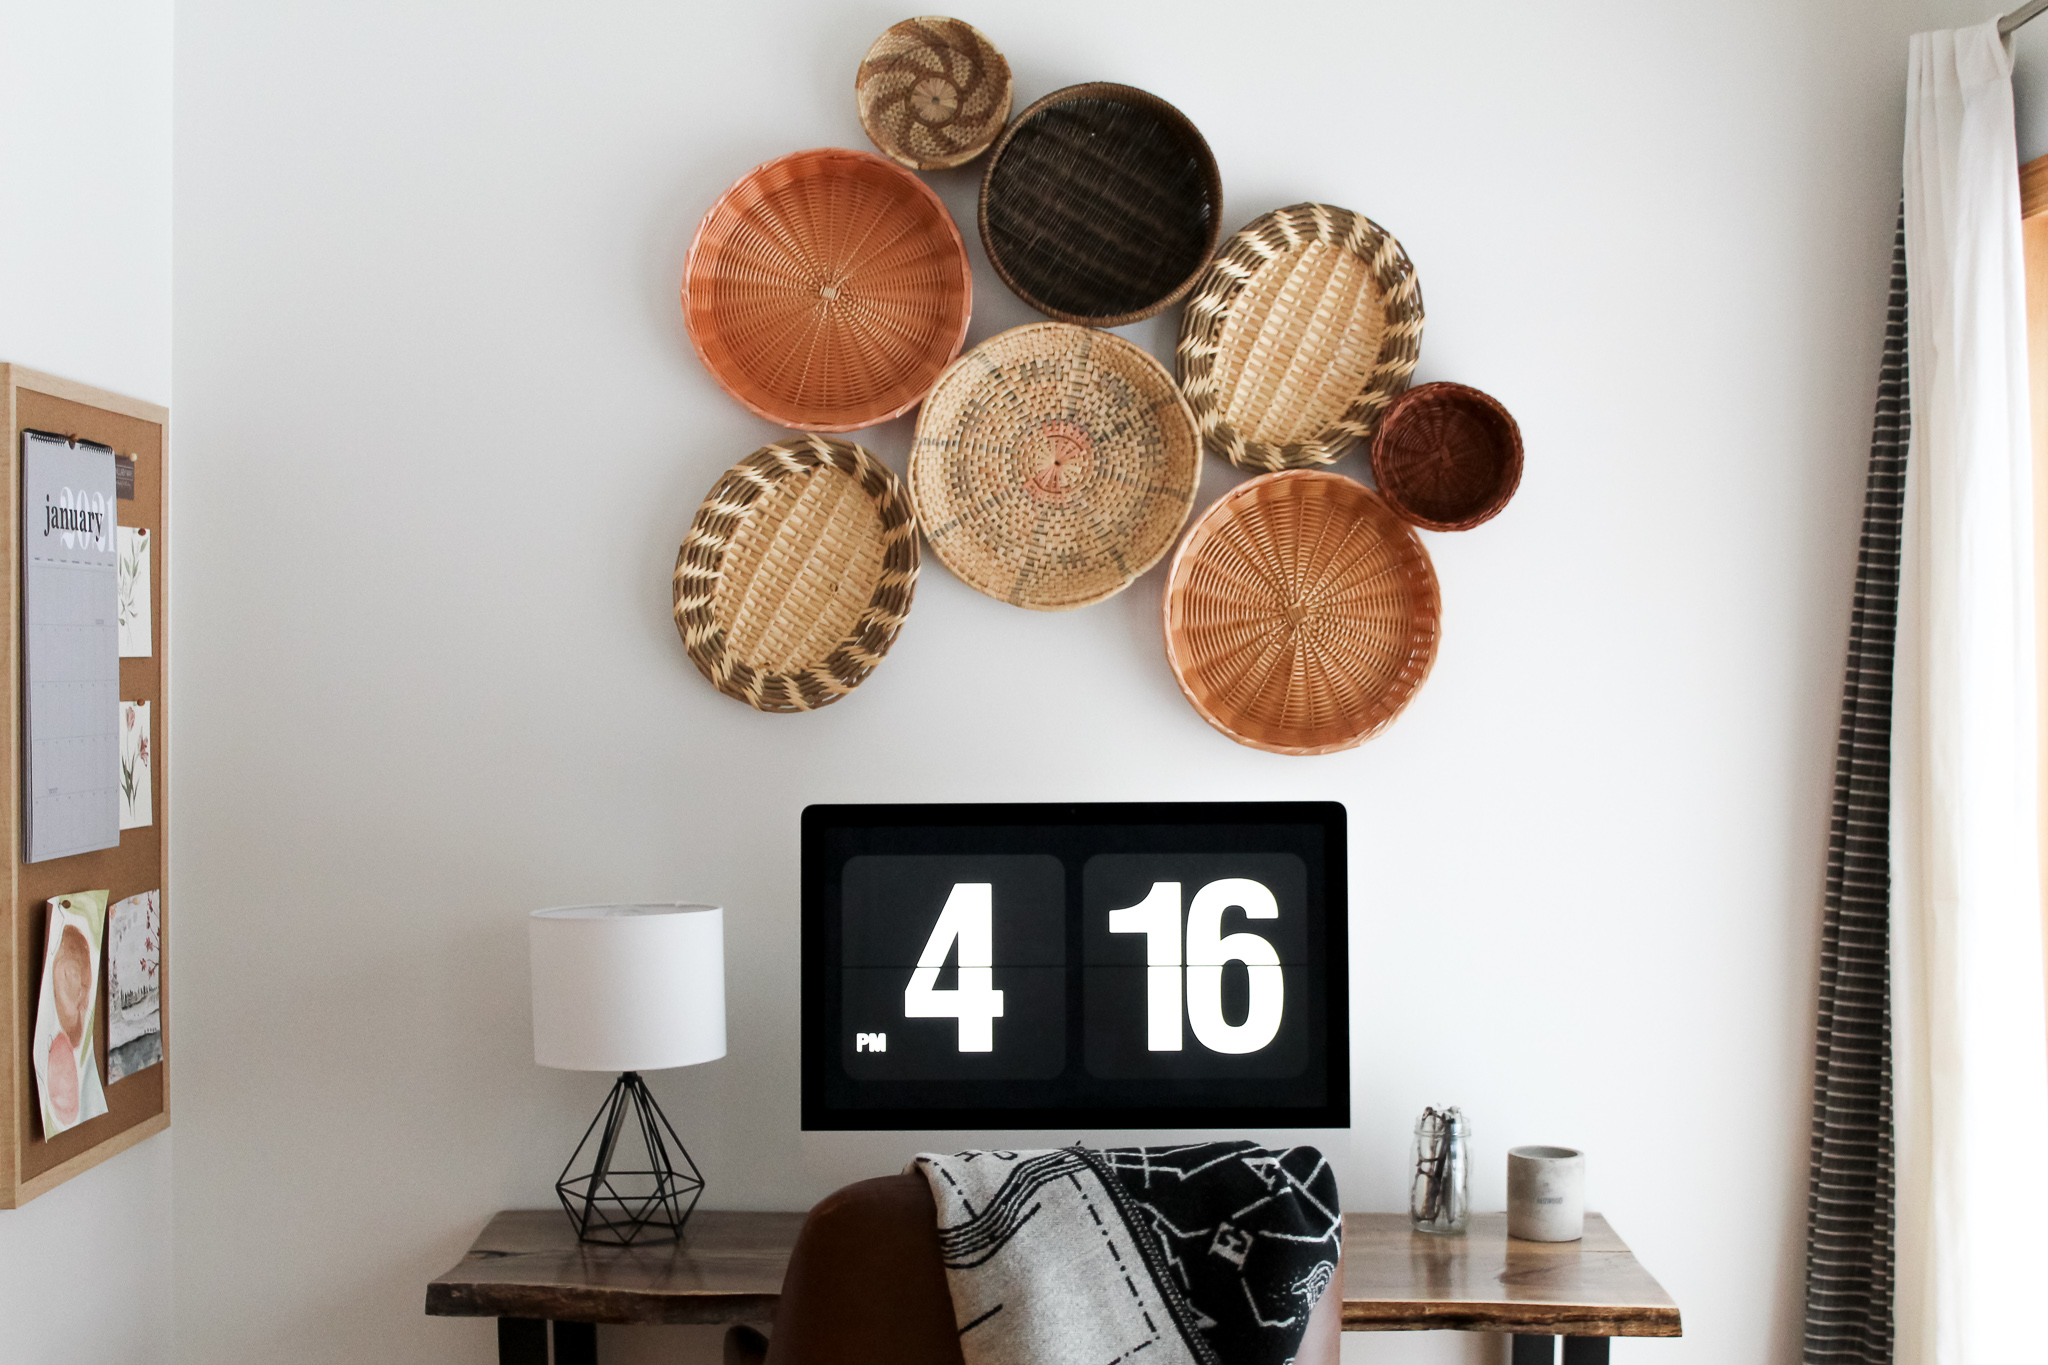
My favorite component of this design is that every basket wall will look a little bit different, depending on the size, style, and color of the baskets. If you’re looking for a simple, low cost, and beautiful wall decor option, try a basket wall!
Shelving Unit
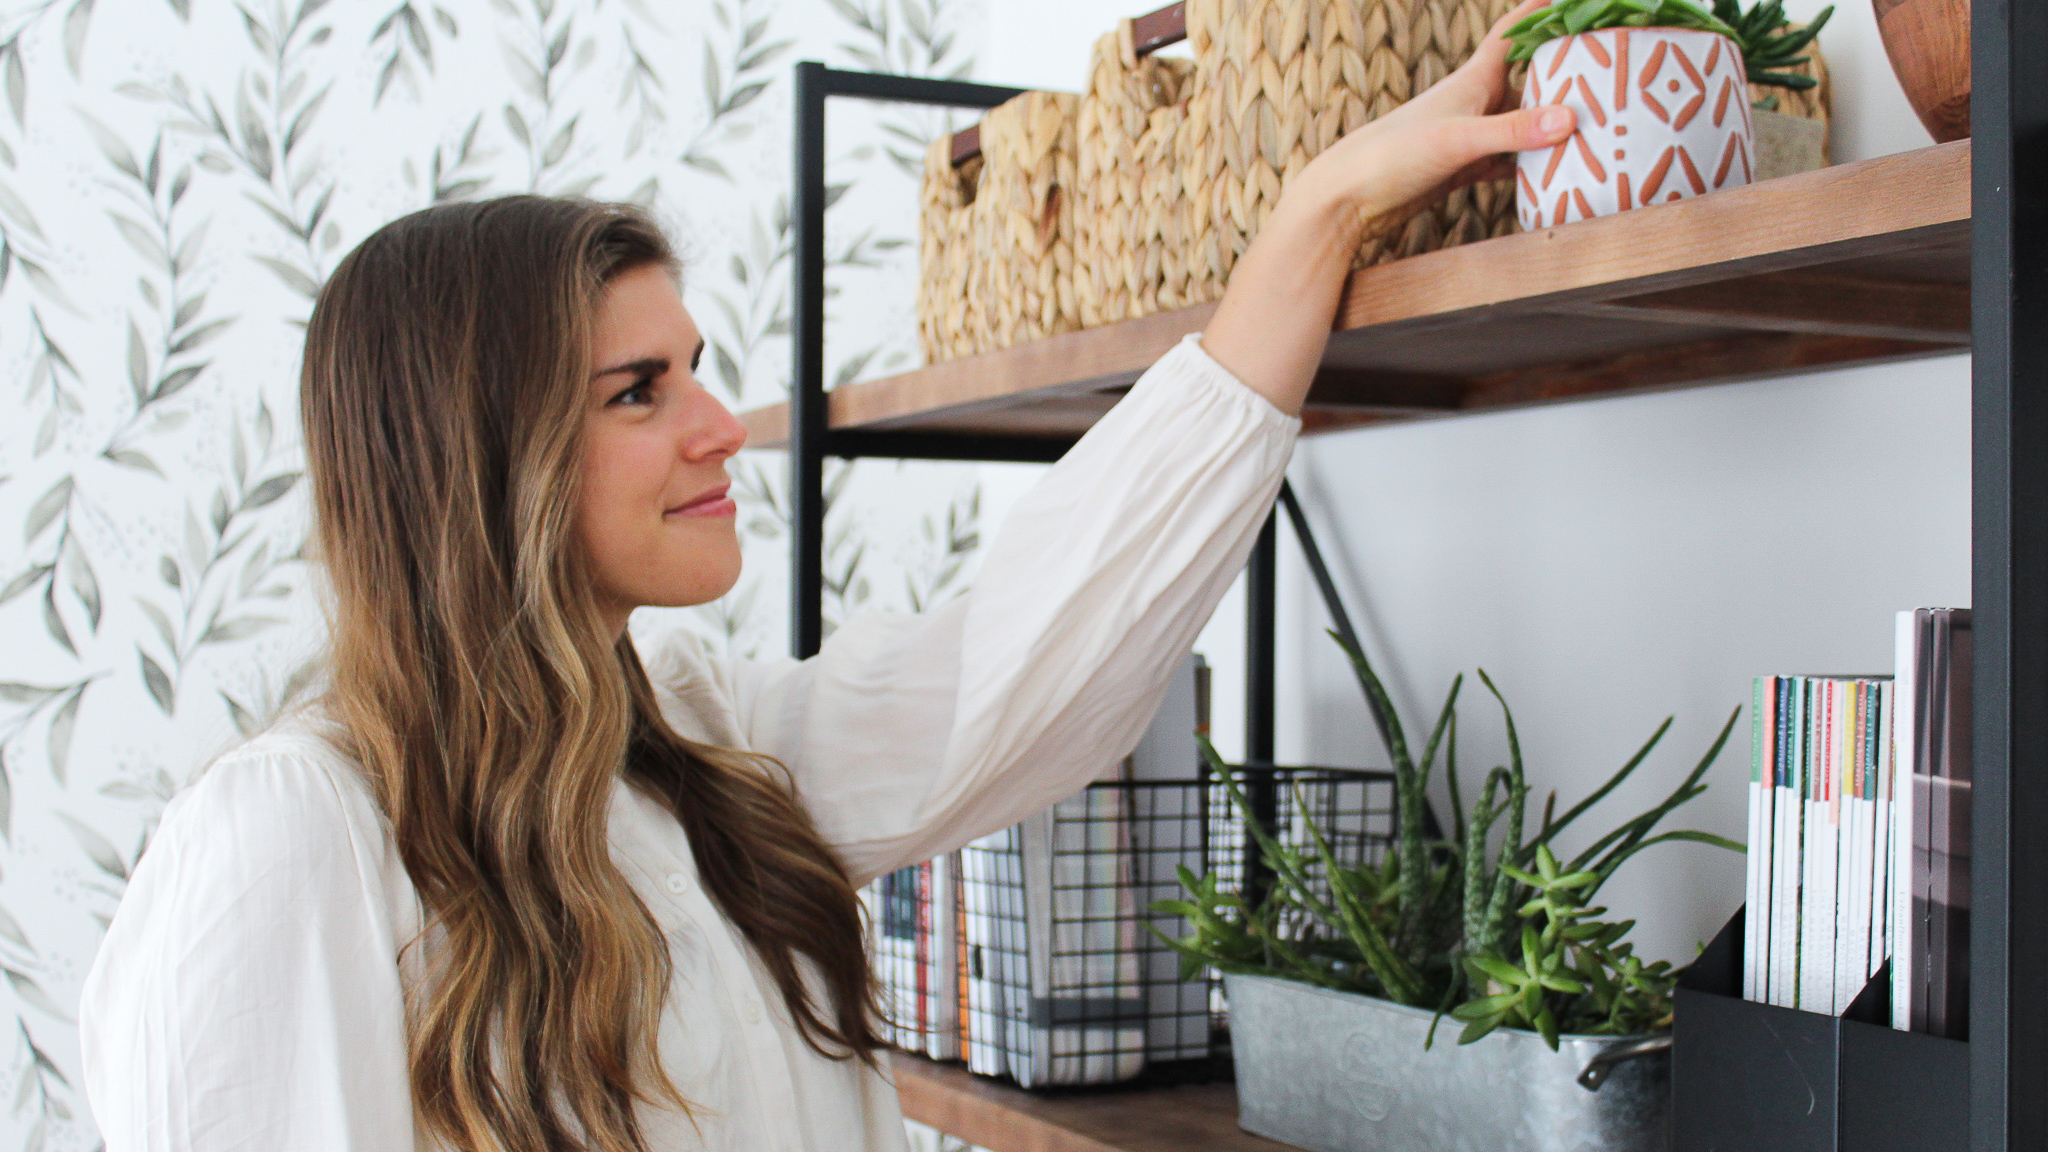
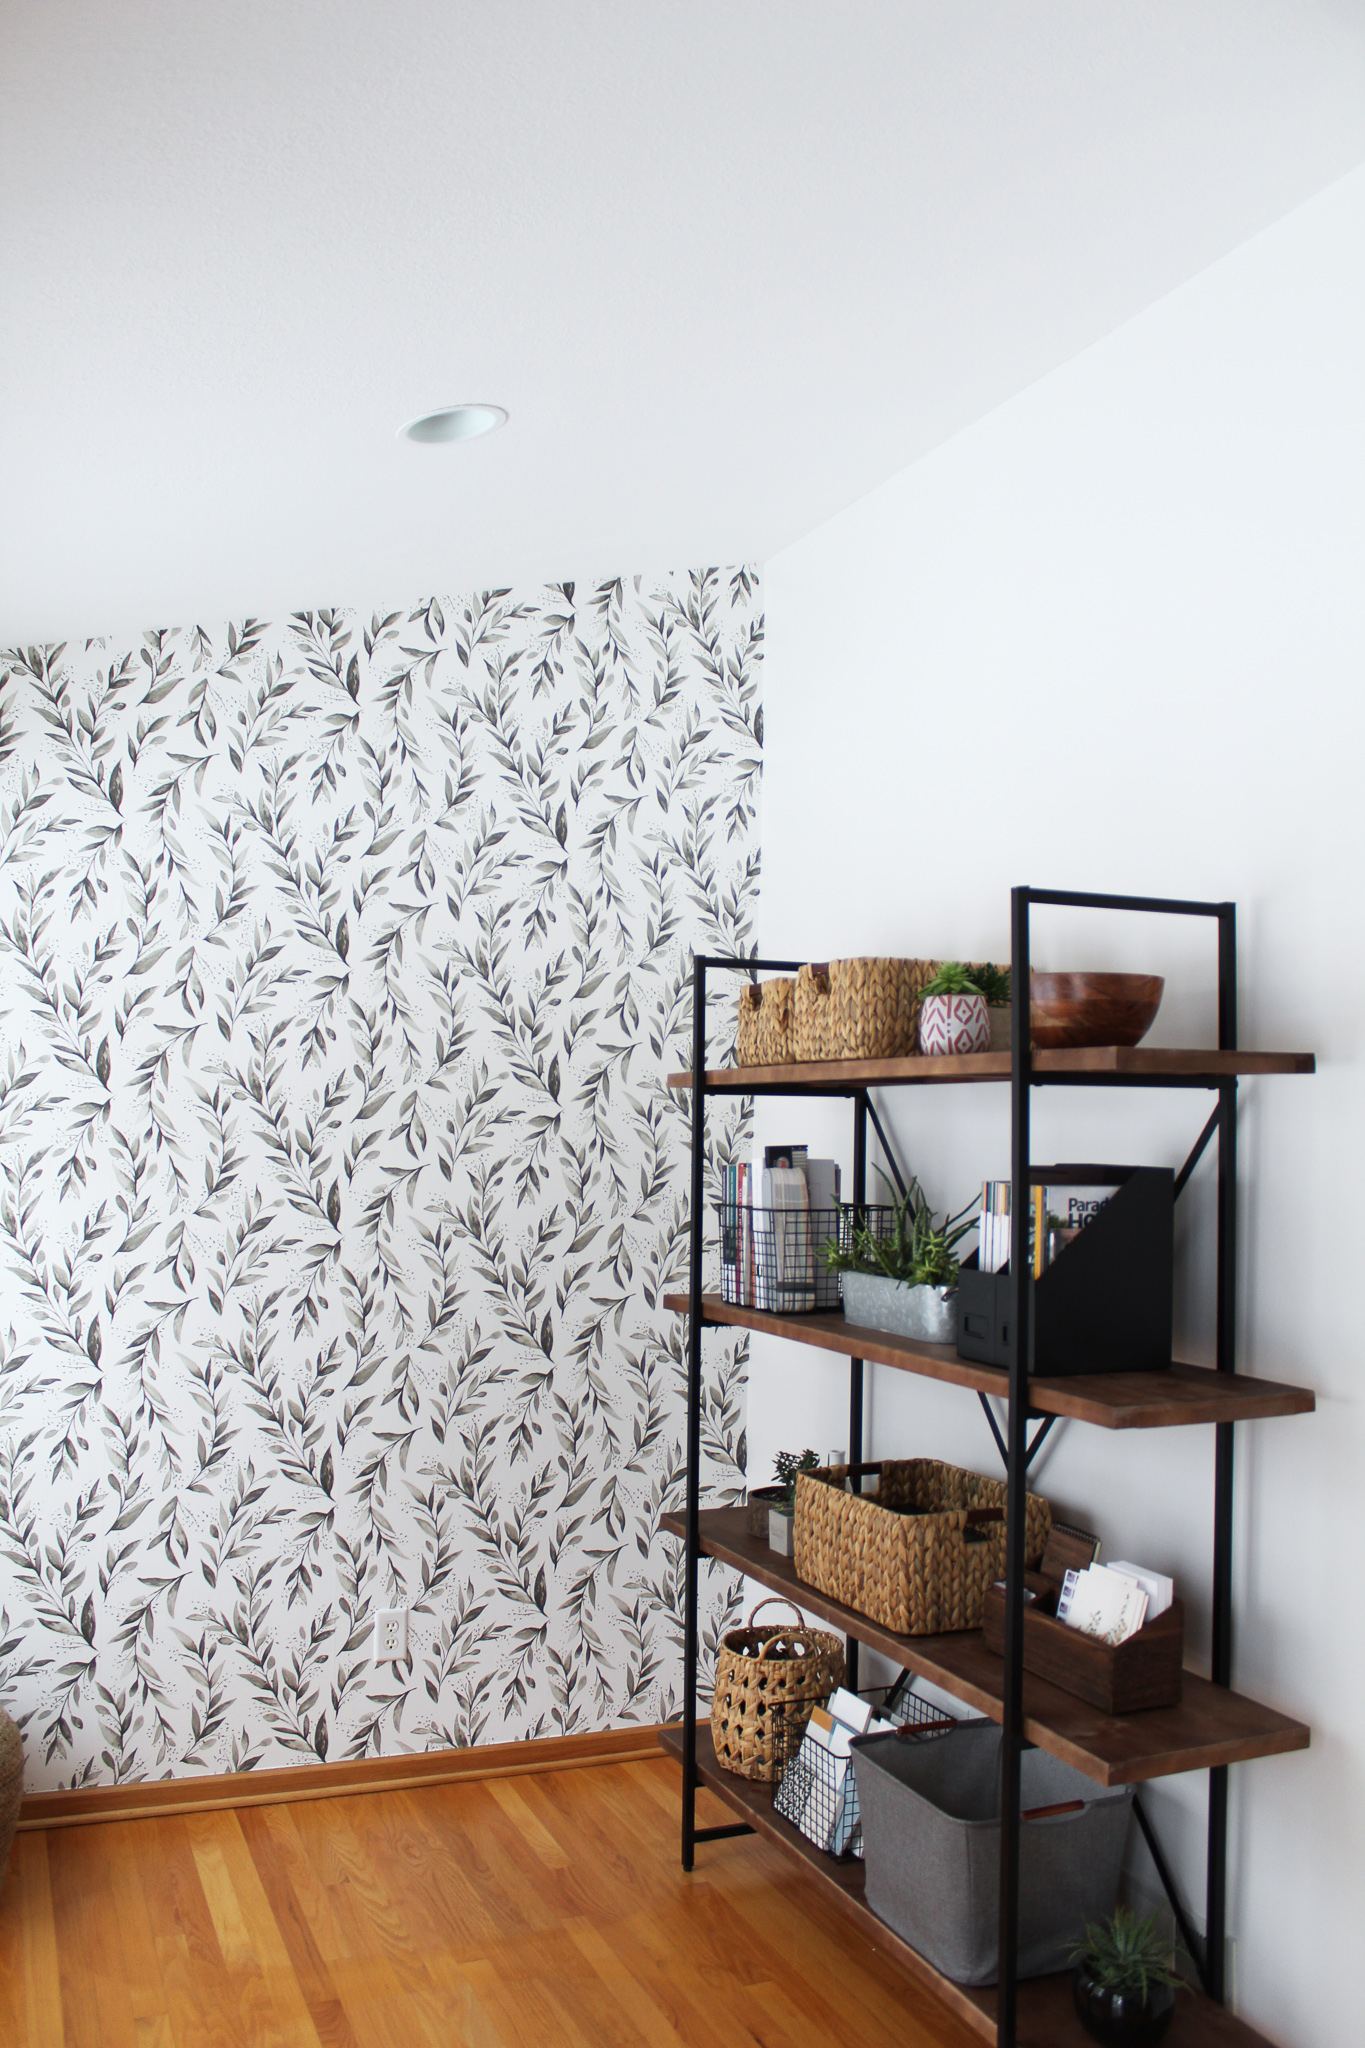
I knew I wanted to have a place to house my design samples and books, and I loved this shelving unit because it filled the wall while also keeping the simple design style I was looking for.
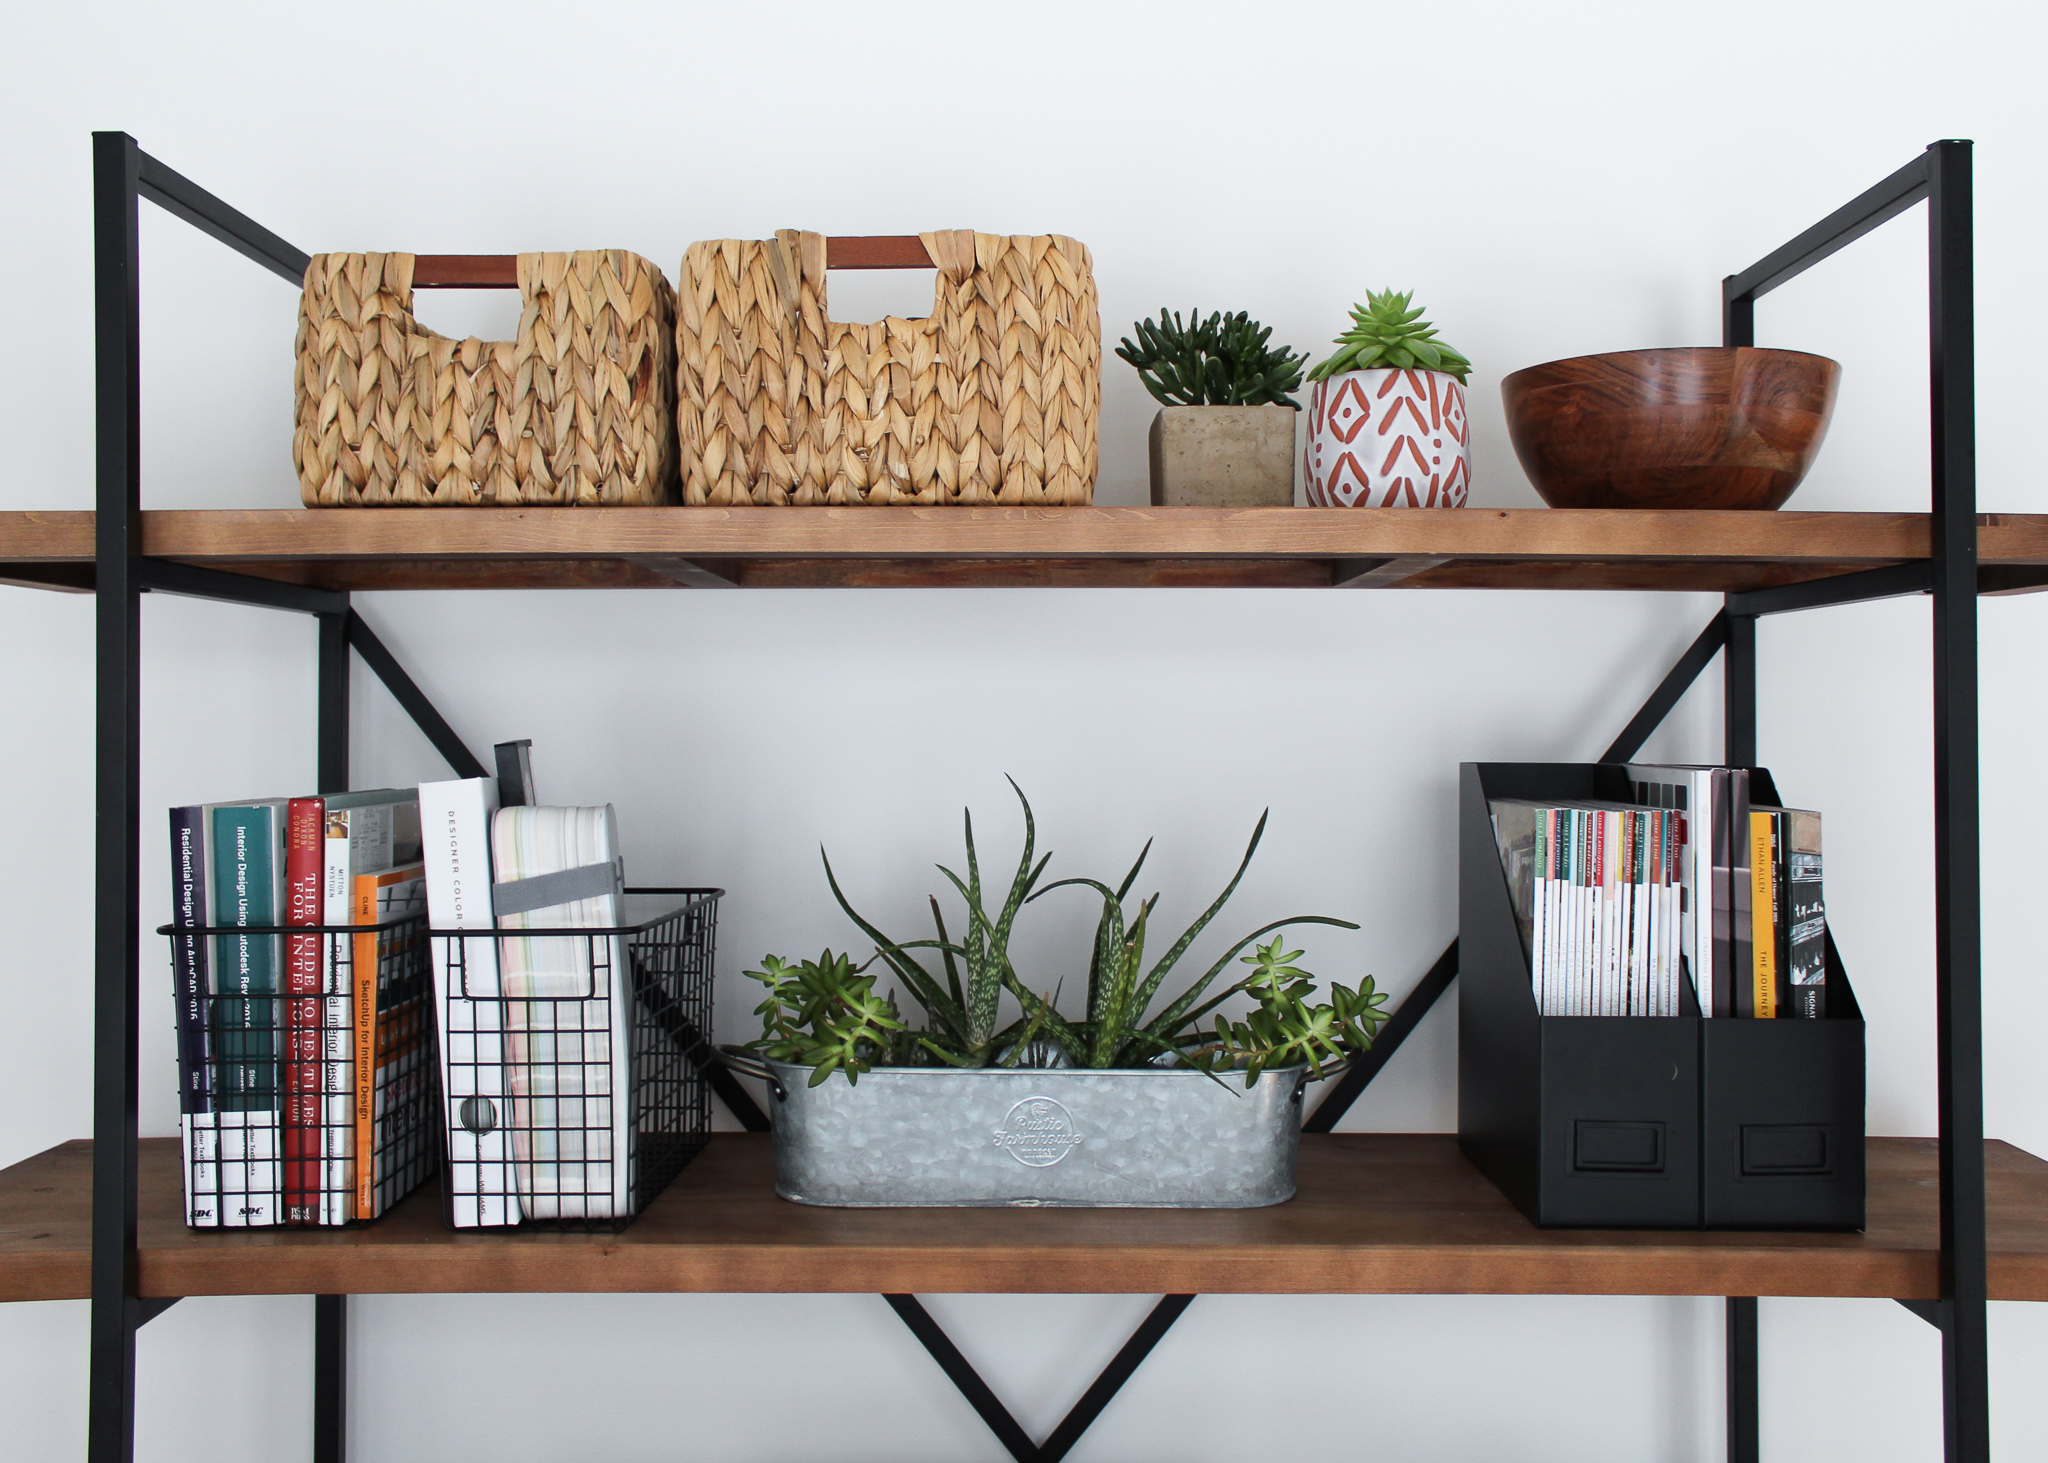
The shelves were long and far enough apart that I had a lot of area to arrange the storage baskets and other decor.
Baskets + Storage:
- White Basket | $20
- Wicker Baskets | $46
- Grey Basket | $24
- Metal File Holder | $13
- Desktop Unit | $14
- Wire Bins | $40
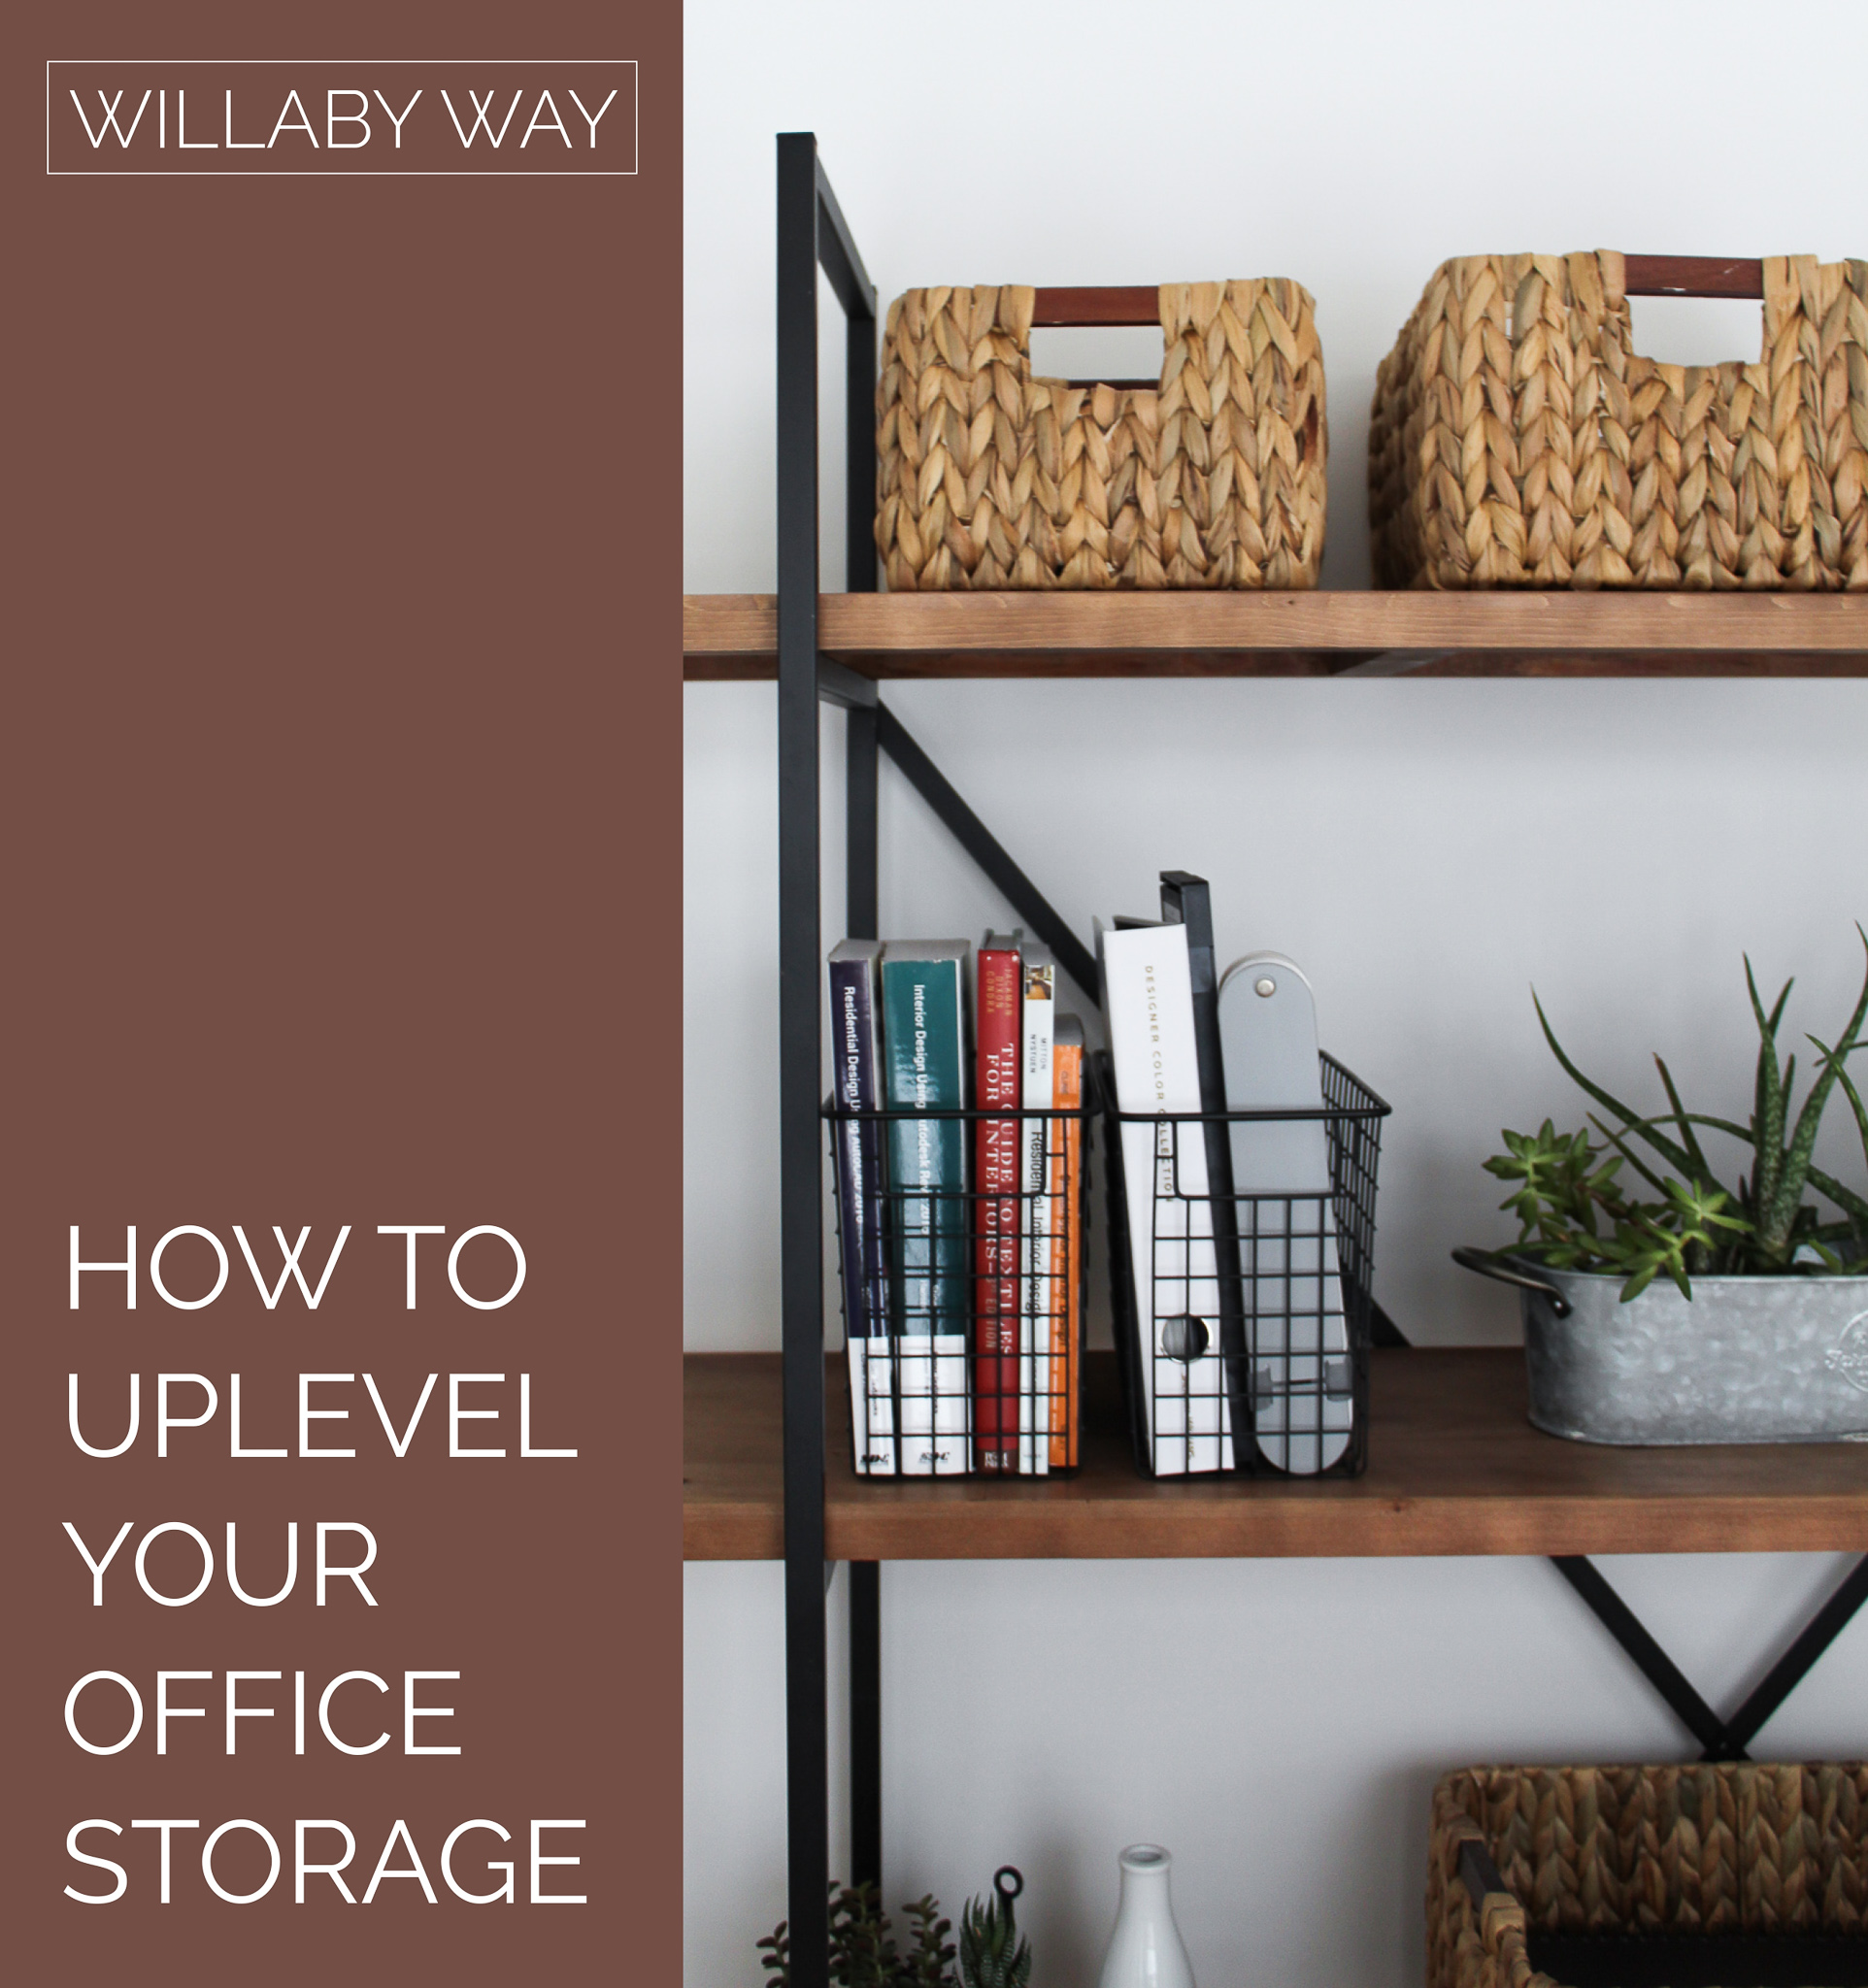
Now, all of my design school books and samples are in one spot and easily accessible!
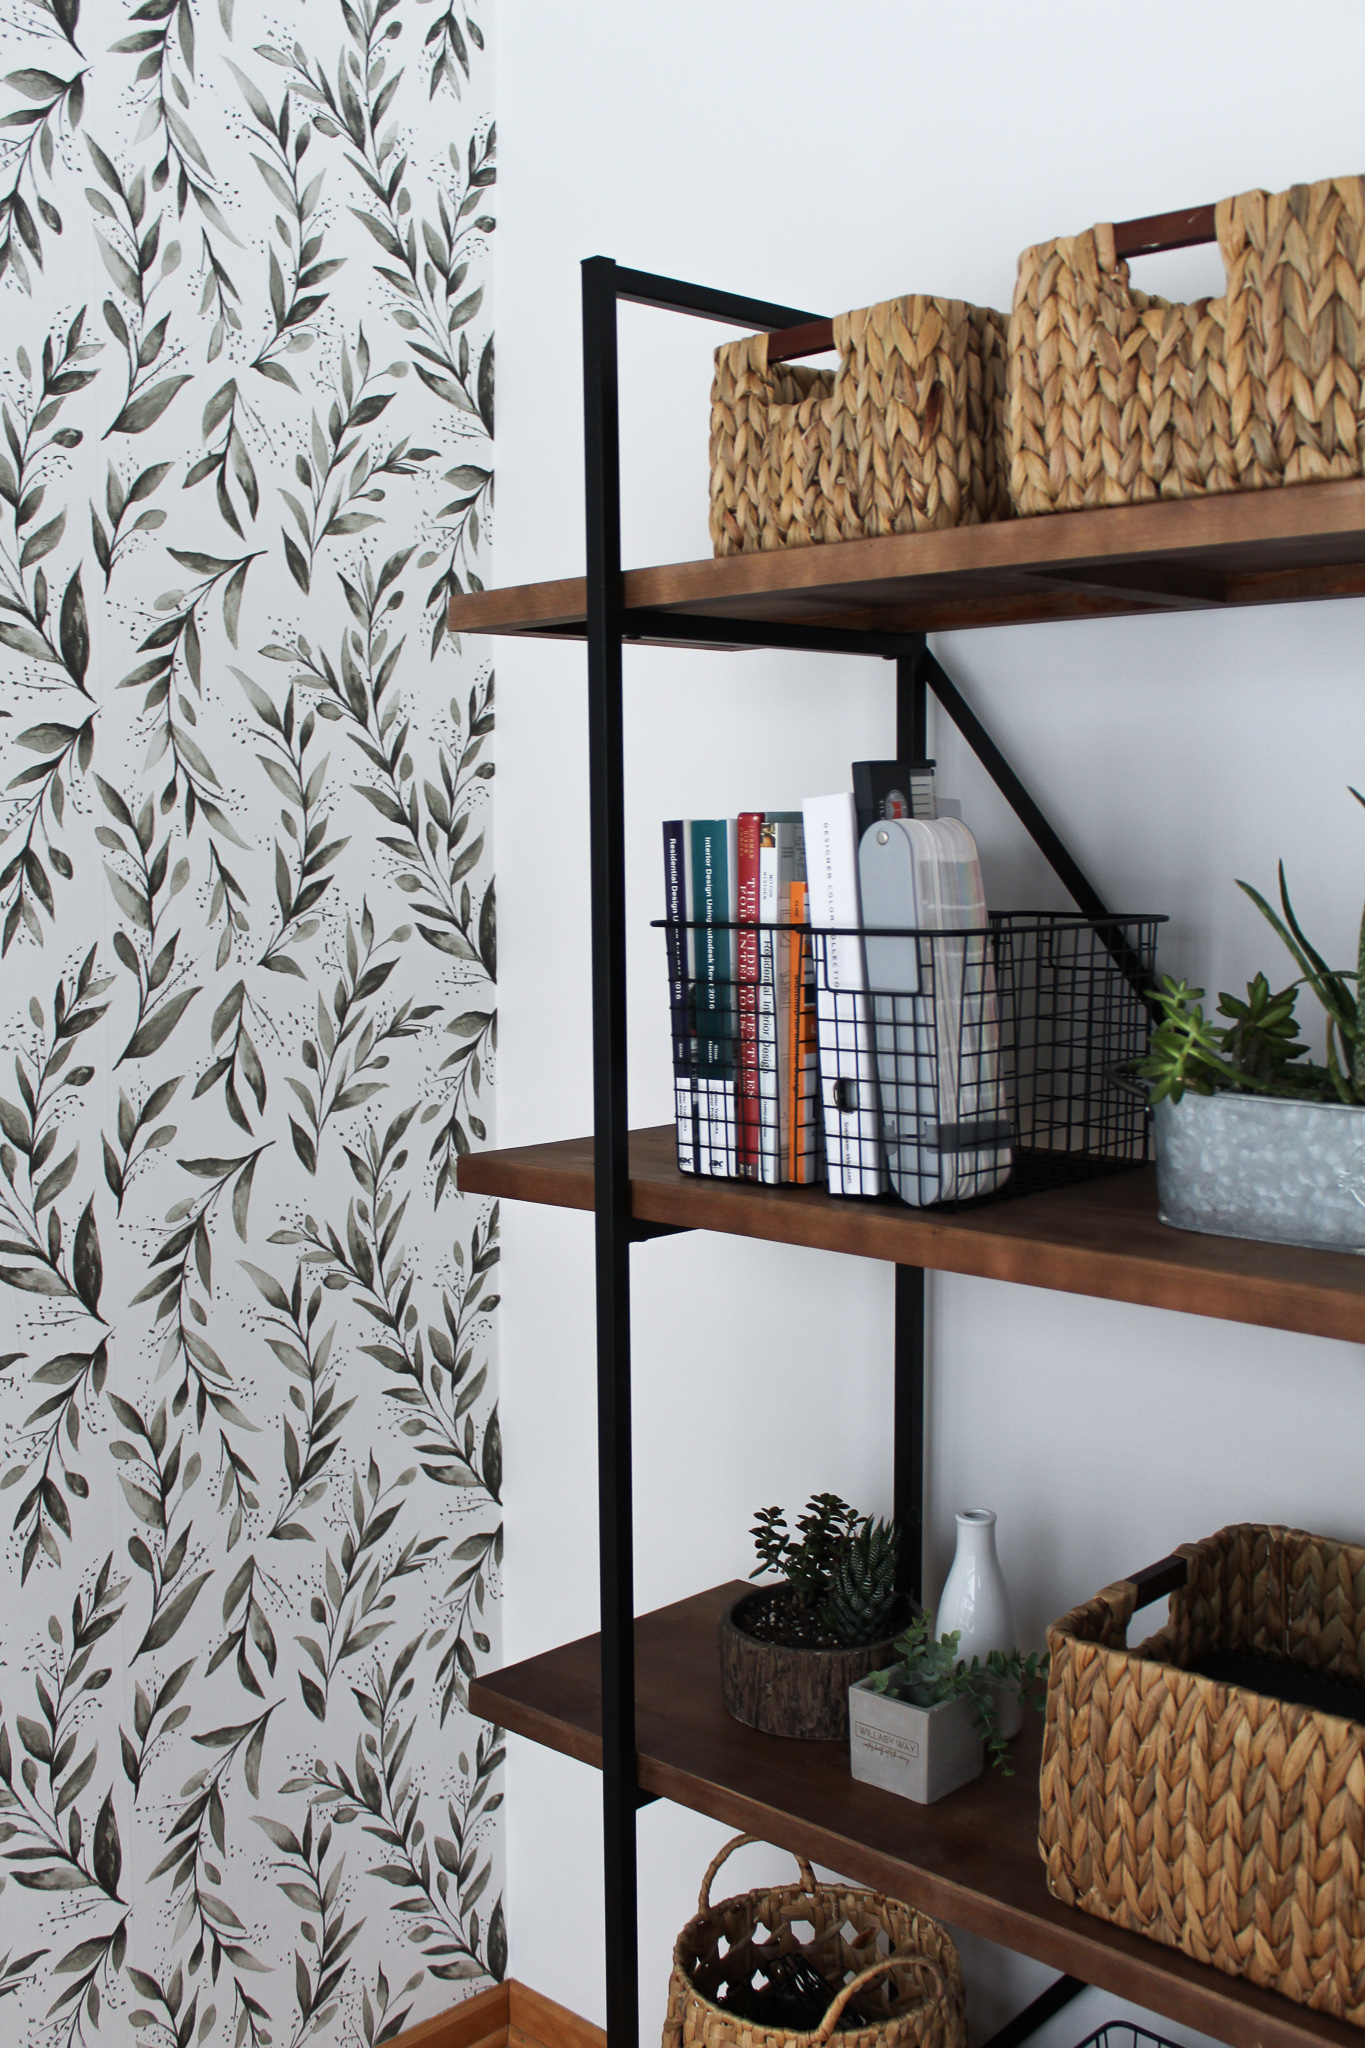
Plus, it provided the perfect spot for our plants too!
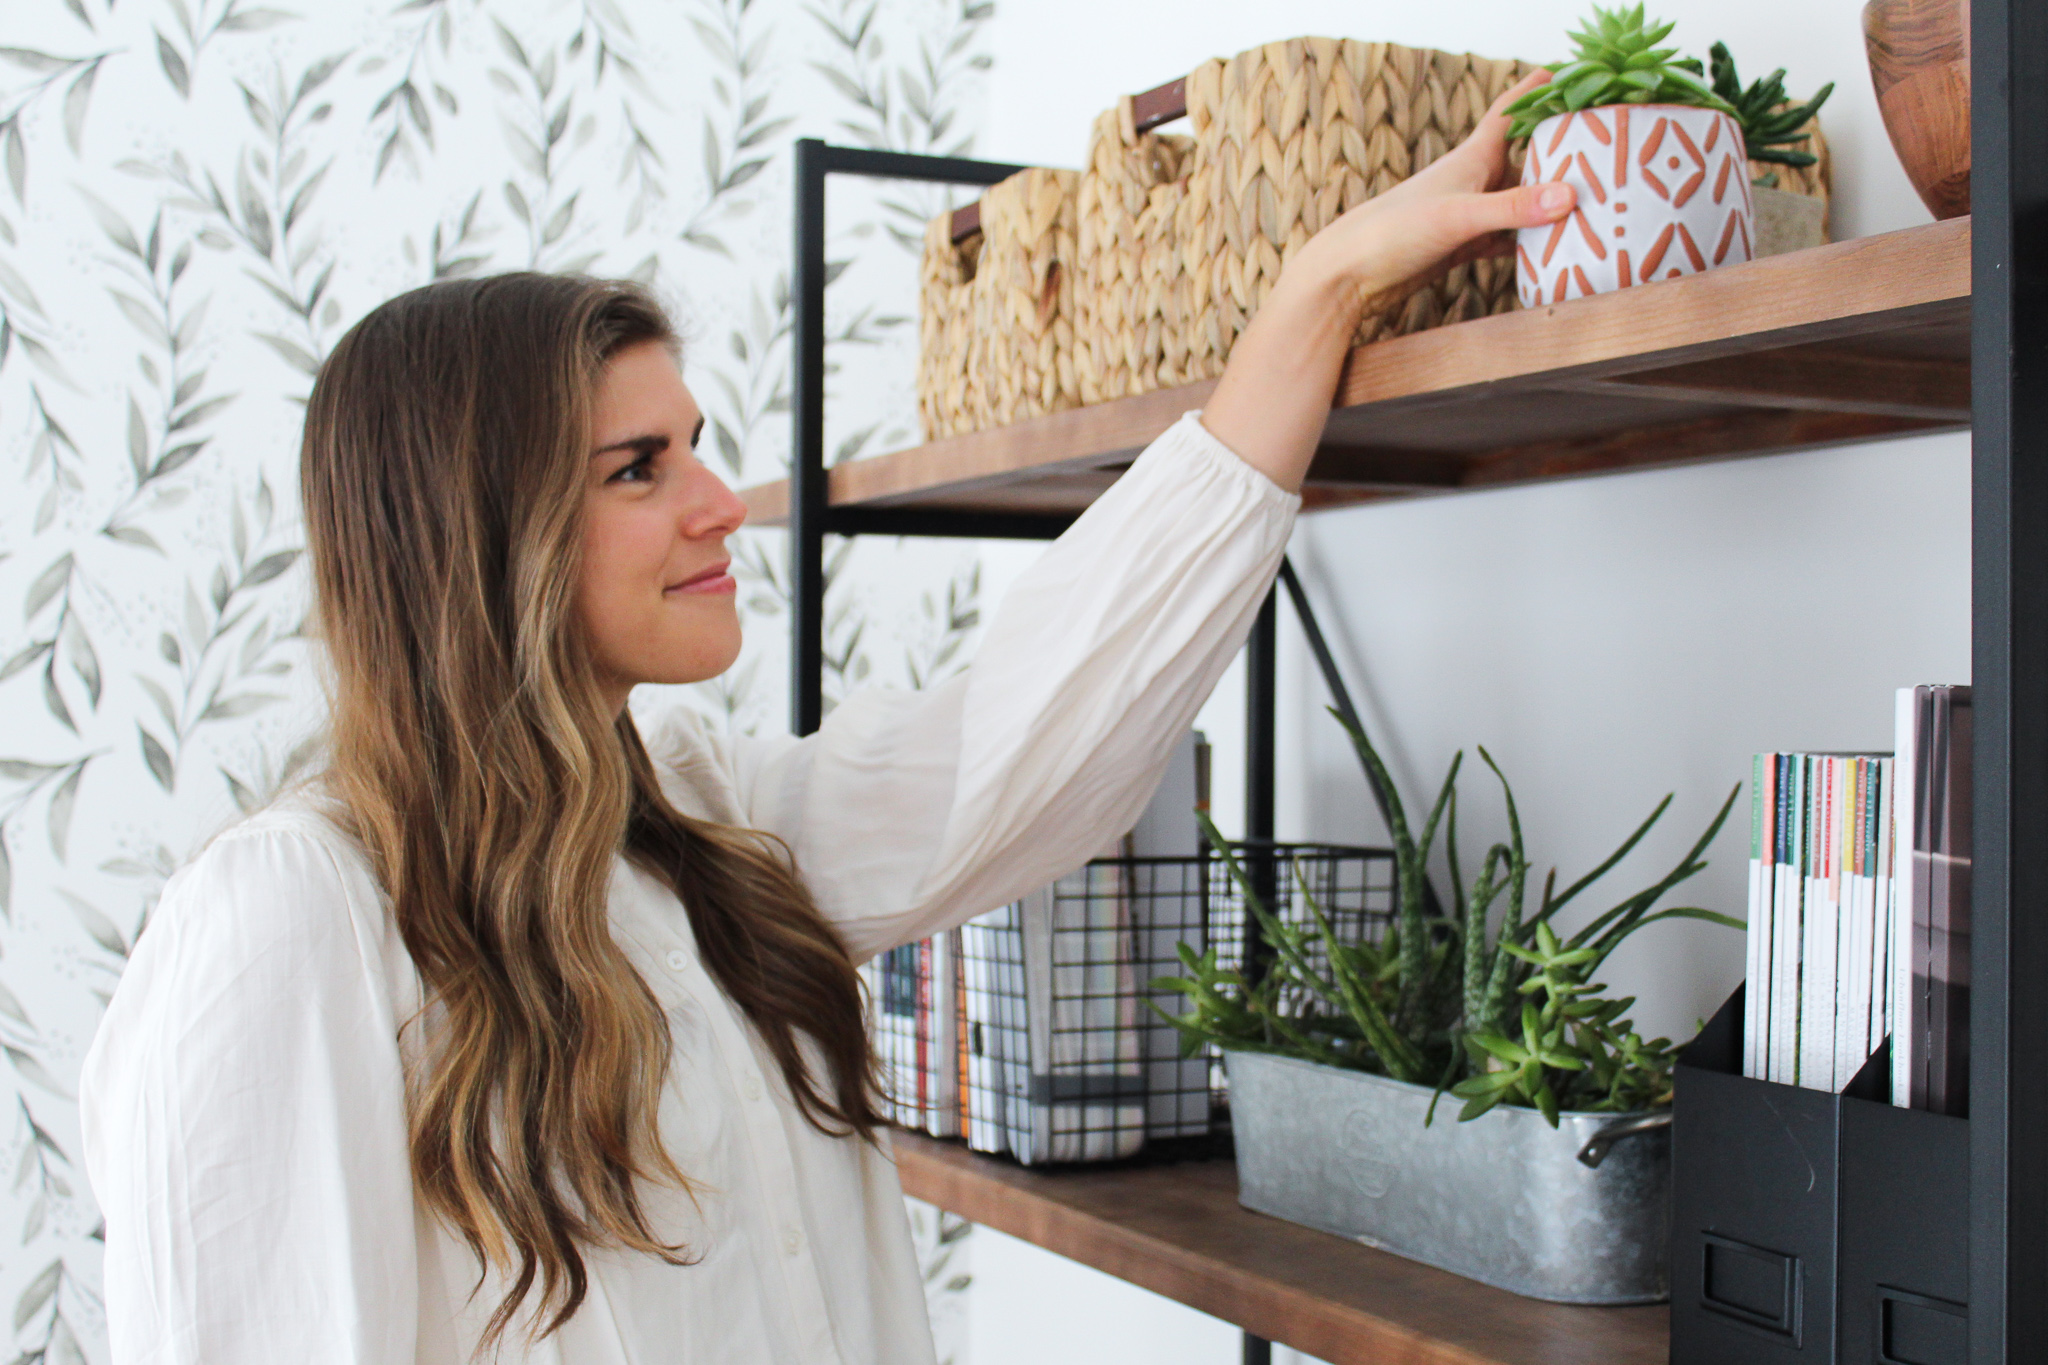
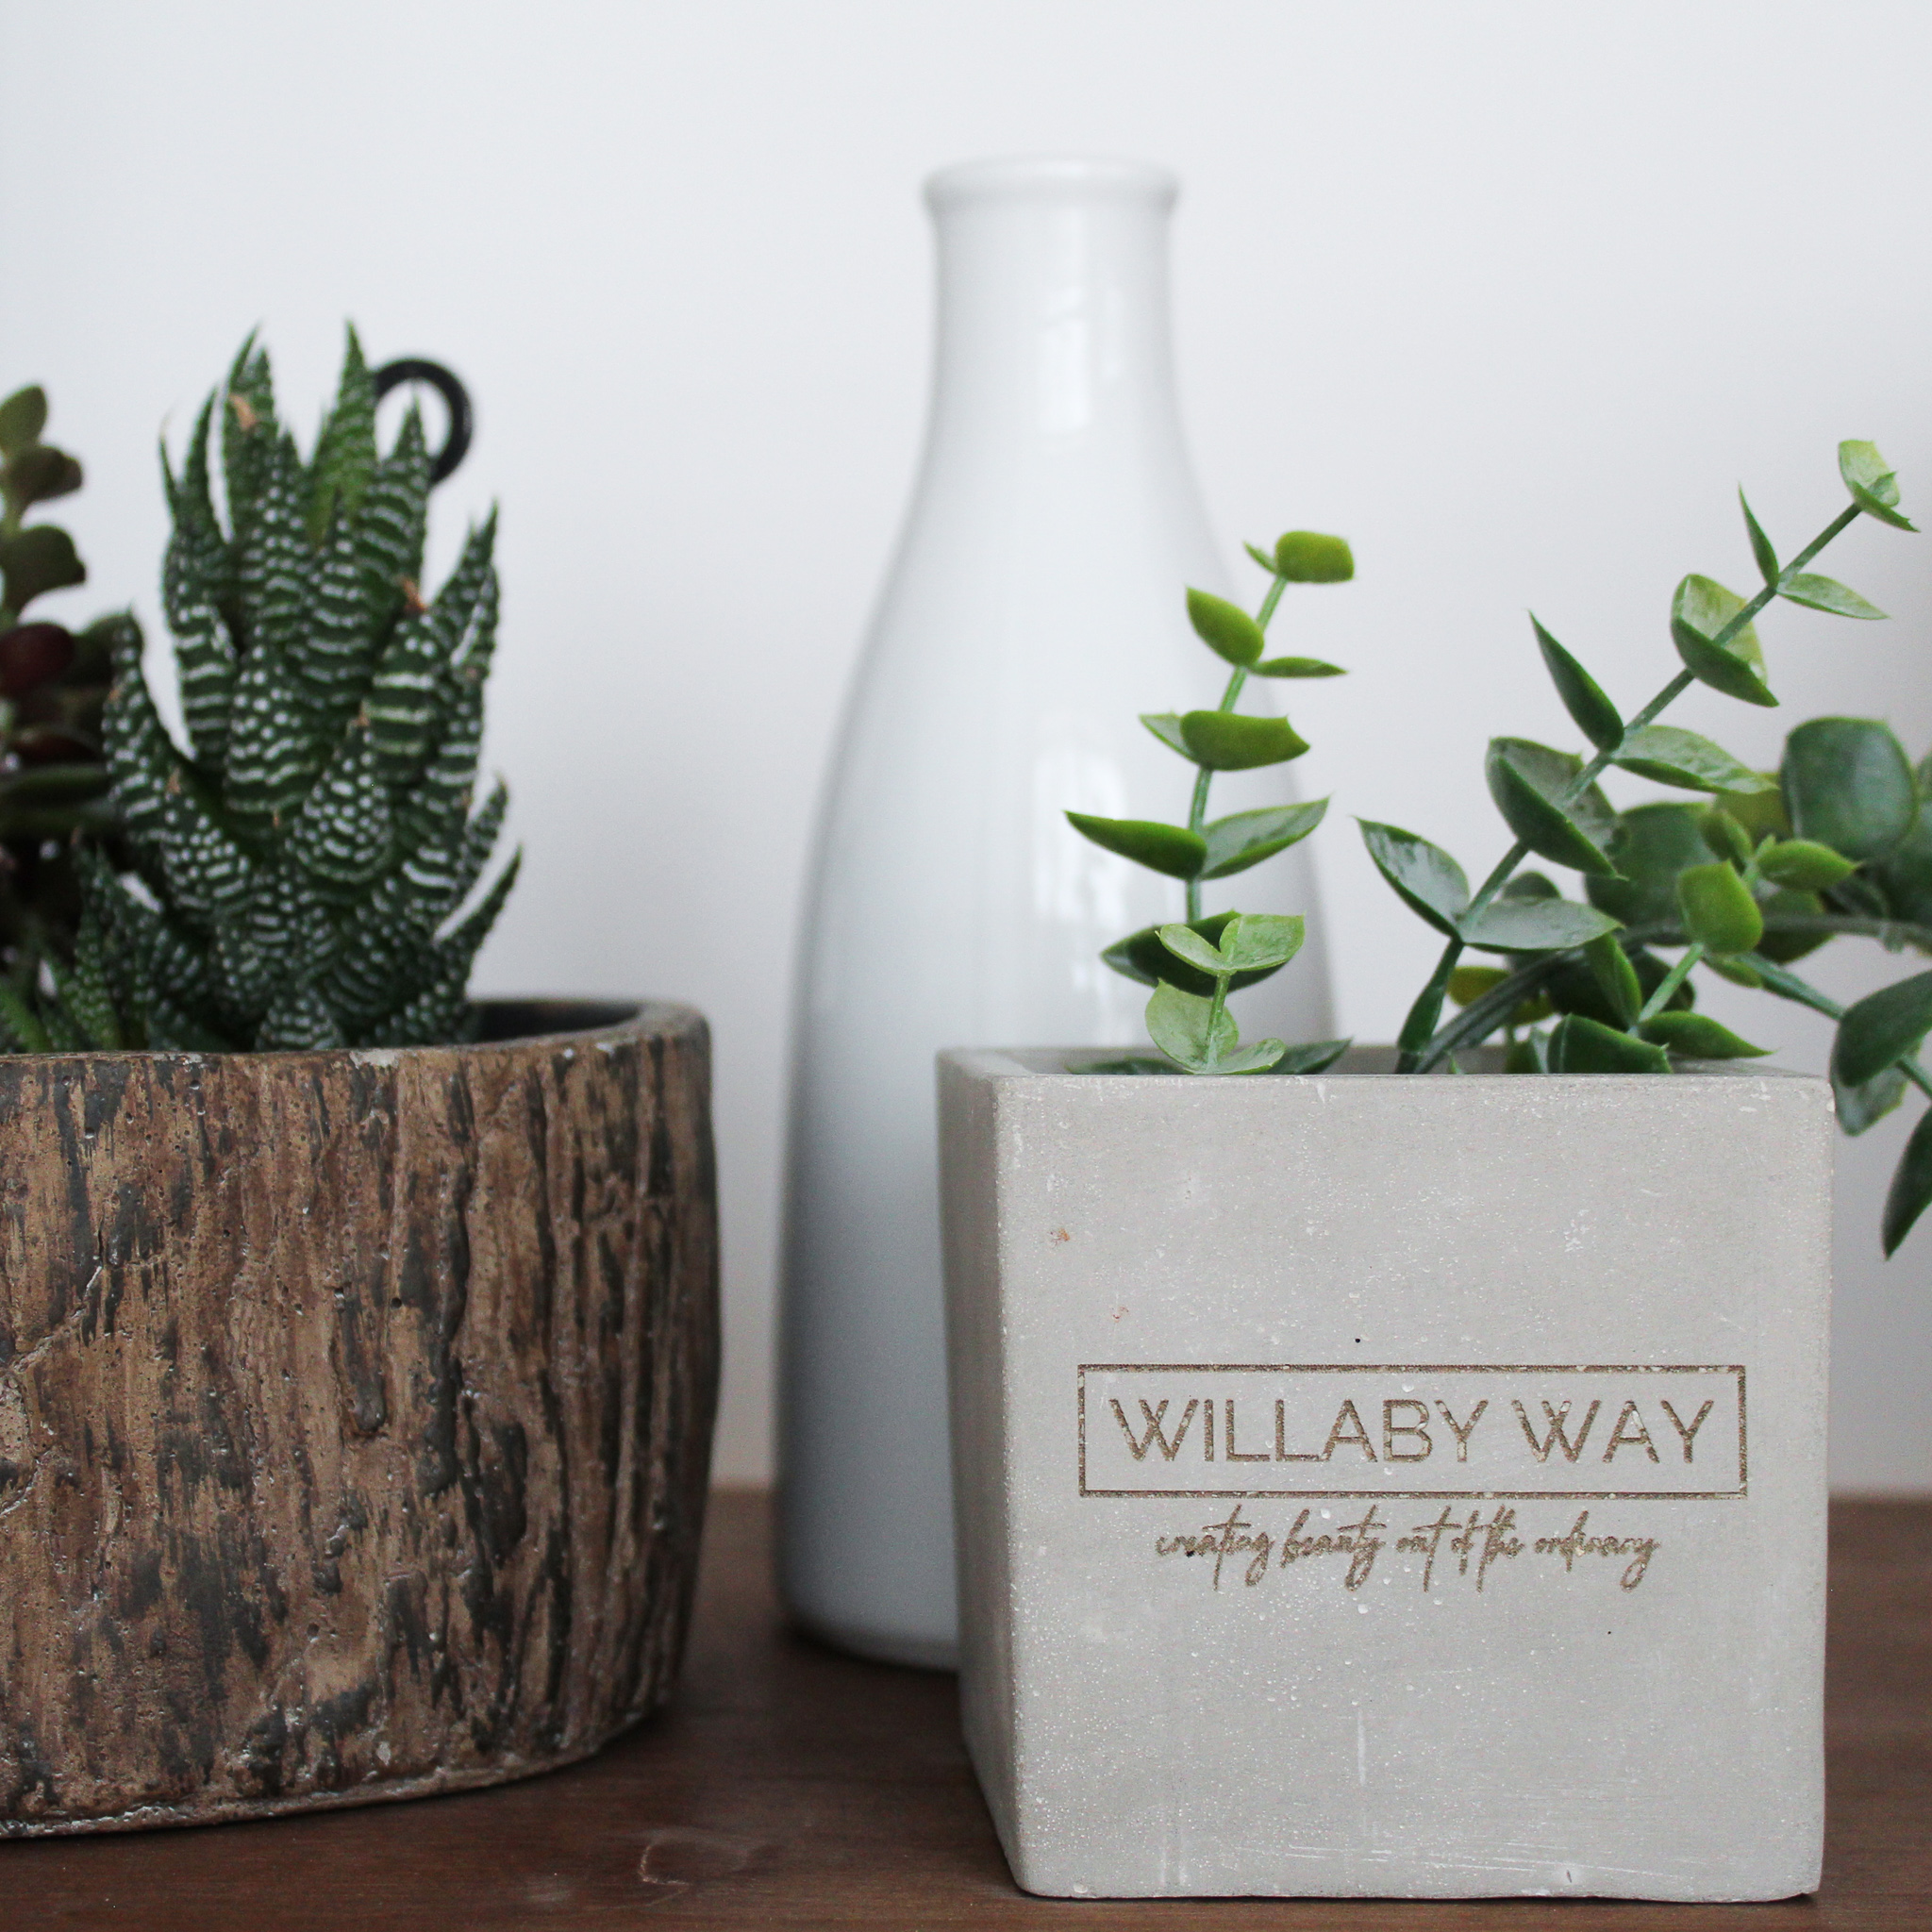
How cool is this personalized pot?! My sister-in-law got it for me for Christmas from Sprout & About and I absolutely love it!
Bulletin Board
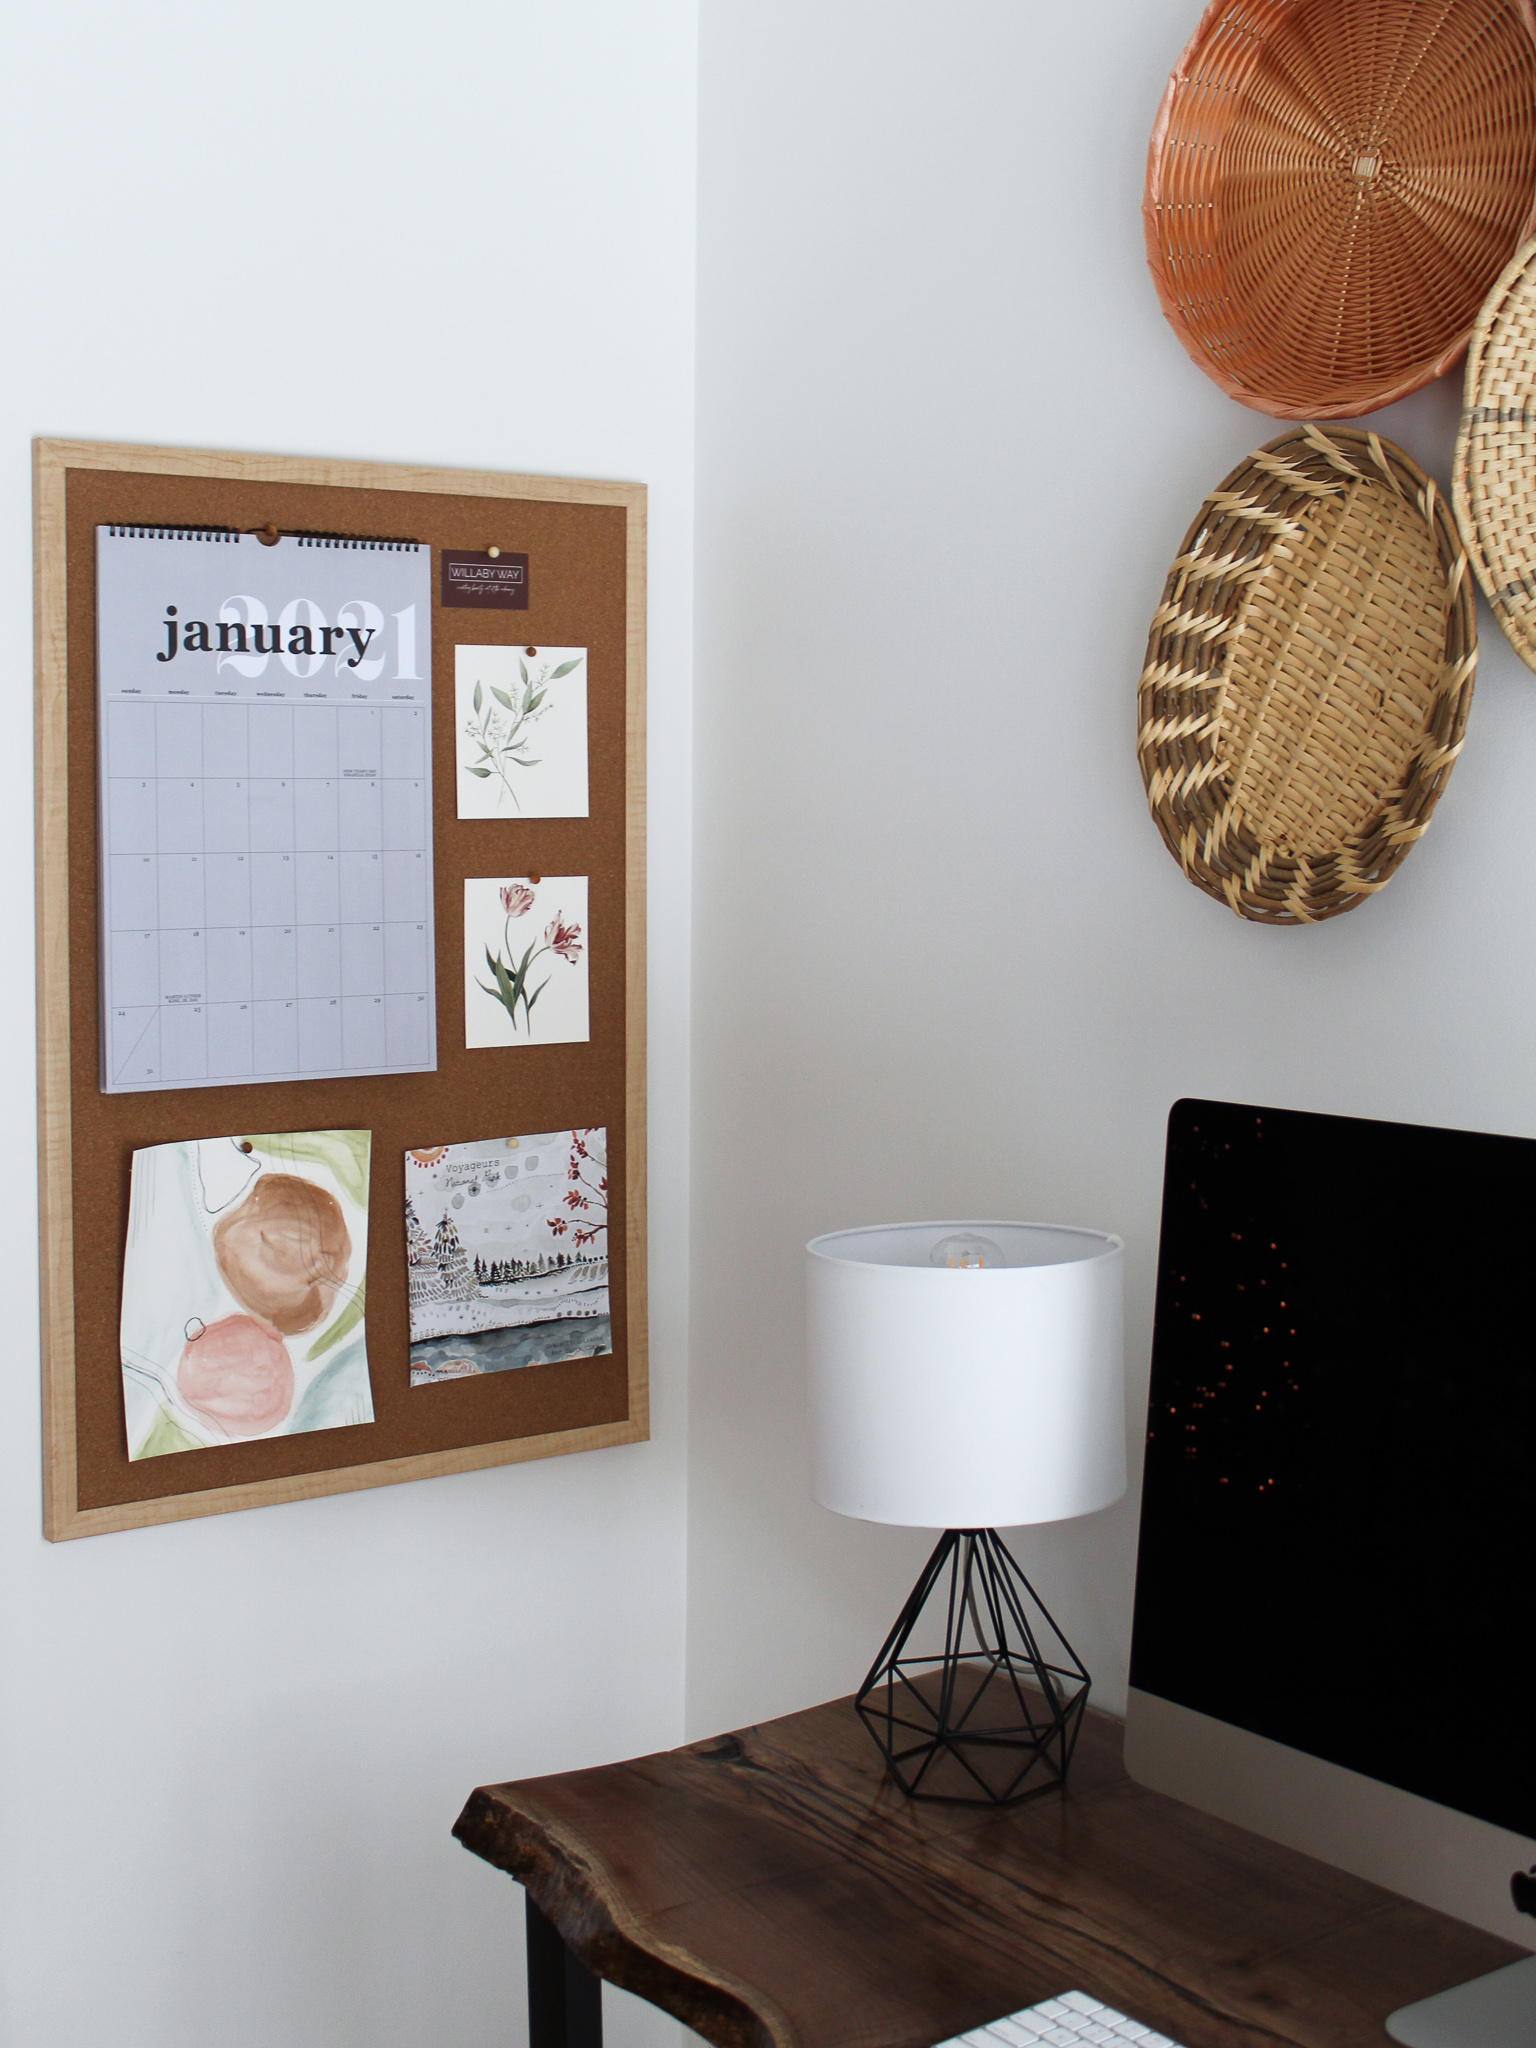
And finally, since I am such a visual person, I wanted to include a bulletin board where little designs, words, and phrases could be pinned for inspiration. A collection of my business card, floral prints, a calendar, and watercolor drawings brings joy to this corner of my office.
As the seasons change and I find new things that inspire me, I’m sure I will be rotating out what goes on the bulletin board.
Before | Desk Wall
Here’s a look at the wall where my desk is prior to it being built – the live edge piece is in the corner! This was shortly after we had moved in and were still figuring out the pieces we wanted to incorporate and what this room would truly be.
After | Desk Wall
And here’s how it looks after the office refresh! With a live edge desk, basket wall, and bulletin board, this wall has character, texture, and dimension. It brings me joy each time I sit down at my desk and I love how it feels like a true office space now.
To learn how to make a live edge desk, check out this post for a full step-by-step tutorial!
Before | Wallpaper Wall
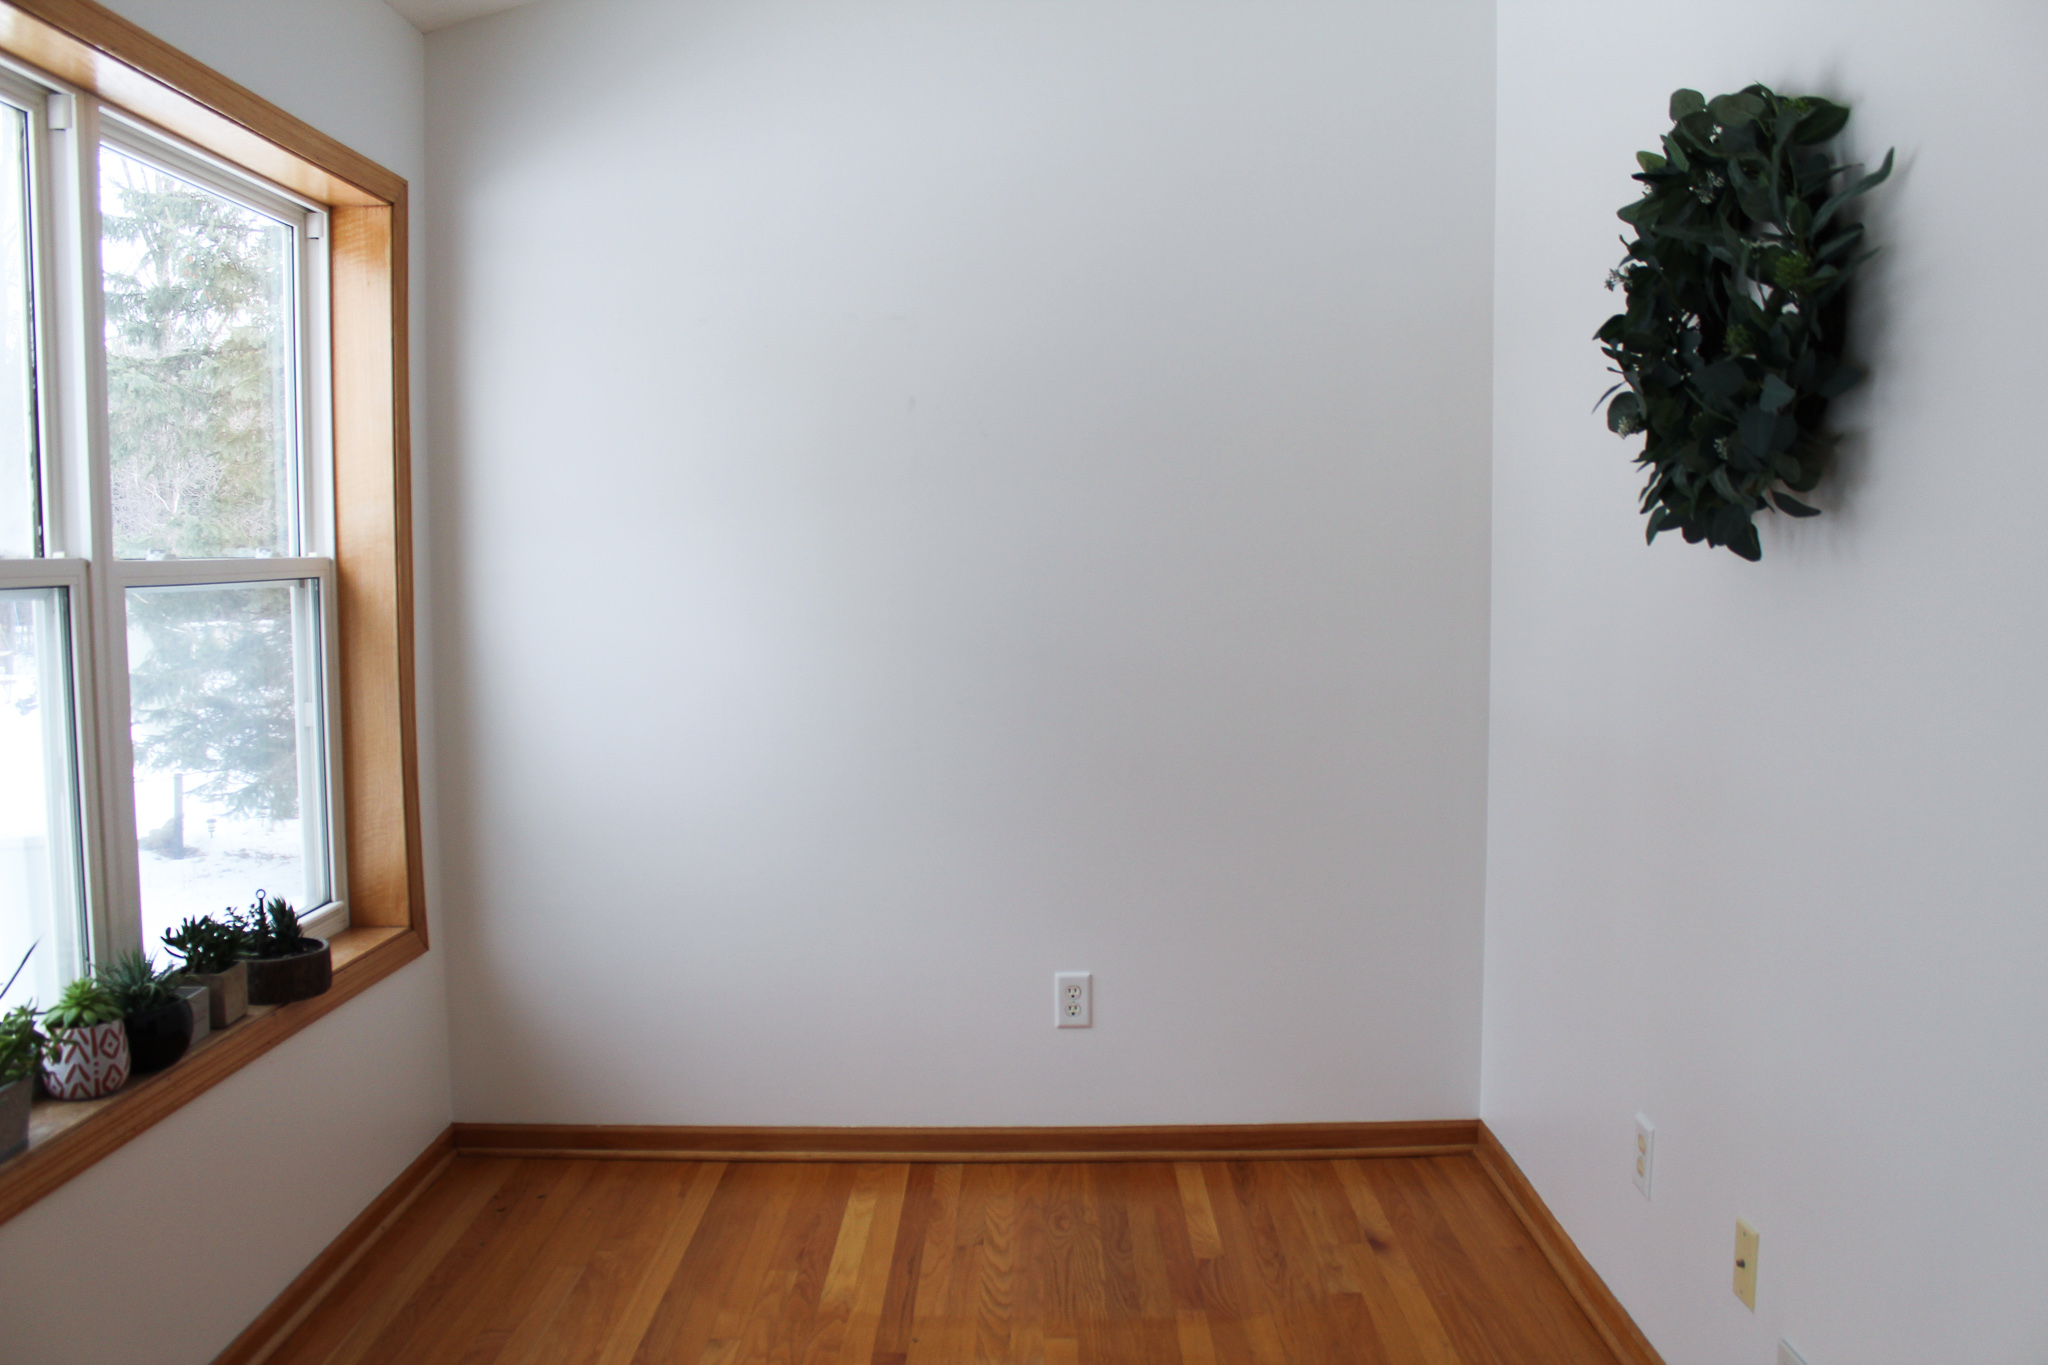
The back wall of my office was a blank slate before the wallpaper went up. Previously, we had a couch under the wreath that came from our living room and once it was gone from the space, it felt so much bigger. There was just character missing, so that’s where the wallpaper came in.
After | Wallpaper Wall
The wallpaper truly transformed this side of my office! I’ve loved how it’s provided the perfect background for my video calls. The pattern is subtle, yet still adds a statement. When paired with the new shelving unit, it completes the space.
Thanks for following along with my office refresh! If you’re needing ideas for your own office, check out this post for more inspiration.
