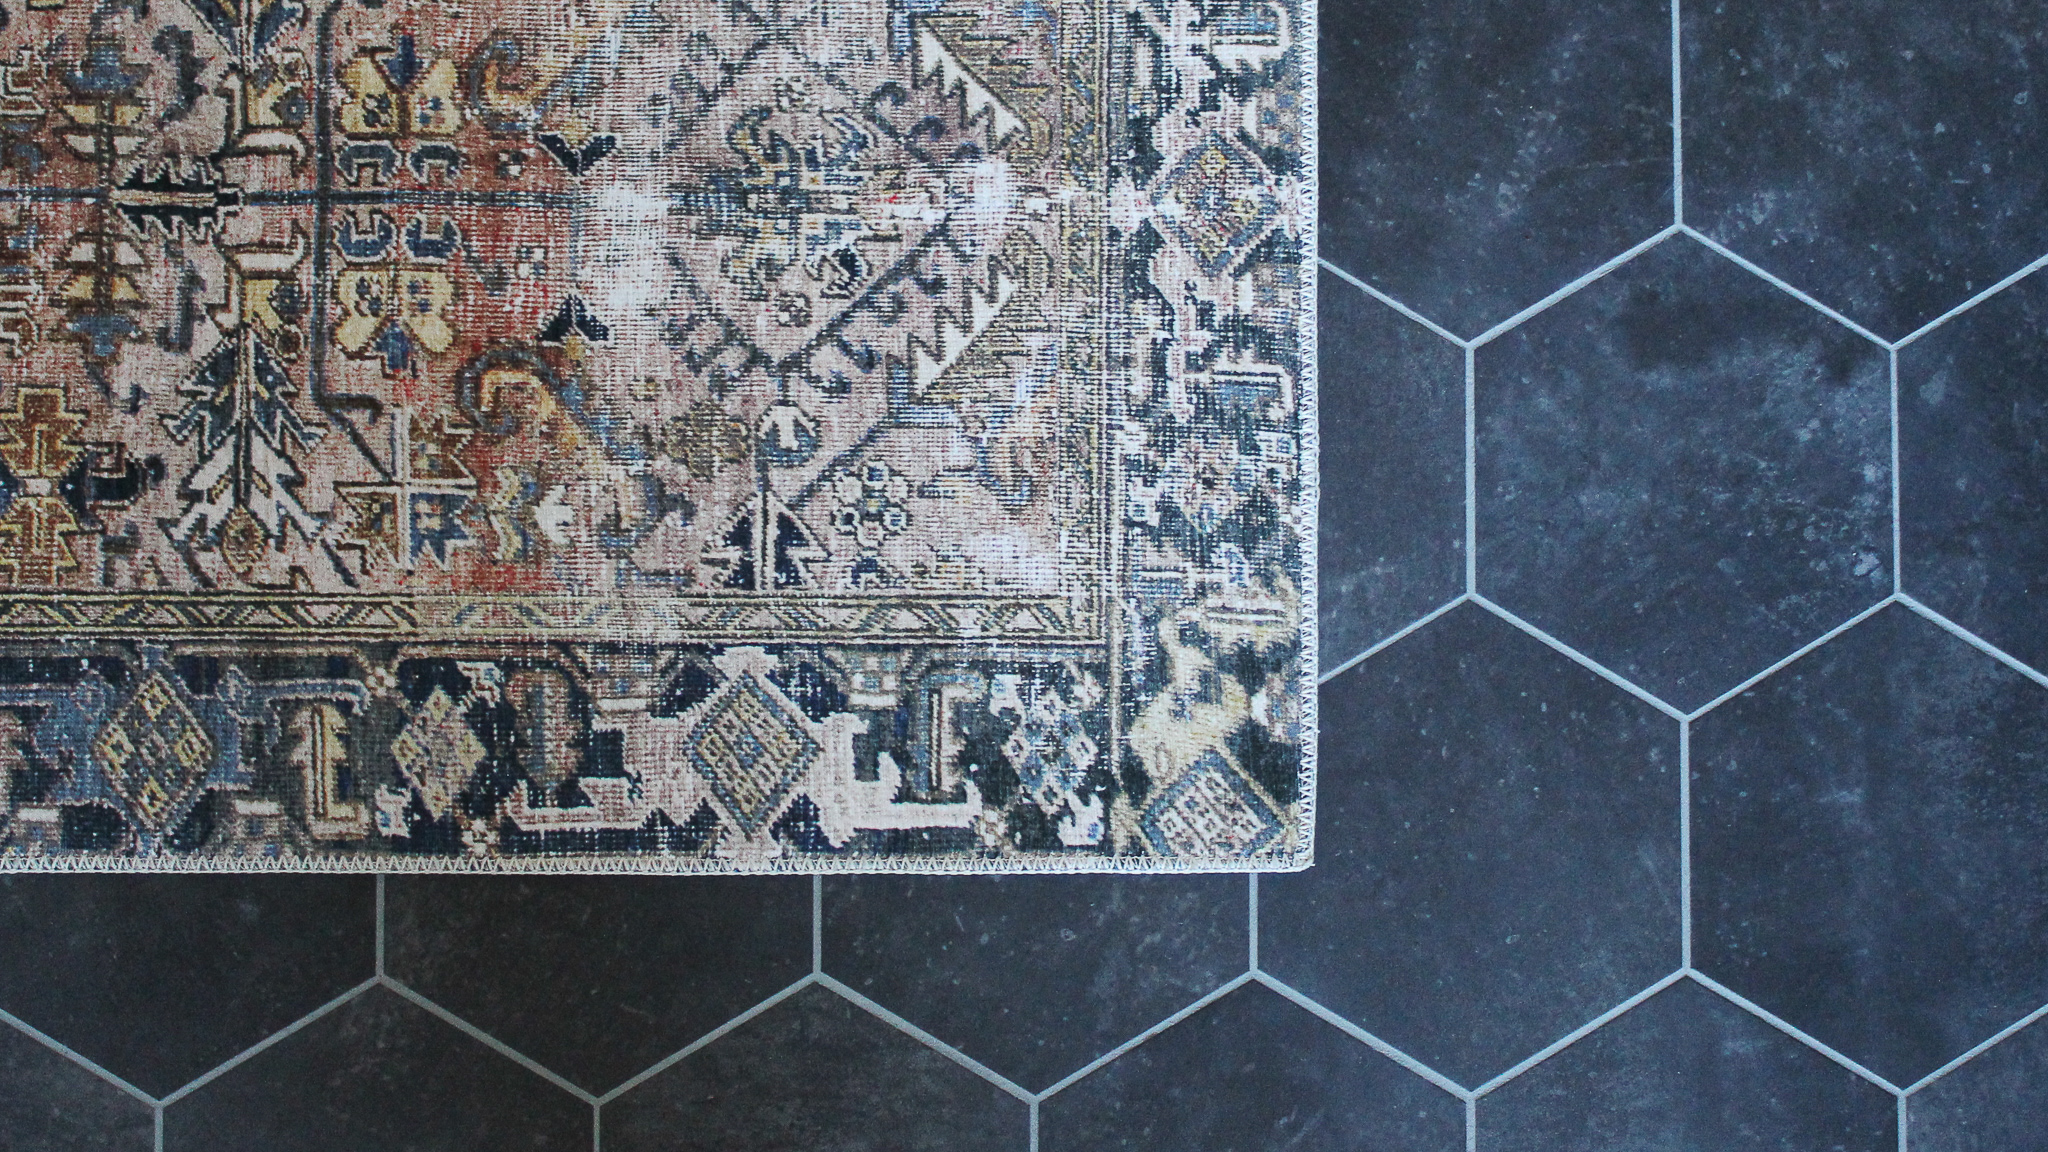
We recently installed peel and stick tile in our kitchen and it’s now our favorite floor in our home! Although it was fairly simple to install, there’s still some tips and tricks we learned along the way that we’re sharing in this step-by-step tutorial! In addition, we’ll cover some frequently asked questions including how long it took us to complete this project and why we chose peel & stick over regular tile.
Inspiration
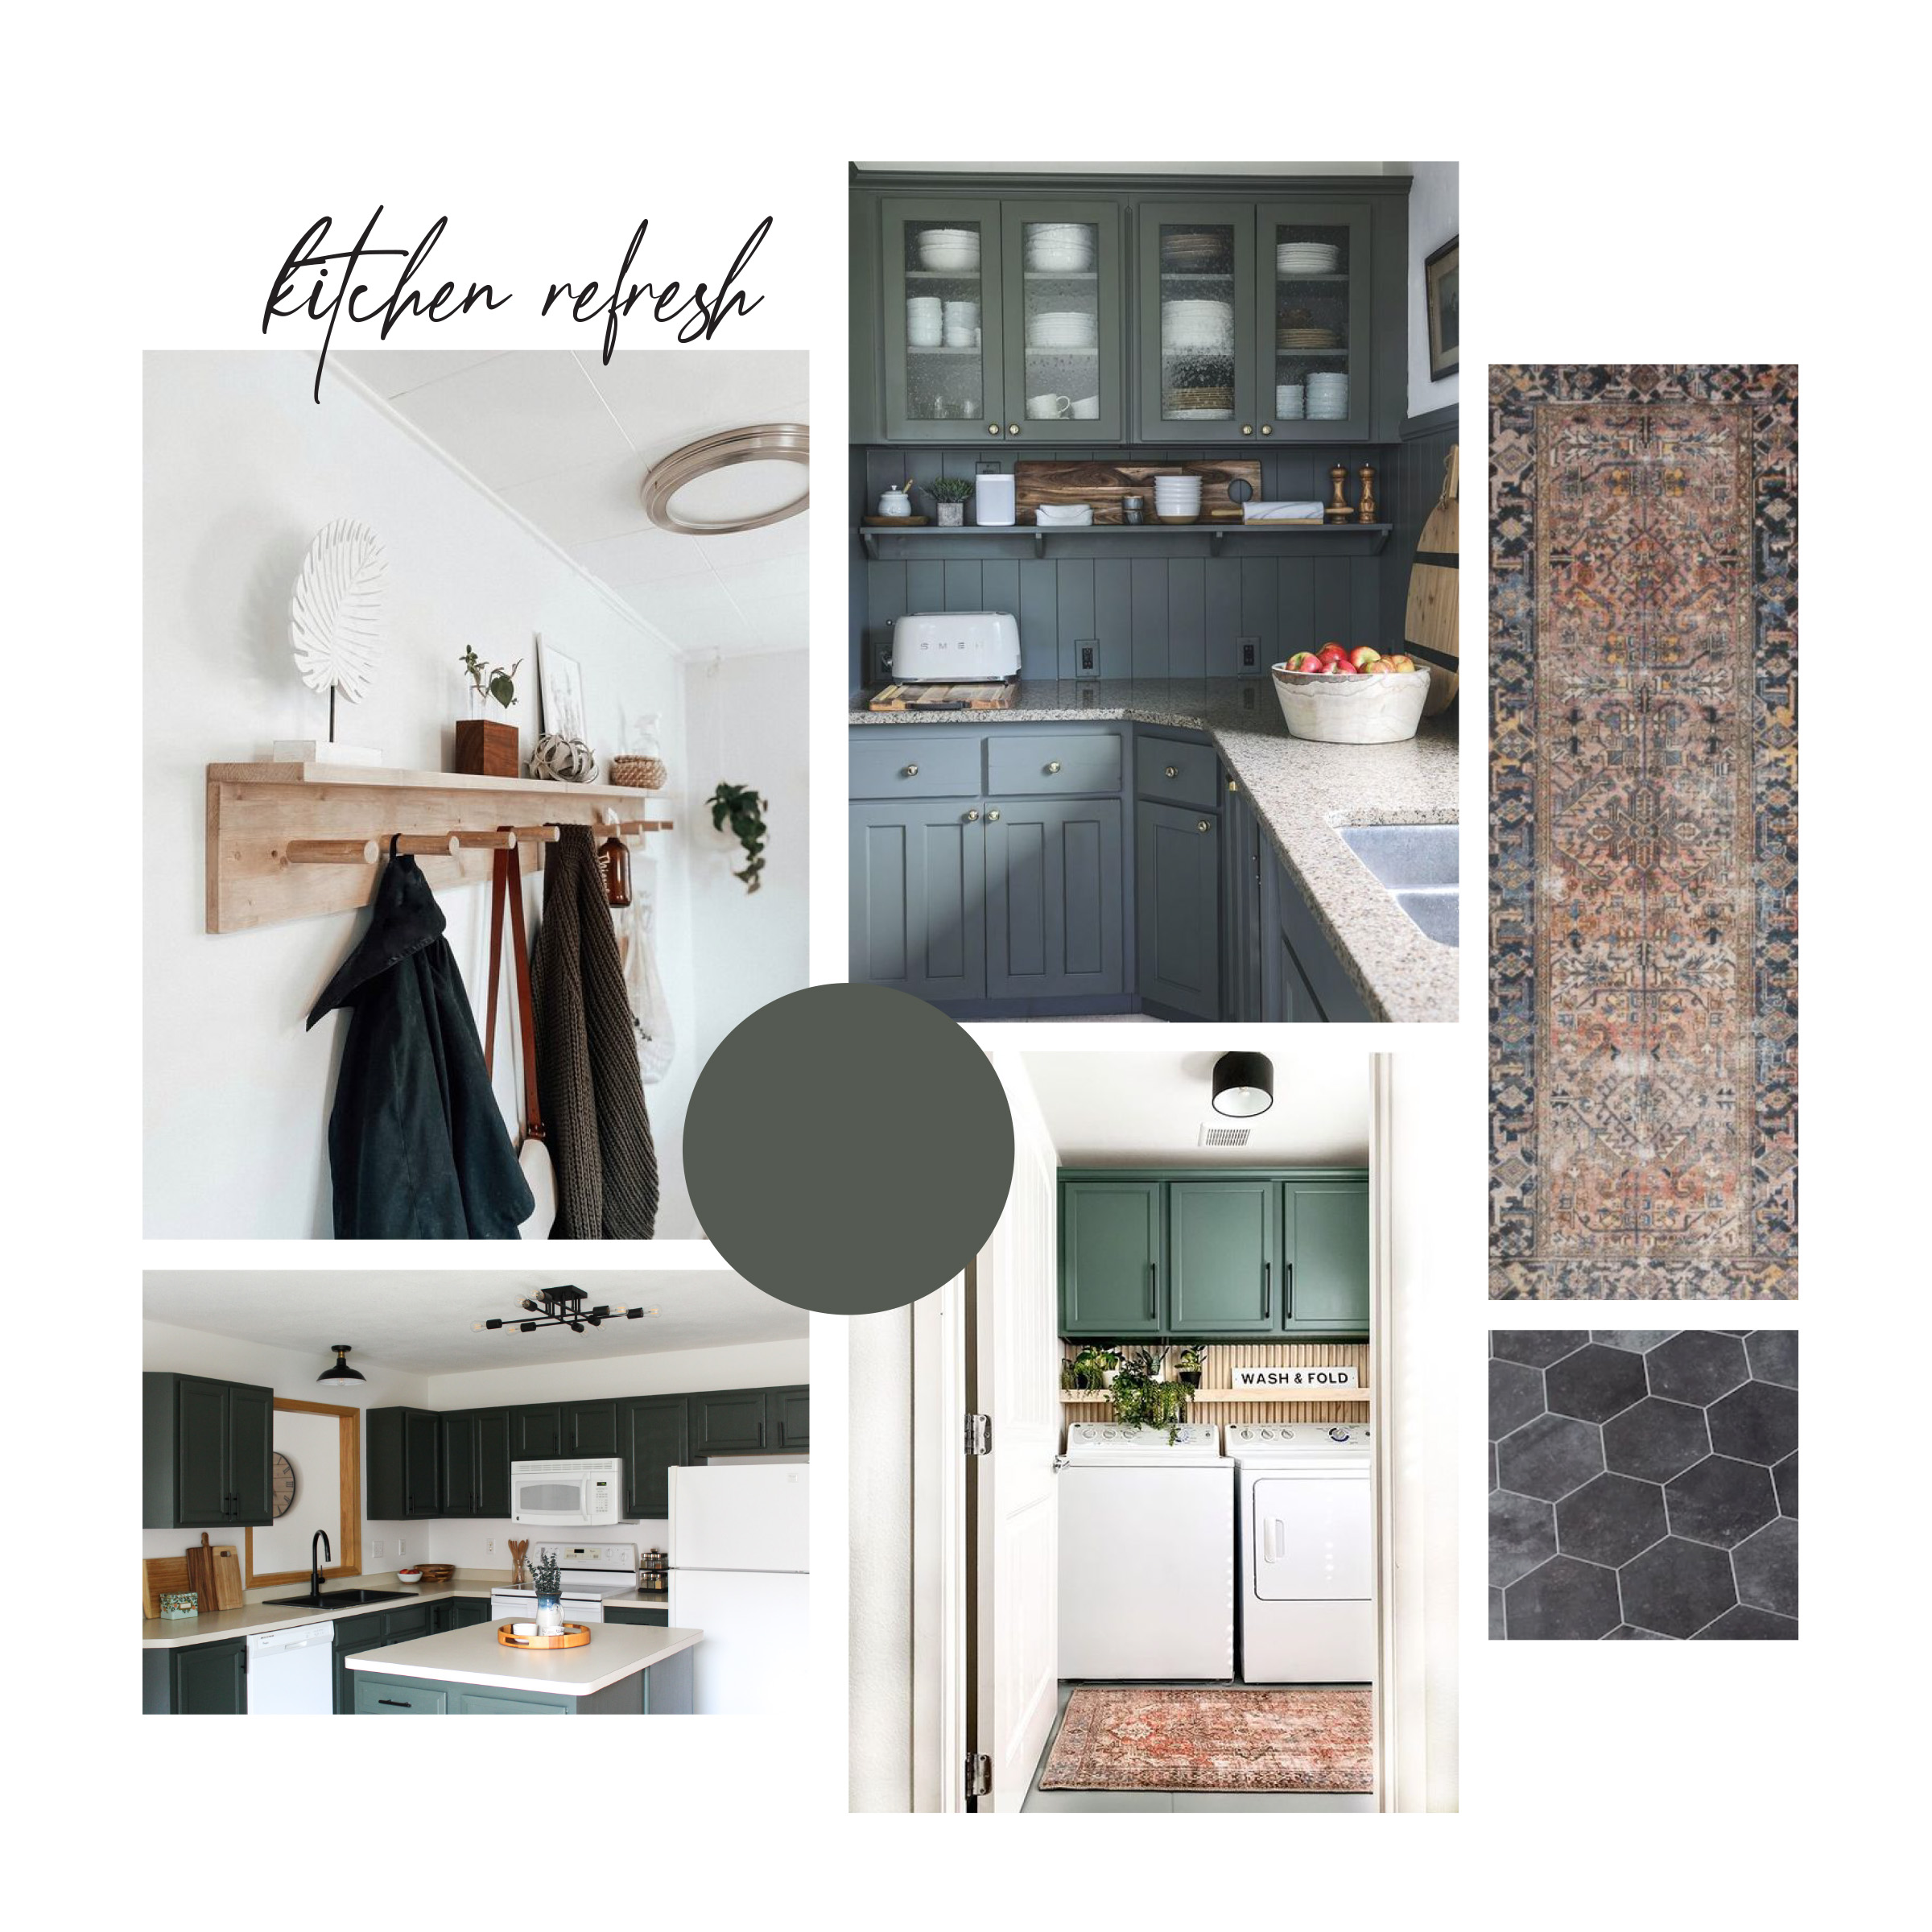
We’ve been planning on installing peel & stick tile in our kitchen for awhile now, but last month we decided it was time to start Phase 3 of our kitchen refresh. The inspiration for this portion of the project included a peg rail for coats, vertical shiplap backsplash, and peel & stick for the floor. You can see the first two phases and read more about this one on that blog post!
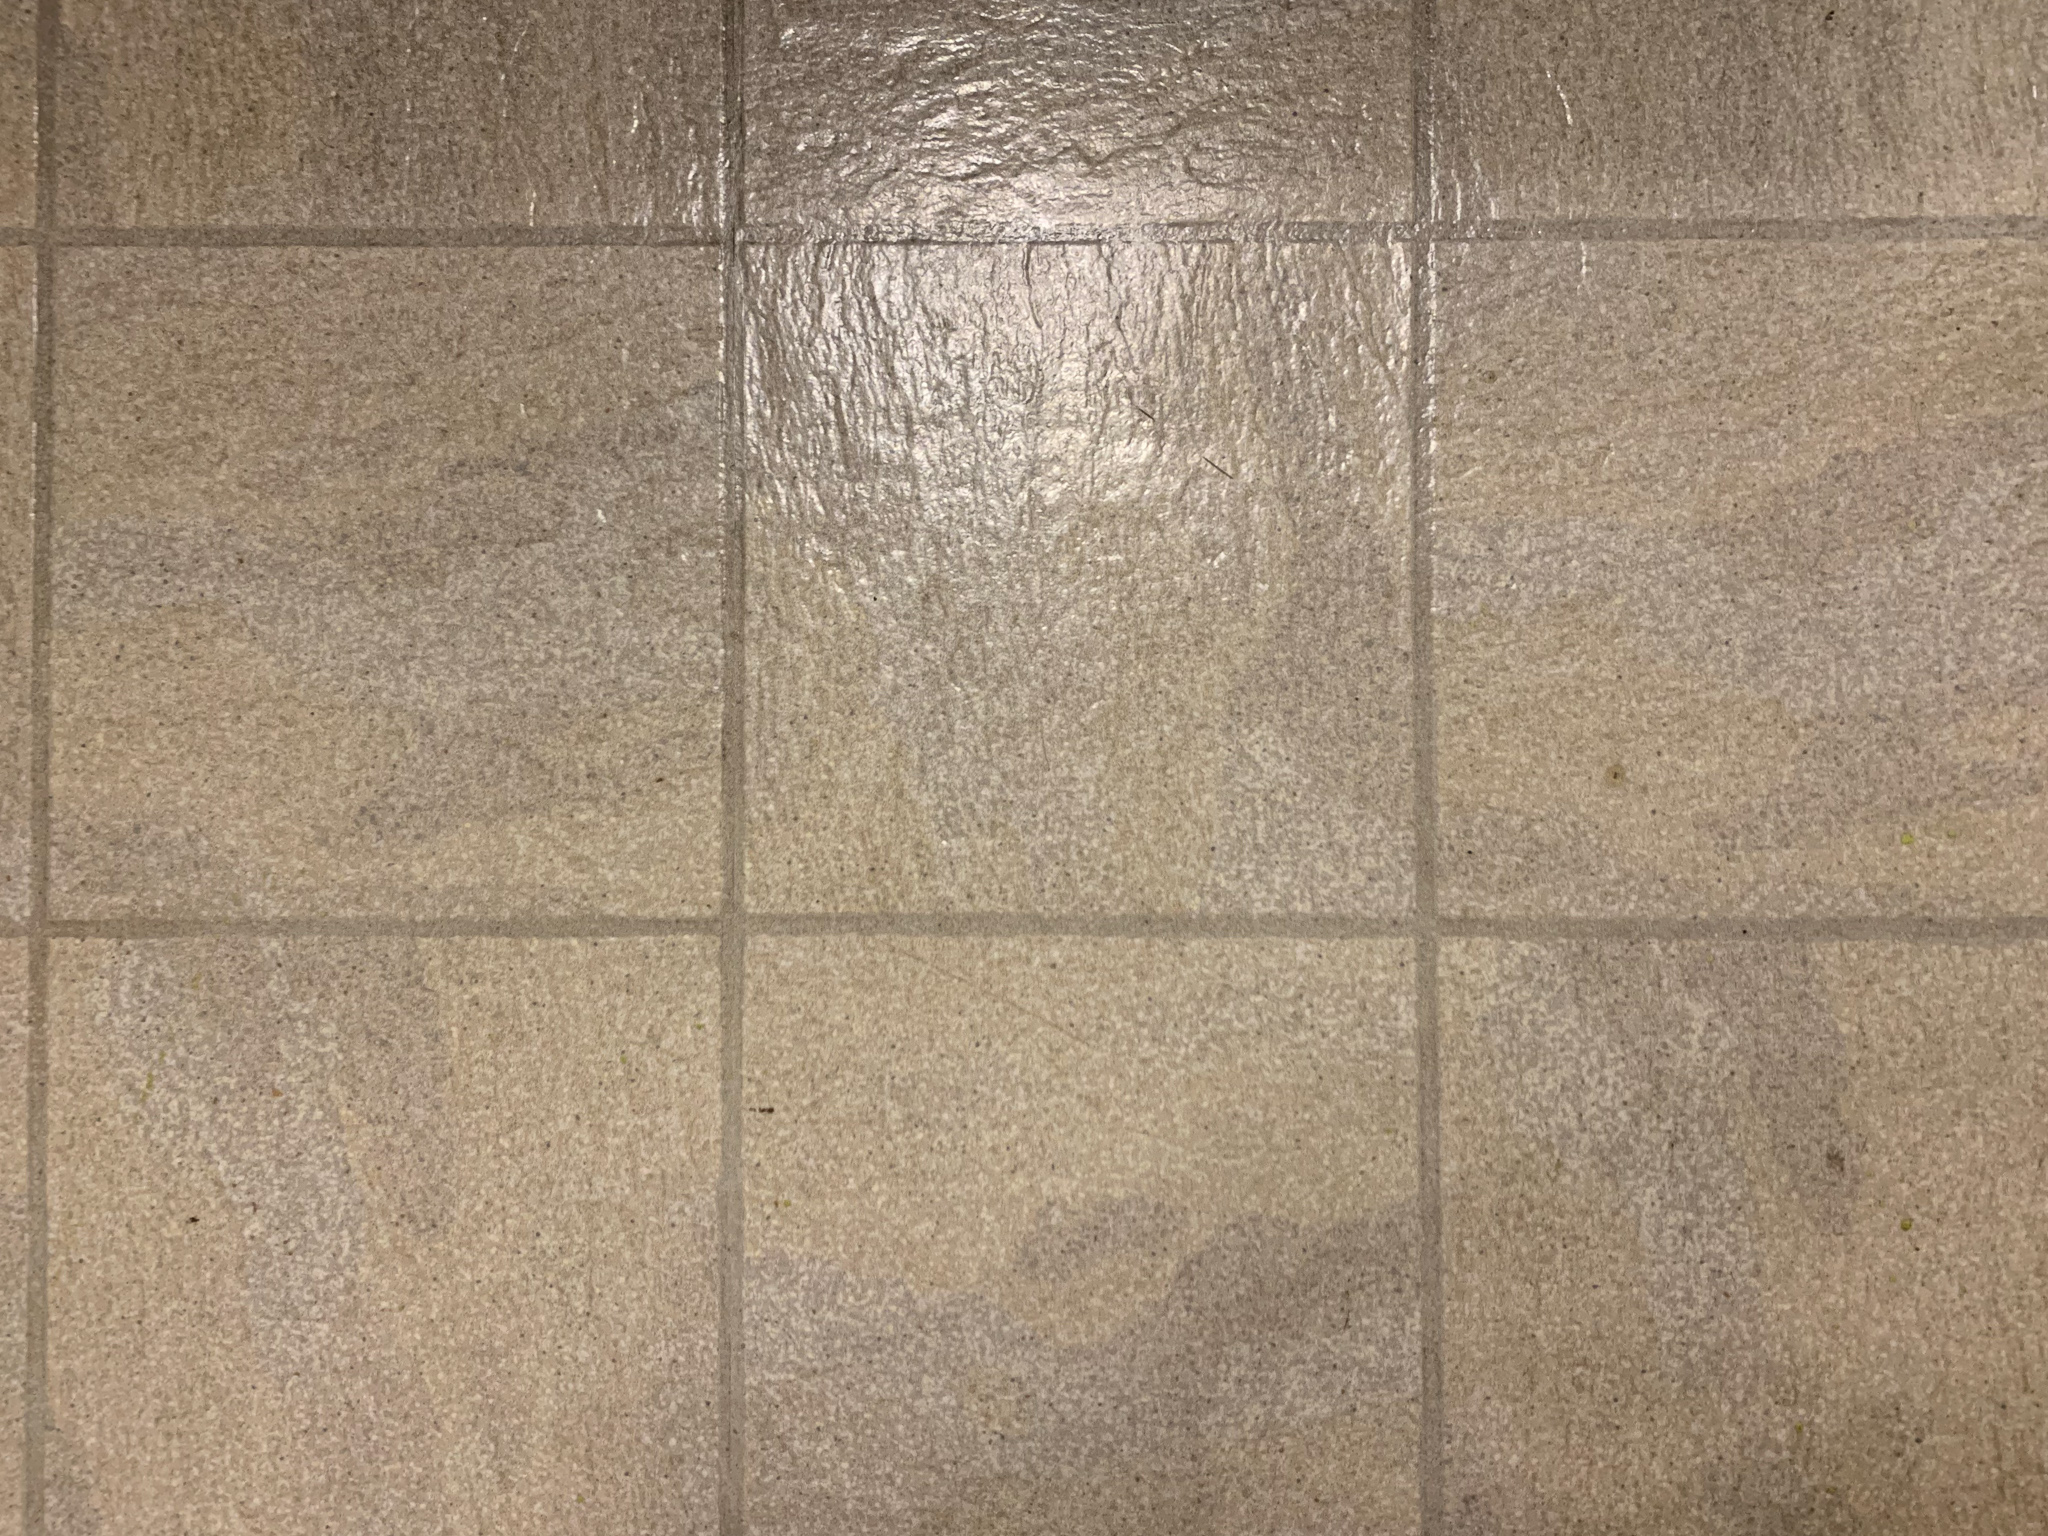
Before
Let’s rewind to the beginning – this is where our kitchen floor started. It was in decent shape, but it had been here since the house was built 20 years ago. We were not fans of the muted color and didn’t love how it looked with the rest of our kitchen. So, then we took the floor from this…
After
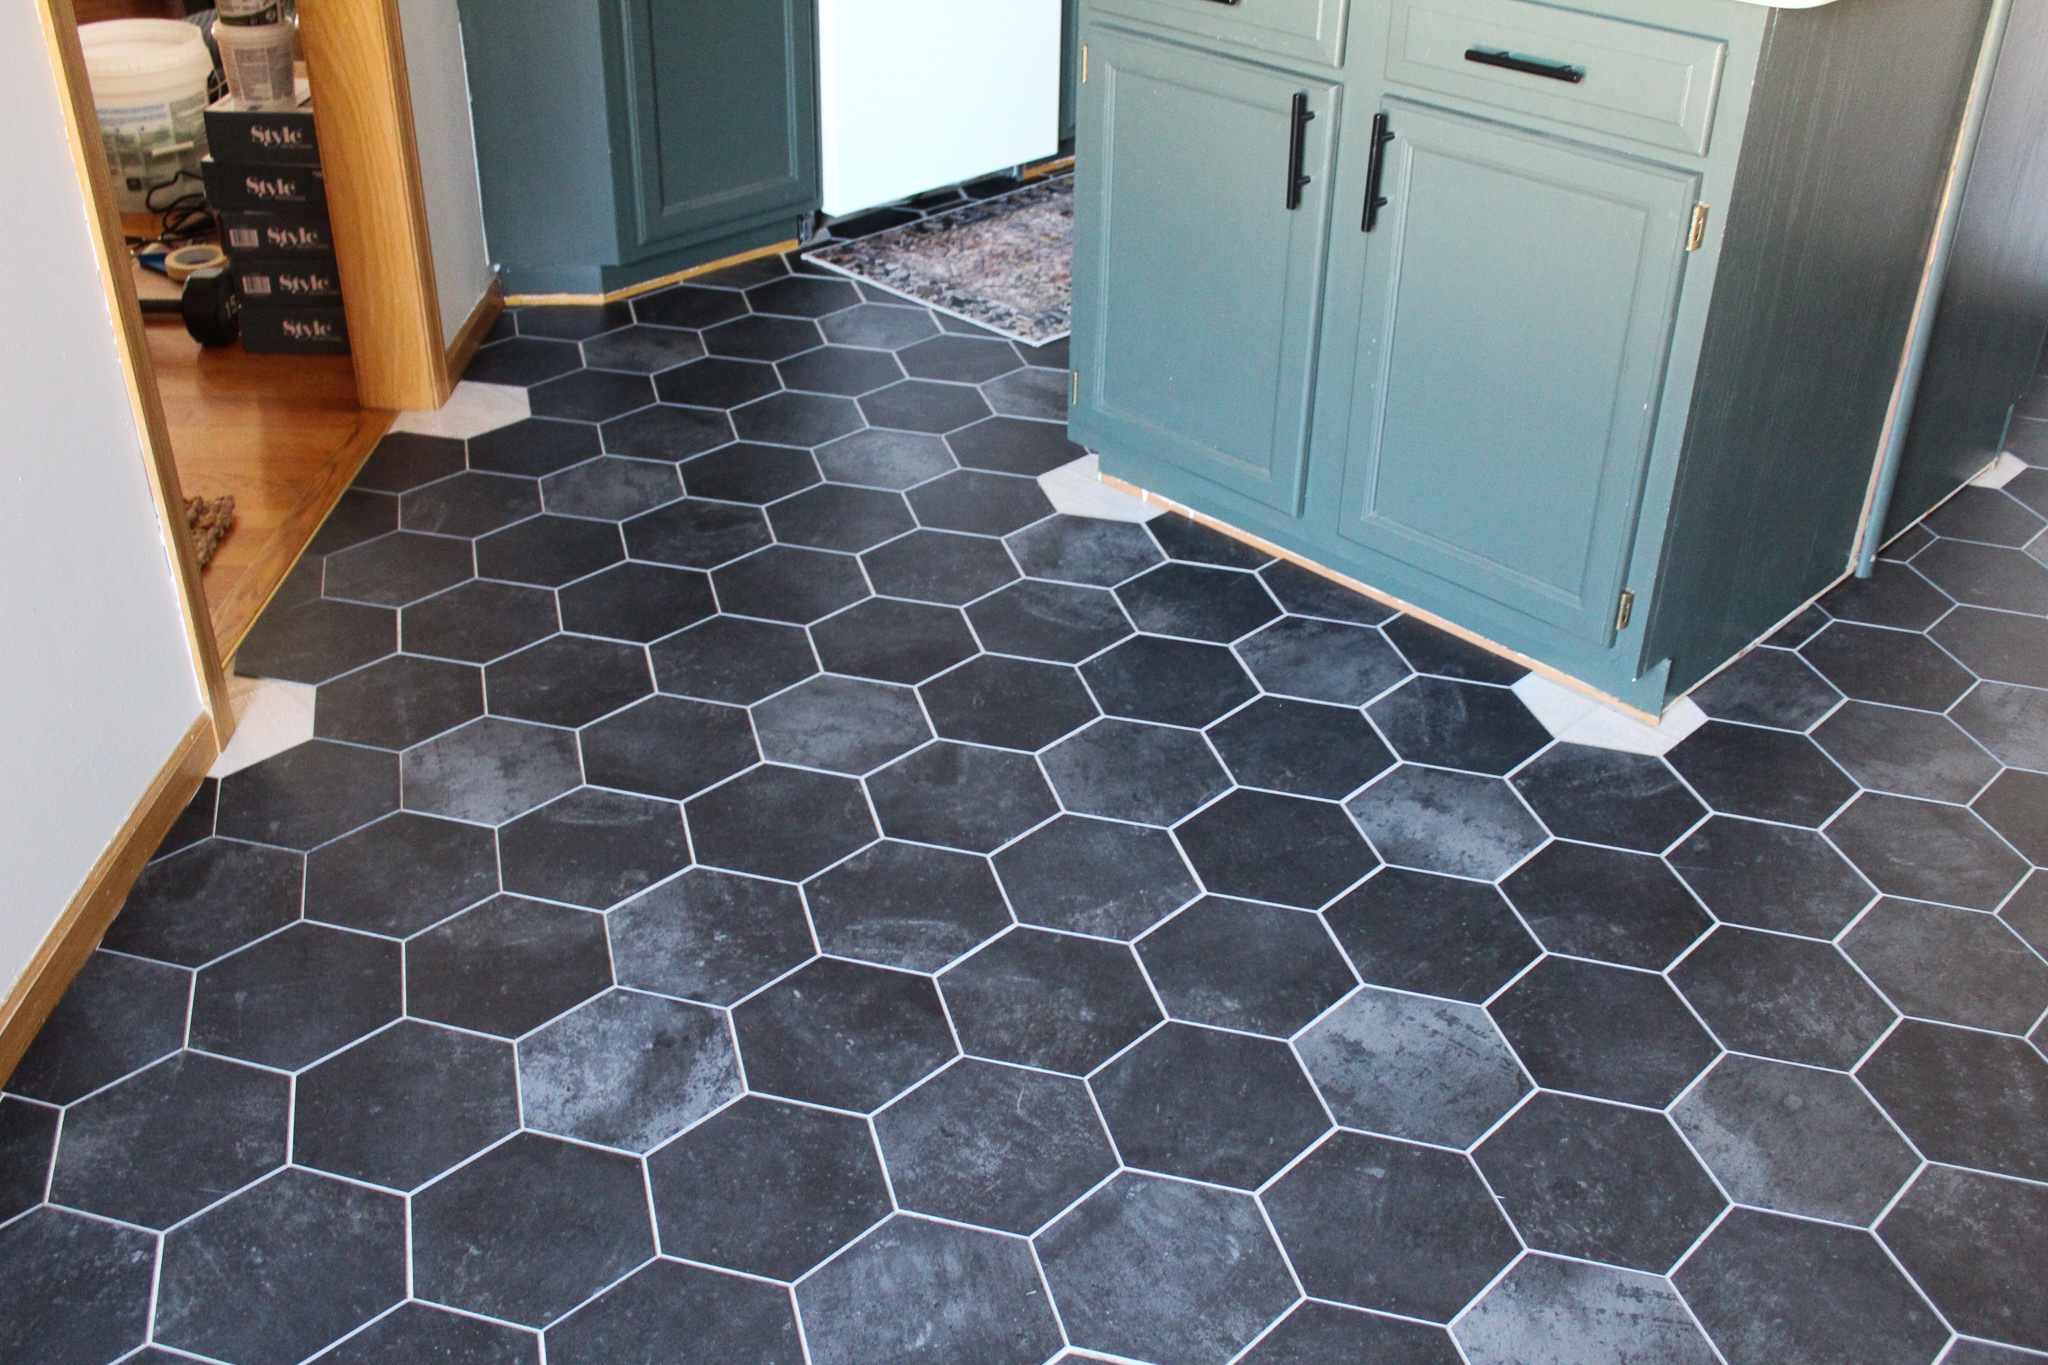
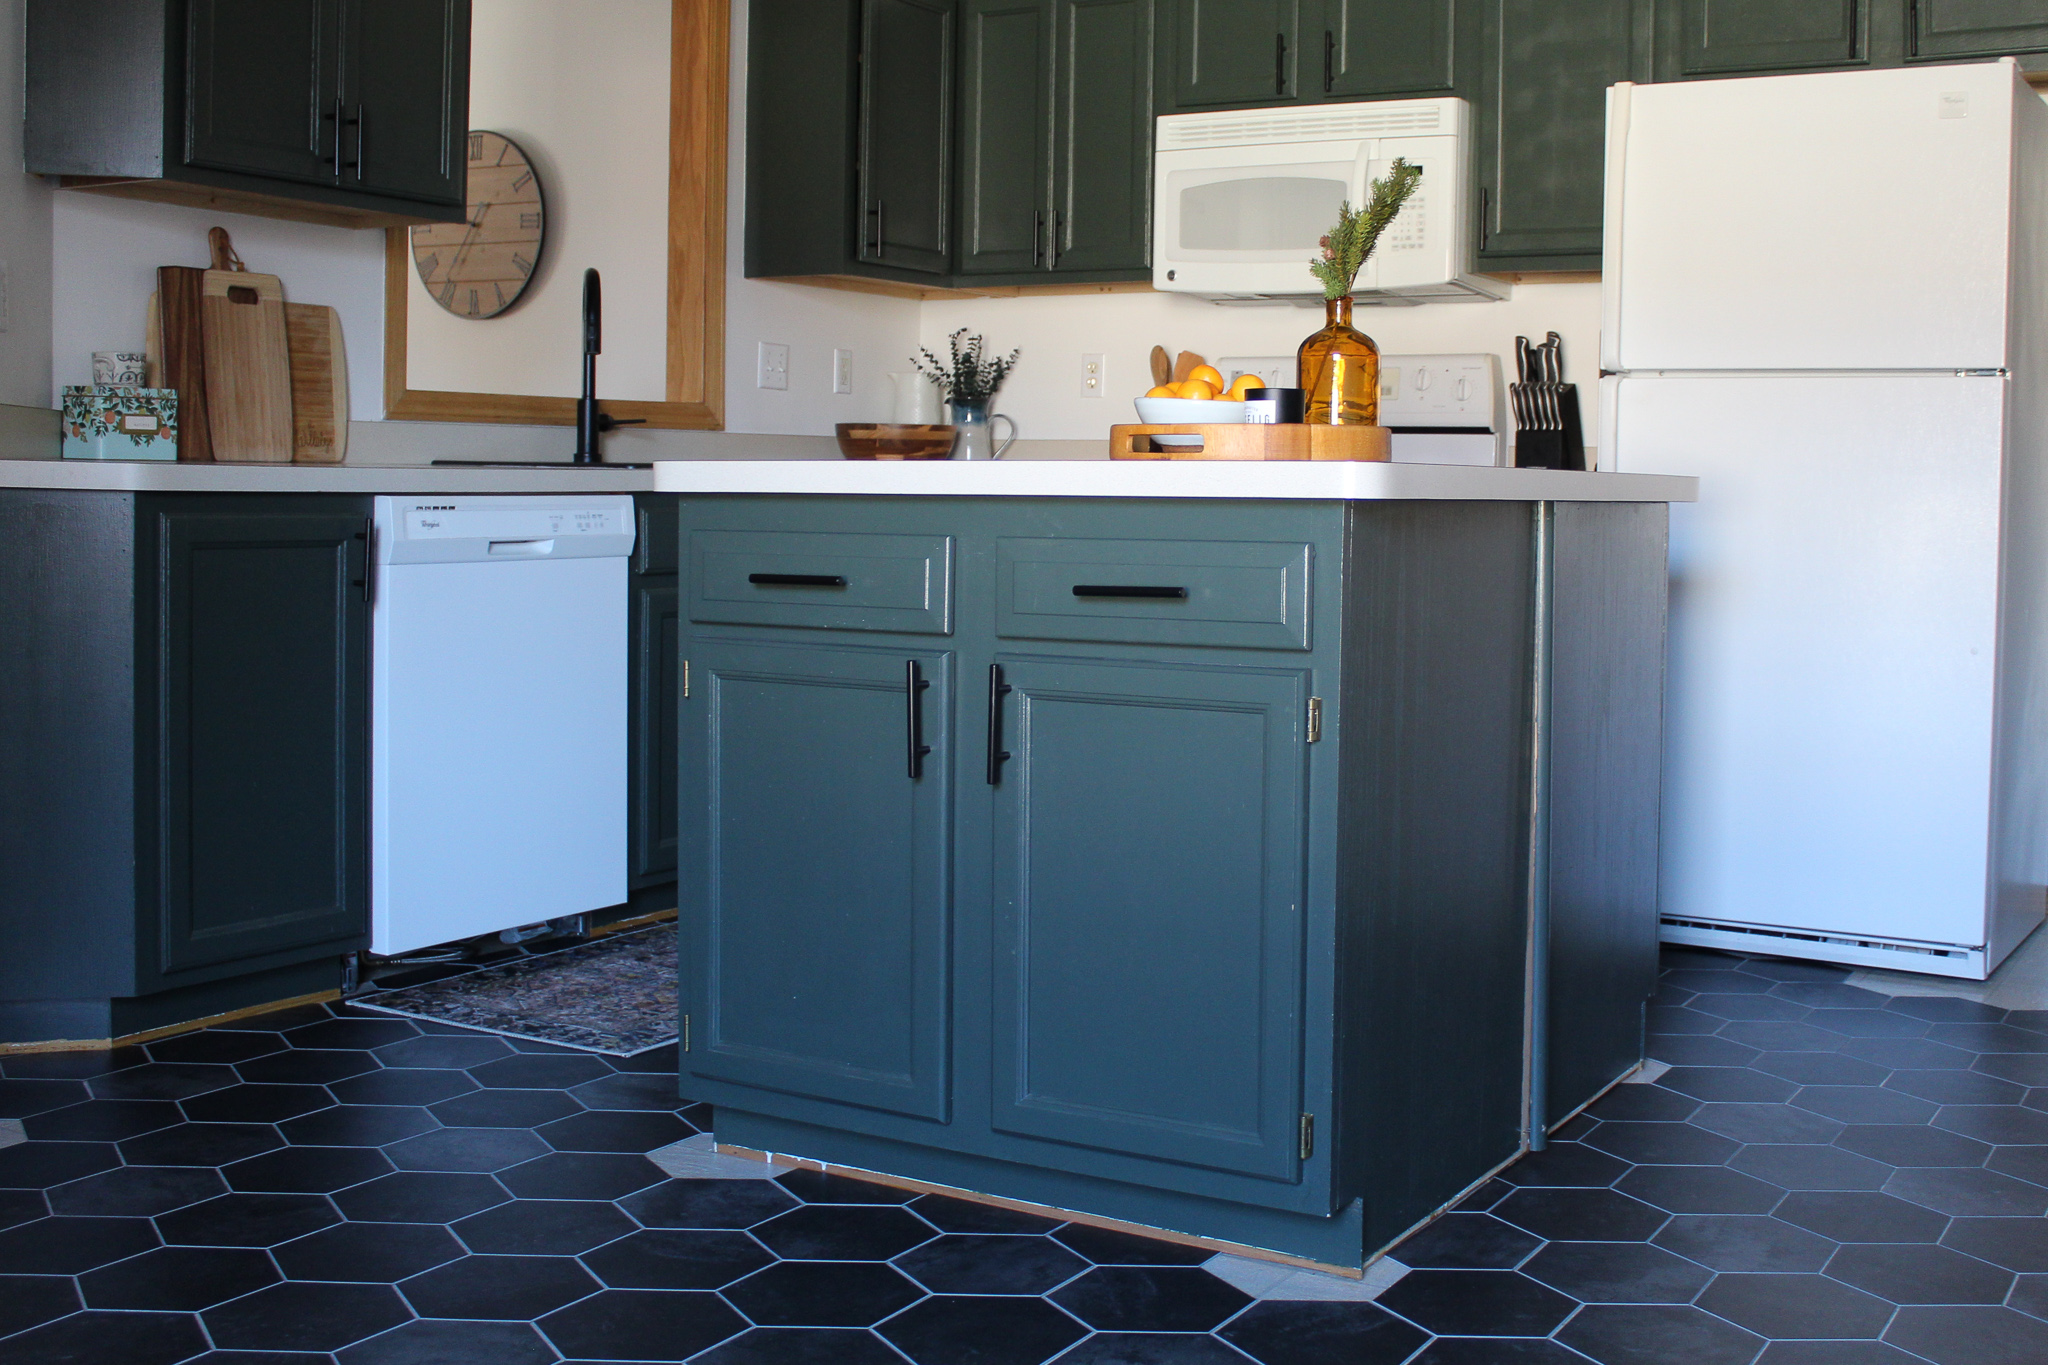
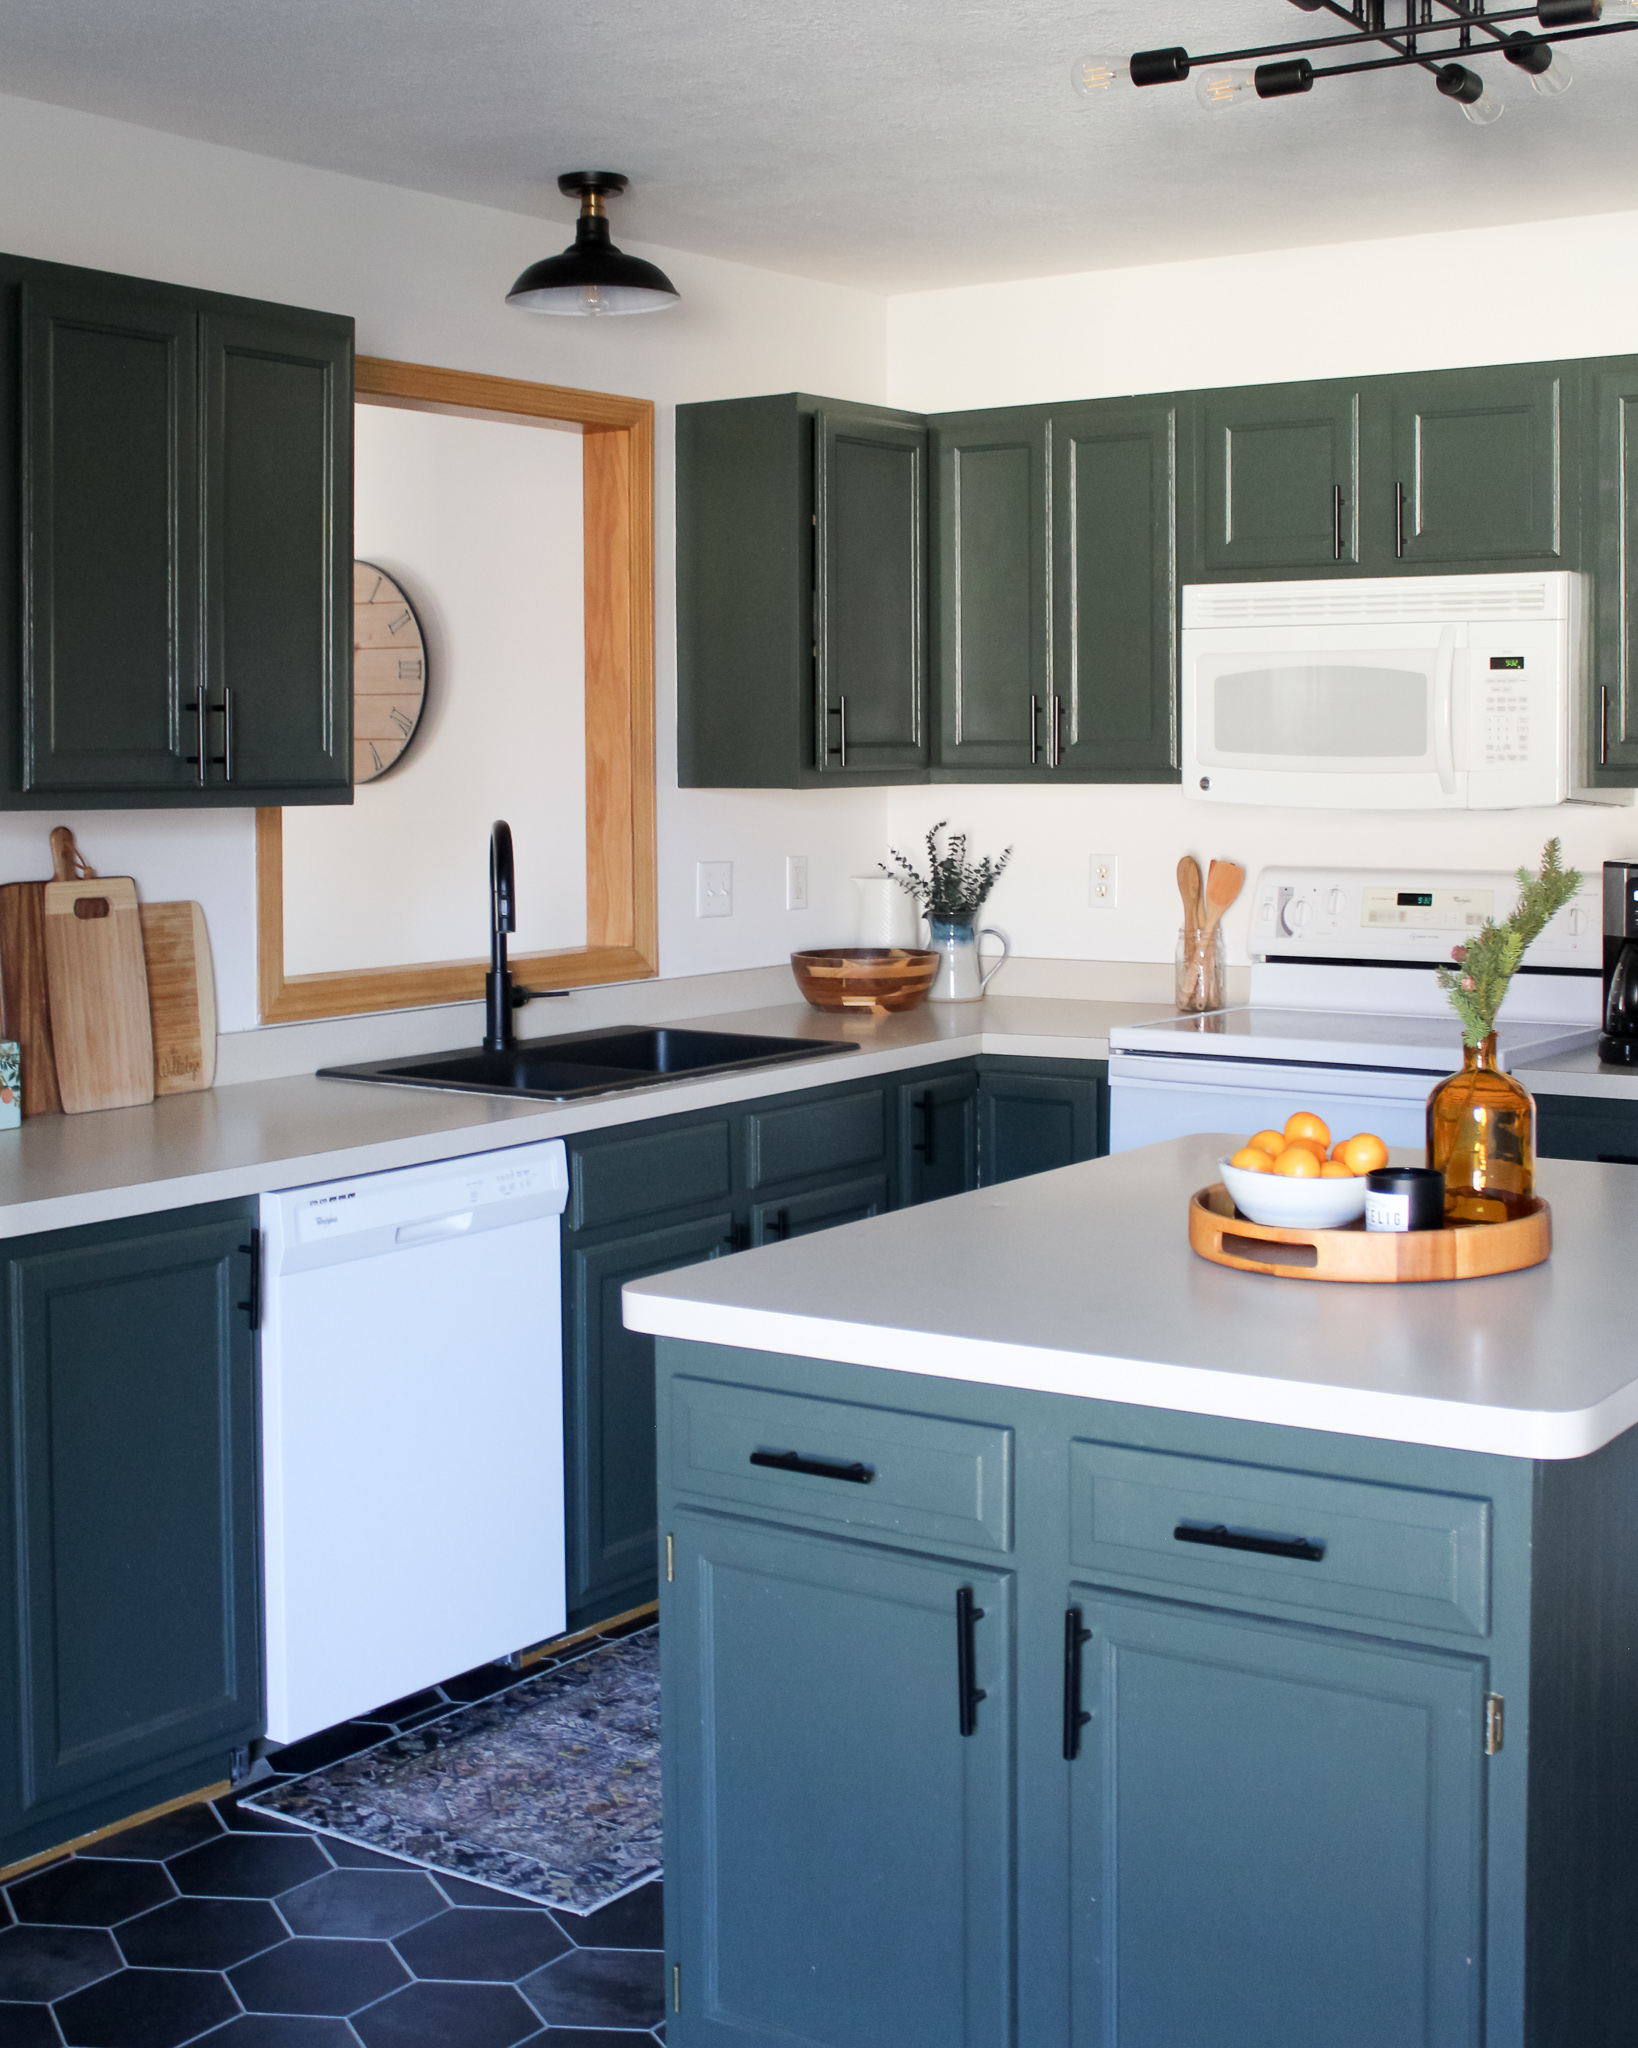
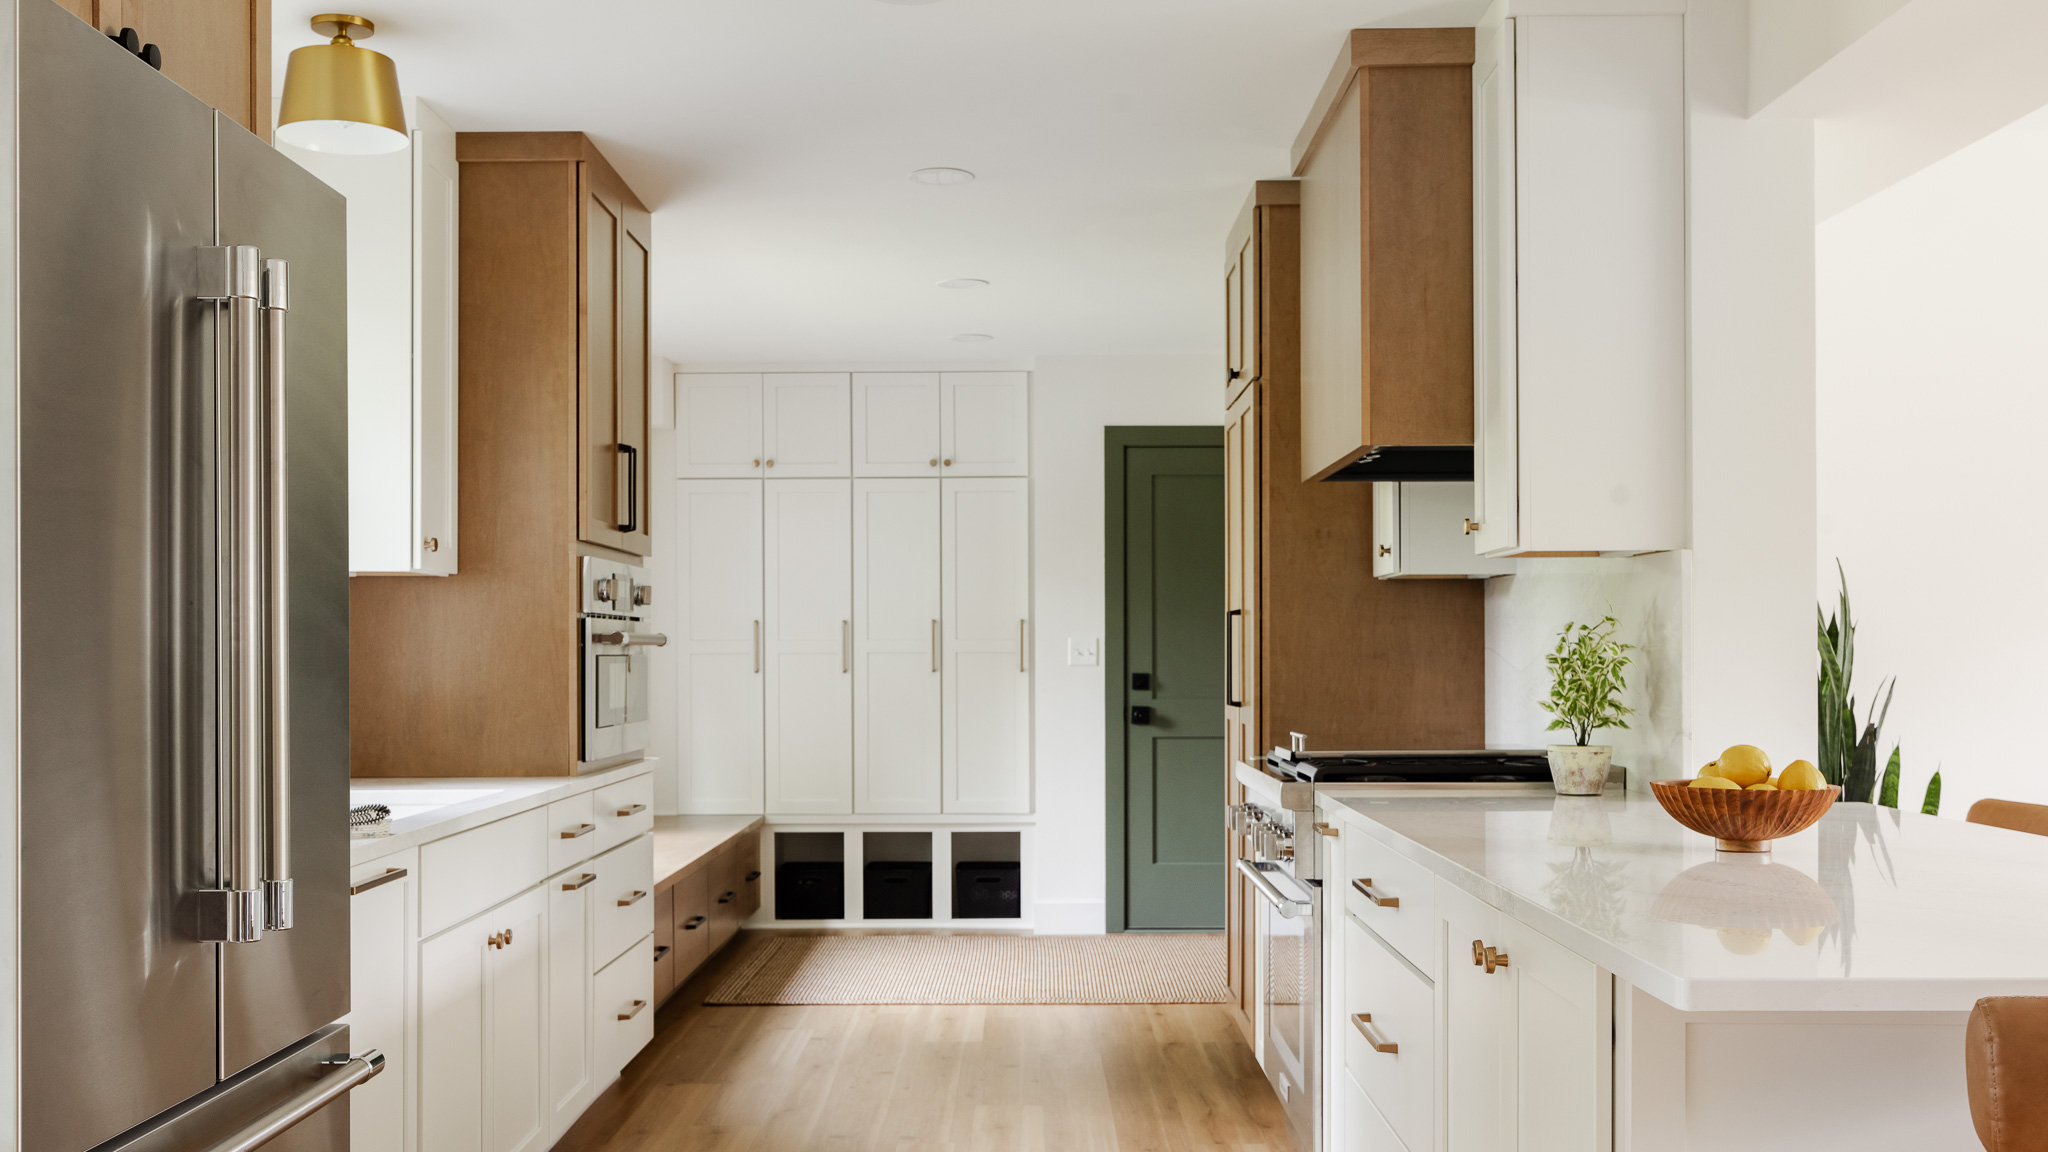
…to this! Such a difference and we love it so much! Now, let’s get to the tutorial on how we installed the tile.
1. Gather Materials
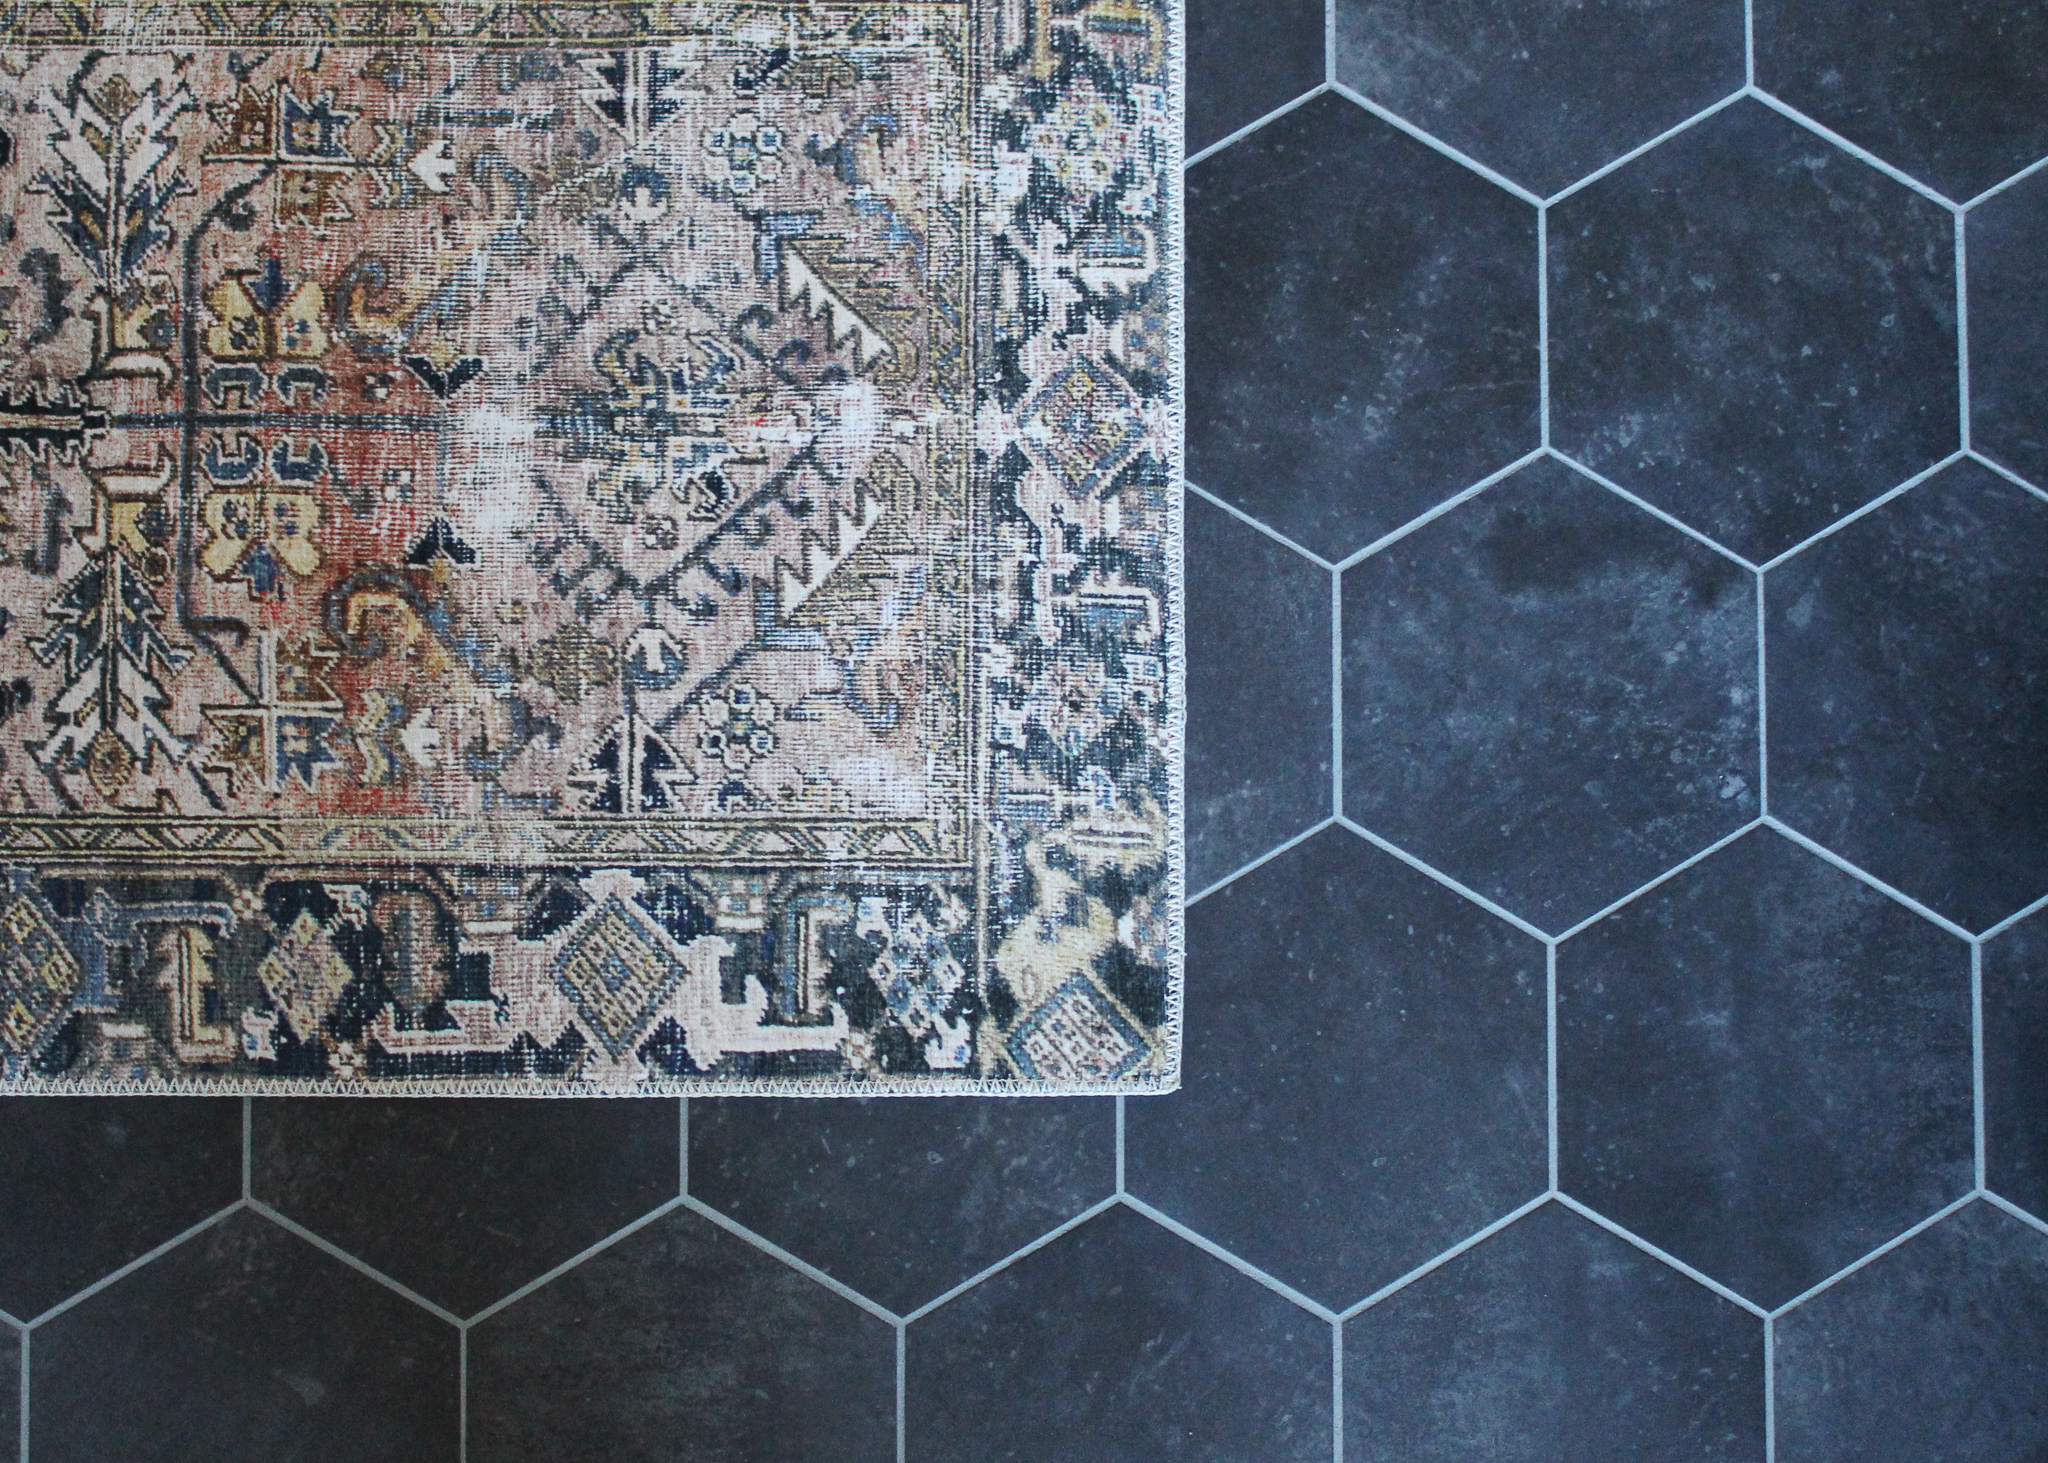
The first step in every project is to gather your materials. Installing peel & stick tile has been our list of projects to do since we moved into our home, but we weren’t quite sure the shape or color we wanted. I scoured Pinterest and various sites for awhile, but when we found this Groutable Obsidian Peel and Stick Vinyl Tile from Lowe’s, we knew it was the one!
The black ties into the light fixtures and cabinet hardware in the kitchen and the hexagon shape gives it a modern feel. There was plenty of variation in the tile and since we could grout them, it very closely resembled an authentic porcelain tile. Another benefit to this tile was that it was available in stores, so we were able to pick it up and get started right away. This tile can be applied over many surfaces including plywood, concrete, or vinyl.
The grout we used is specifically for vinyl tile and was premixed. We went with a light gray grout to provide a nice contrast, without having to go completely white.
A majority of the materials were ones we already had from previous projects, but here’s the full list!
Material List
- Groutable Obsidian Peel and Stick Vinyl Tile
- Acrylic Premix Grout (we got Slate Gray in store, but here’s one similar online)
- ⅛” Spacers
- Grout Float
- Extra Large Sponge
- Utility Knife
- Square for Tracing Lines
- Pencil
- Tape Measure
- Wash Cloth
- Blow Dryer
- Buckets
- Water Source & Drain
- Hammer
- Pry Bar for Trim
Matt’s Quick Tip: Make sure to purchase more material than you will need, since you can return any extra you won’t need. Measuring the square footage or your room is a must! We bought an additional 25% as a buffer. Typically, it’s best to plan for a 10-20% overage.
2. Prep Your Space
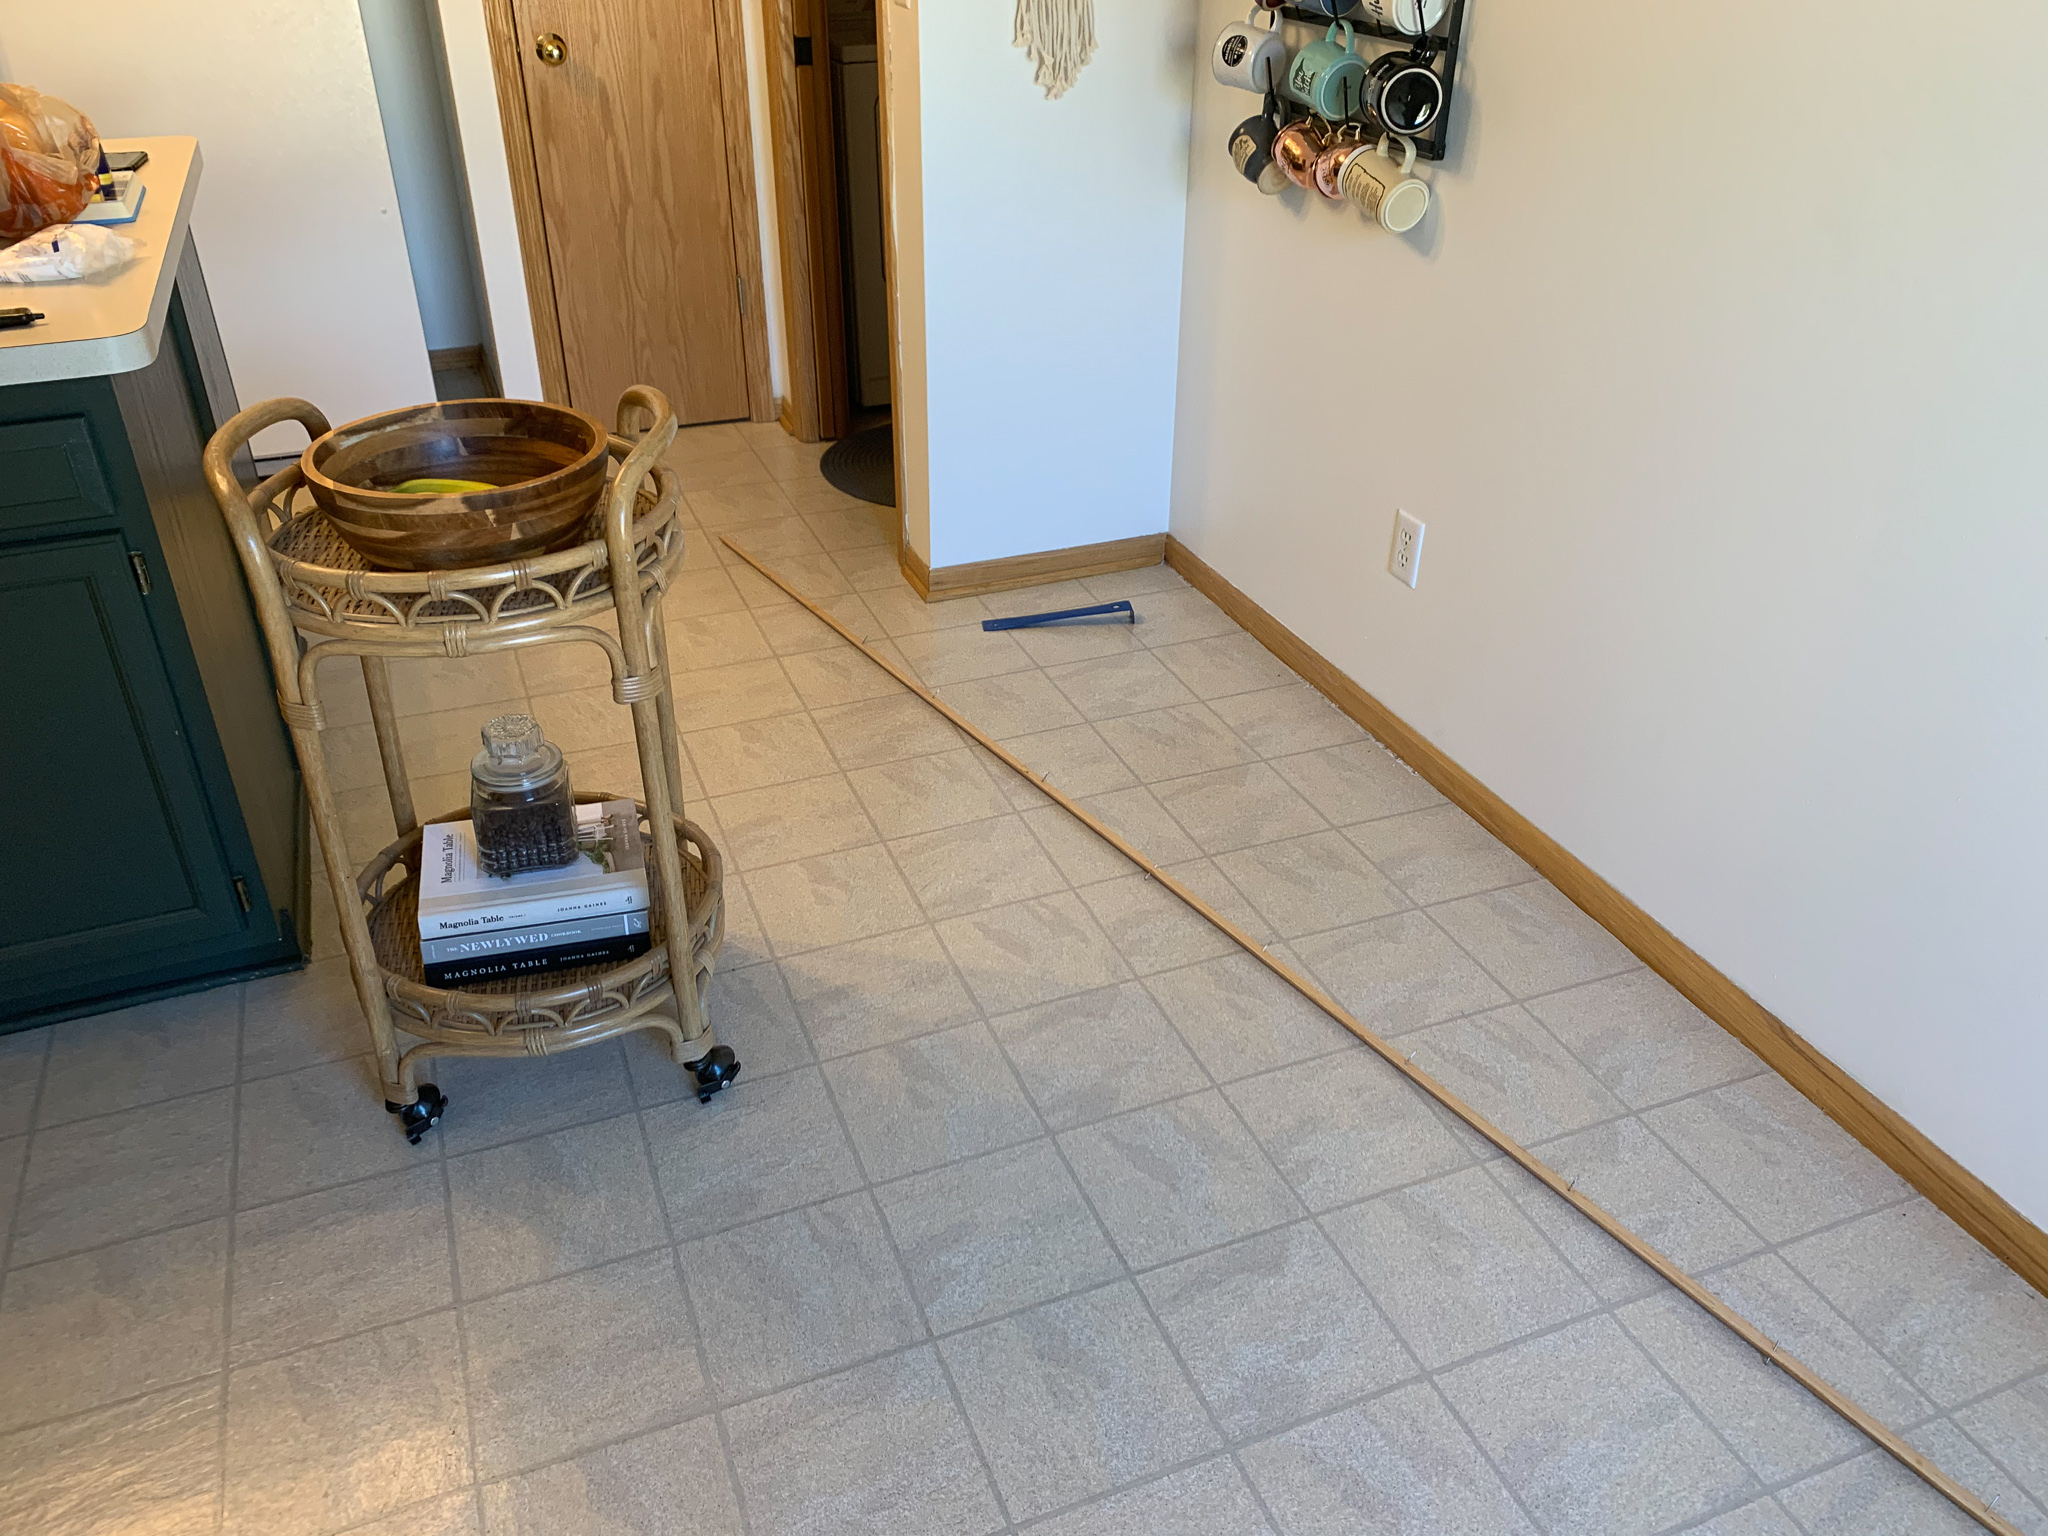
Before any tiles are laid, you’ll need to prep your space. To do this, we removed everything that was on our kitchen floor including the bar cart below and benches we had in the corner. You’ll also want to remove any rugs and be prepared to unplug appliances when needed. After everything was out of the space, we removed the baseboards and thoroughly cleaned the floors. I started by sweeping the floor and then used some warm water and soap to wipe them down. This will ensure that you’ll have a clean and flat surface to work with when you start laying the tile.
Matt’s Quick Tip: Start in one location where you can access the trim the best, and work in succession around the room. If you have a complex room like or kitchen or not, it is good practice to label the trim pieces by number with tape and a marker.
3. Figure out Your Layout
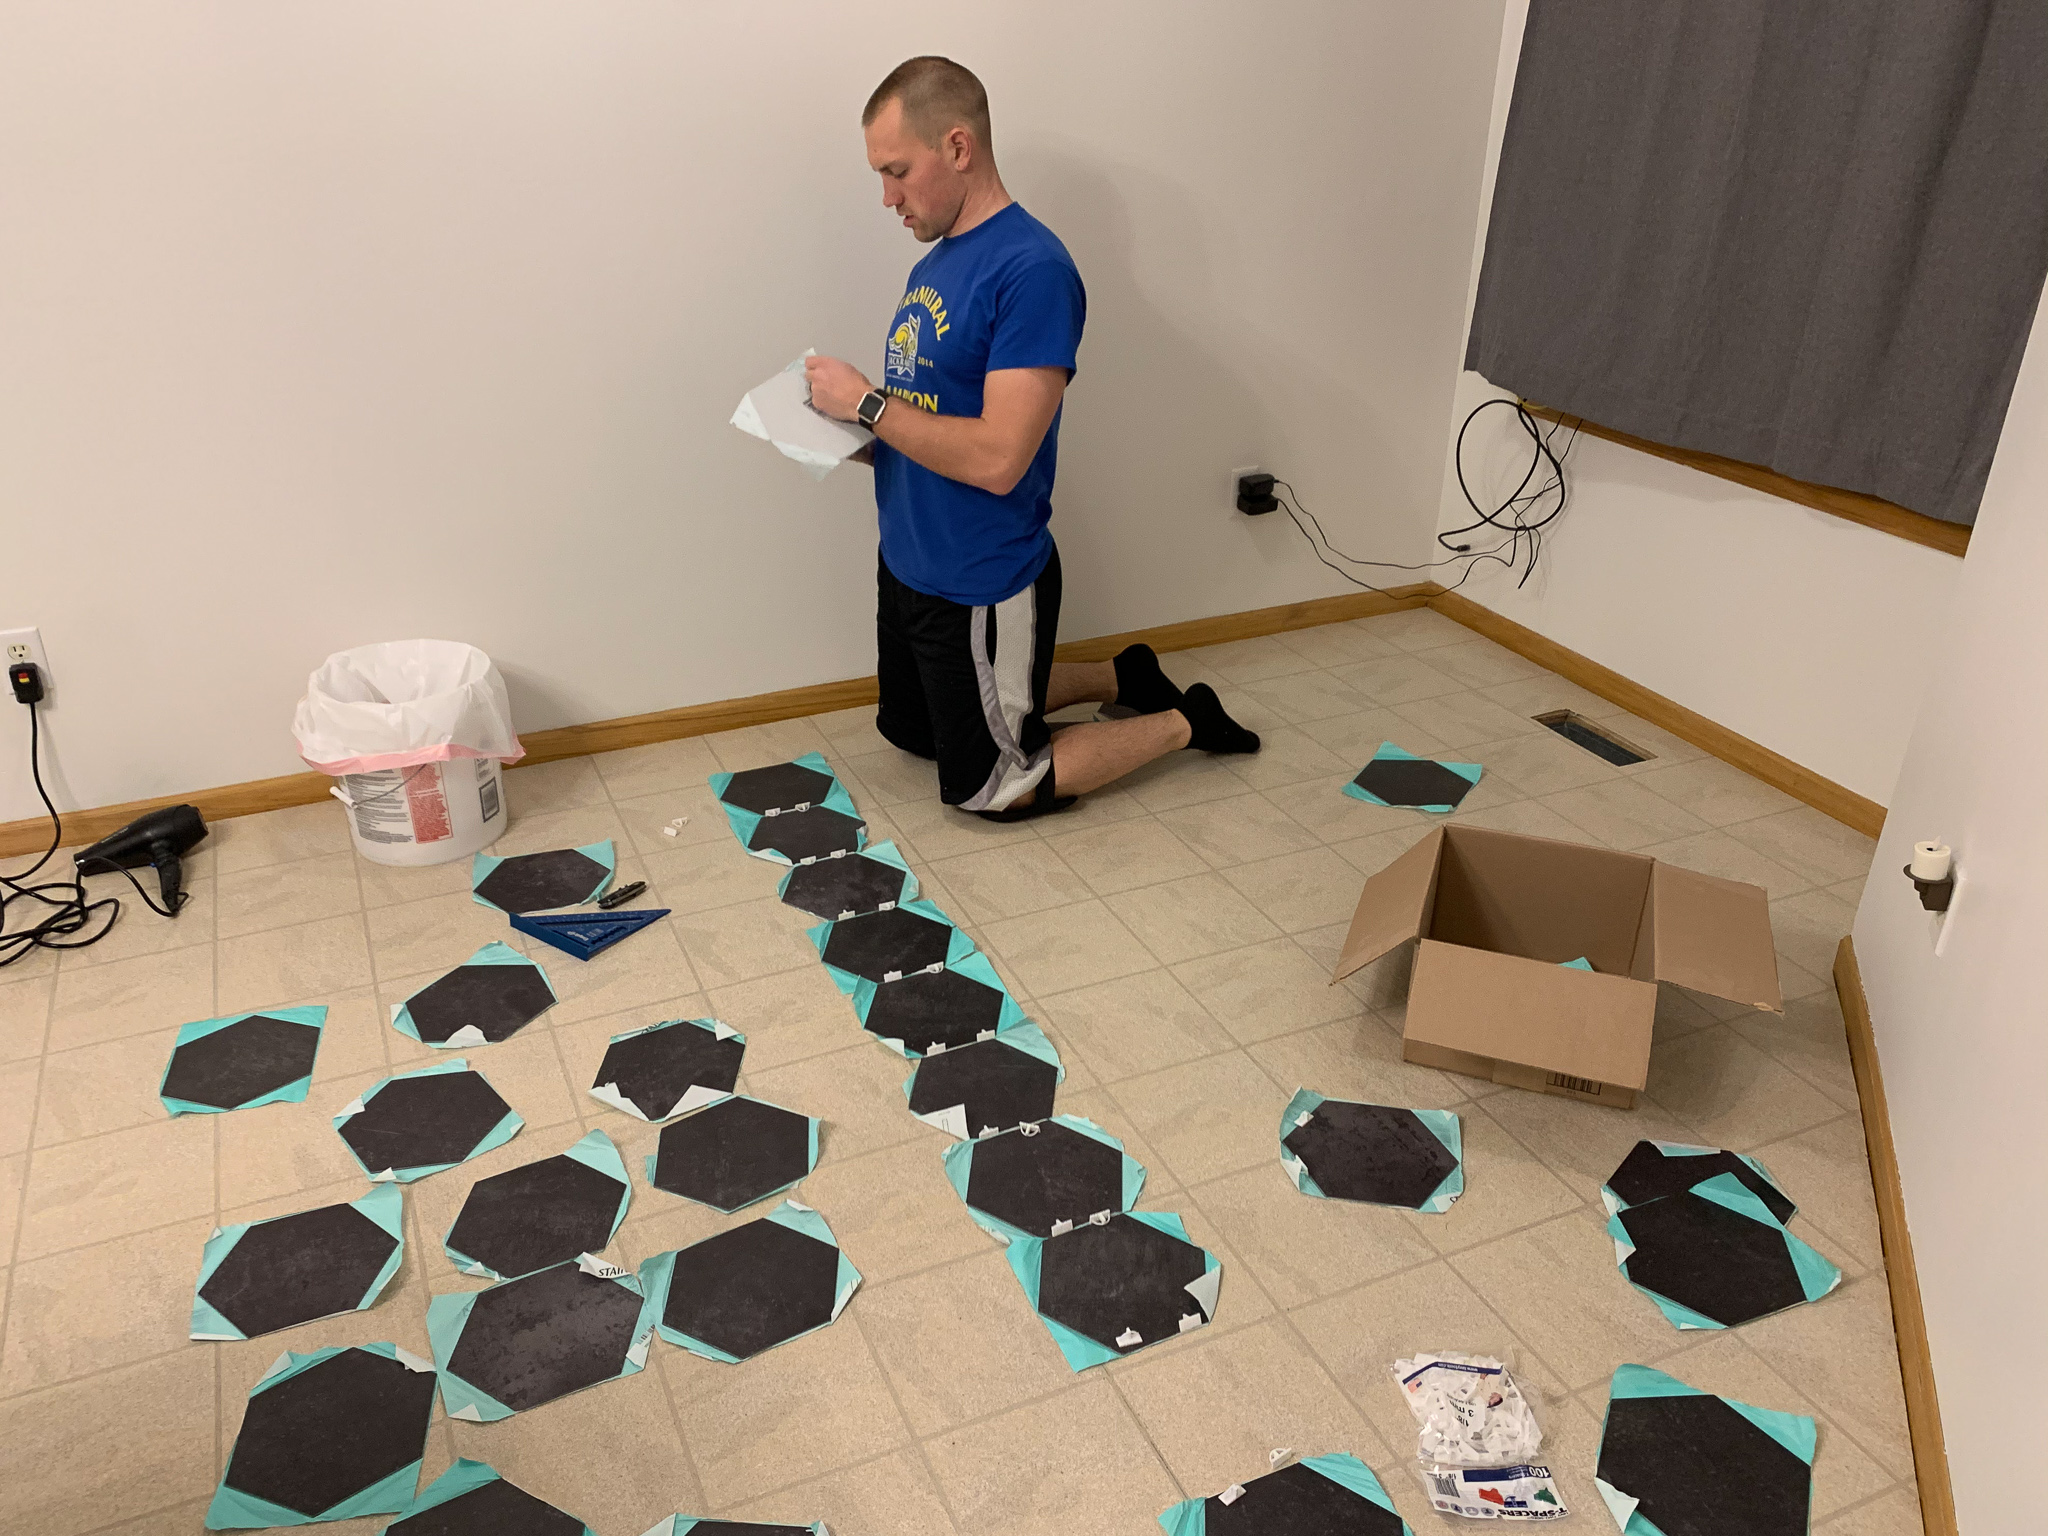
Before we started sticking the tiles down, we did a trial run with a dry layout. Matt wanted the tiles to line up on the far wall, which makes it so much easier to have a straight starting path for each row. It also helped us figure out what direction we wanted the tiles to face. If your tile is a pattern, this step will be crucial to ensure that the tiles line up and your pattern isn’t crooked or wonky. If you’re using rectangular tile, this is where you’ll want to determine if you’ll be installing the tile stacked, 1/3 or 1/2 offset, and horizontally or vertically.
Matt’s Quick Tip: Plan your progression through the room and know which tiles will be the most obvious to others, and most importantly yourself. Make sure you are basing your placement on a square surface or drawn line.
4. Lay Tiles with Spacers
Once we had the layout figured out, it was time to lay the tiles. With these peel & stick tiles, all it took was removing the light blue backing and sticking the tiles to the floor. The adhesive was fairly sticky, but we could still move the tiles around if needed to make sure they were in the right spot. We used spacers so that all of the gaps were the same from tile to tile and that the grout would look even. Since we chose a 6 sided tile, this step took longer as well.
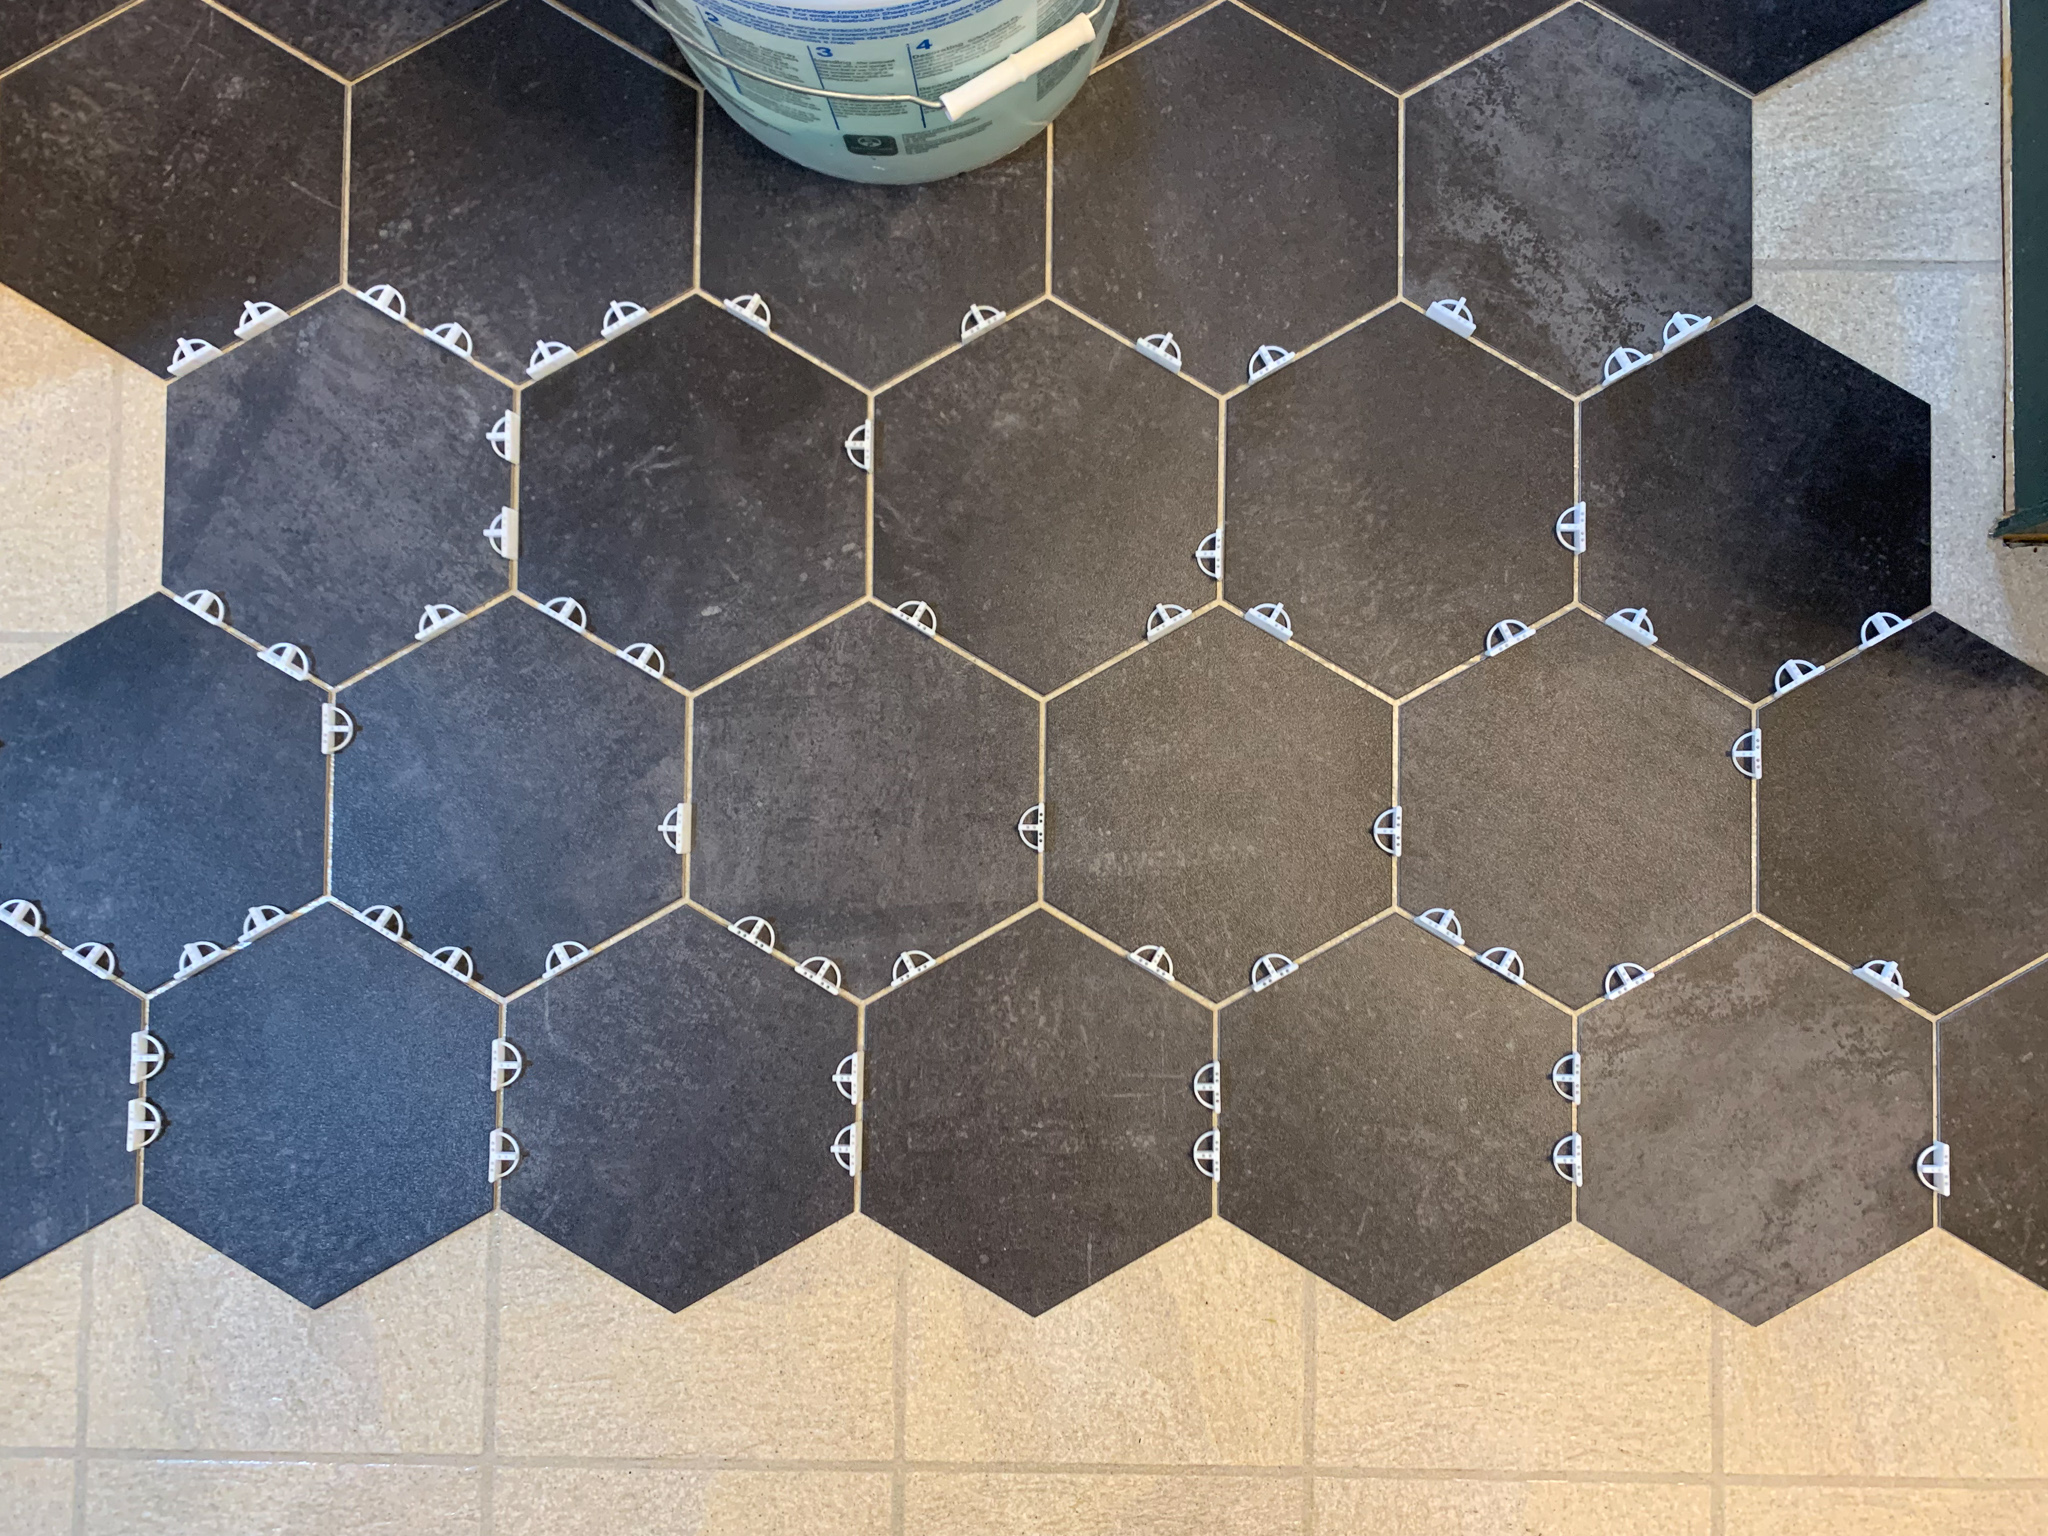
After the tiles were down, we used weights on a few of them that weren’t as secure and that really helped them stay in place. We didn’t have enough spacers to keep in the whole time before grouting, so we removed them as we went and worked in sections.
Matt’s Quick Tip: Since these tiles were lighter and darker in shade, we made sure not to place too many light ones in one concentrated area.
5. Make the Edge and Angled Cuts
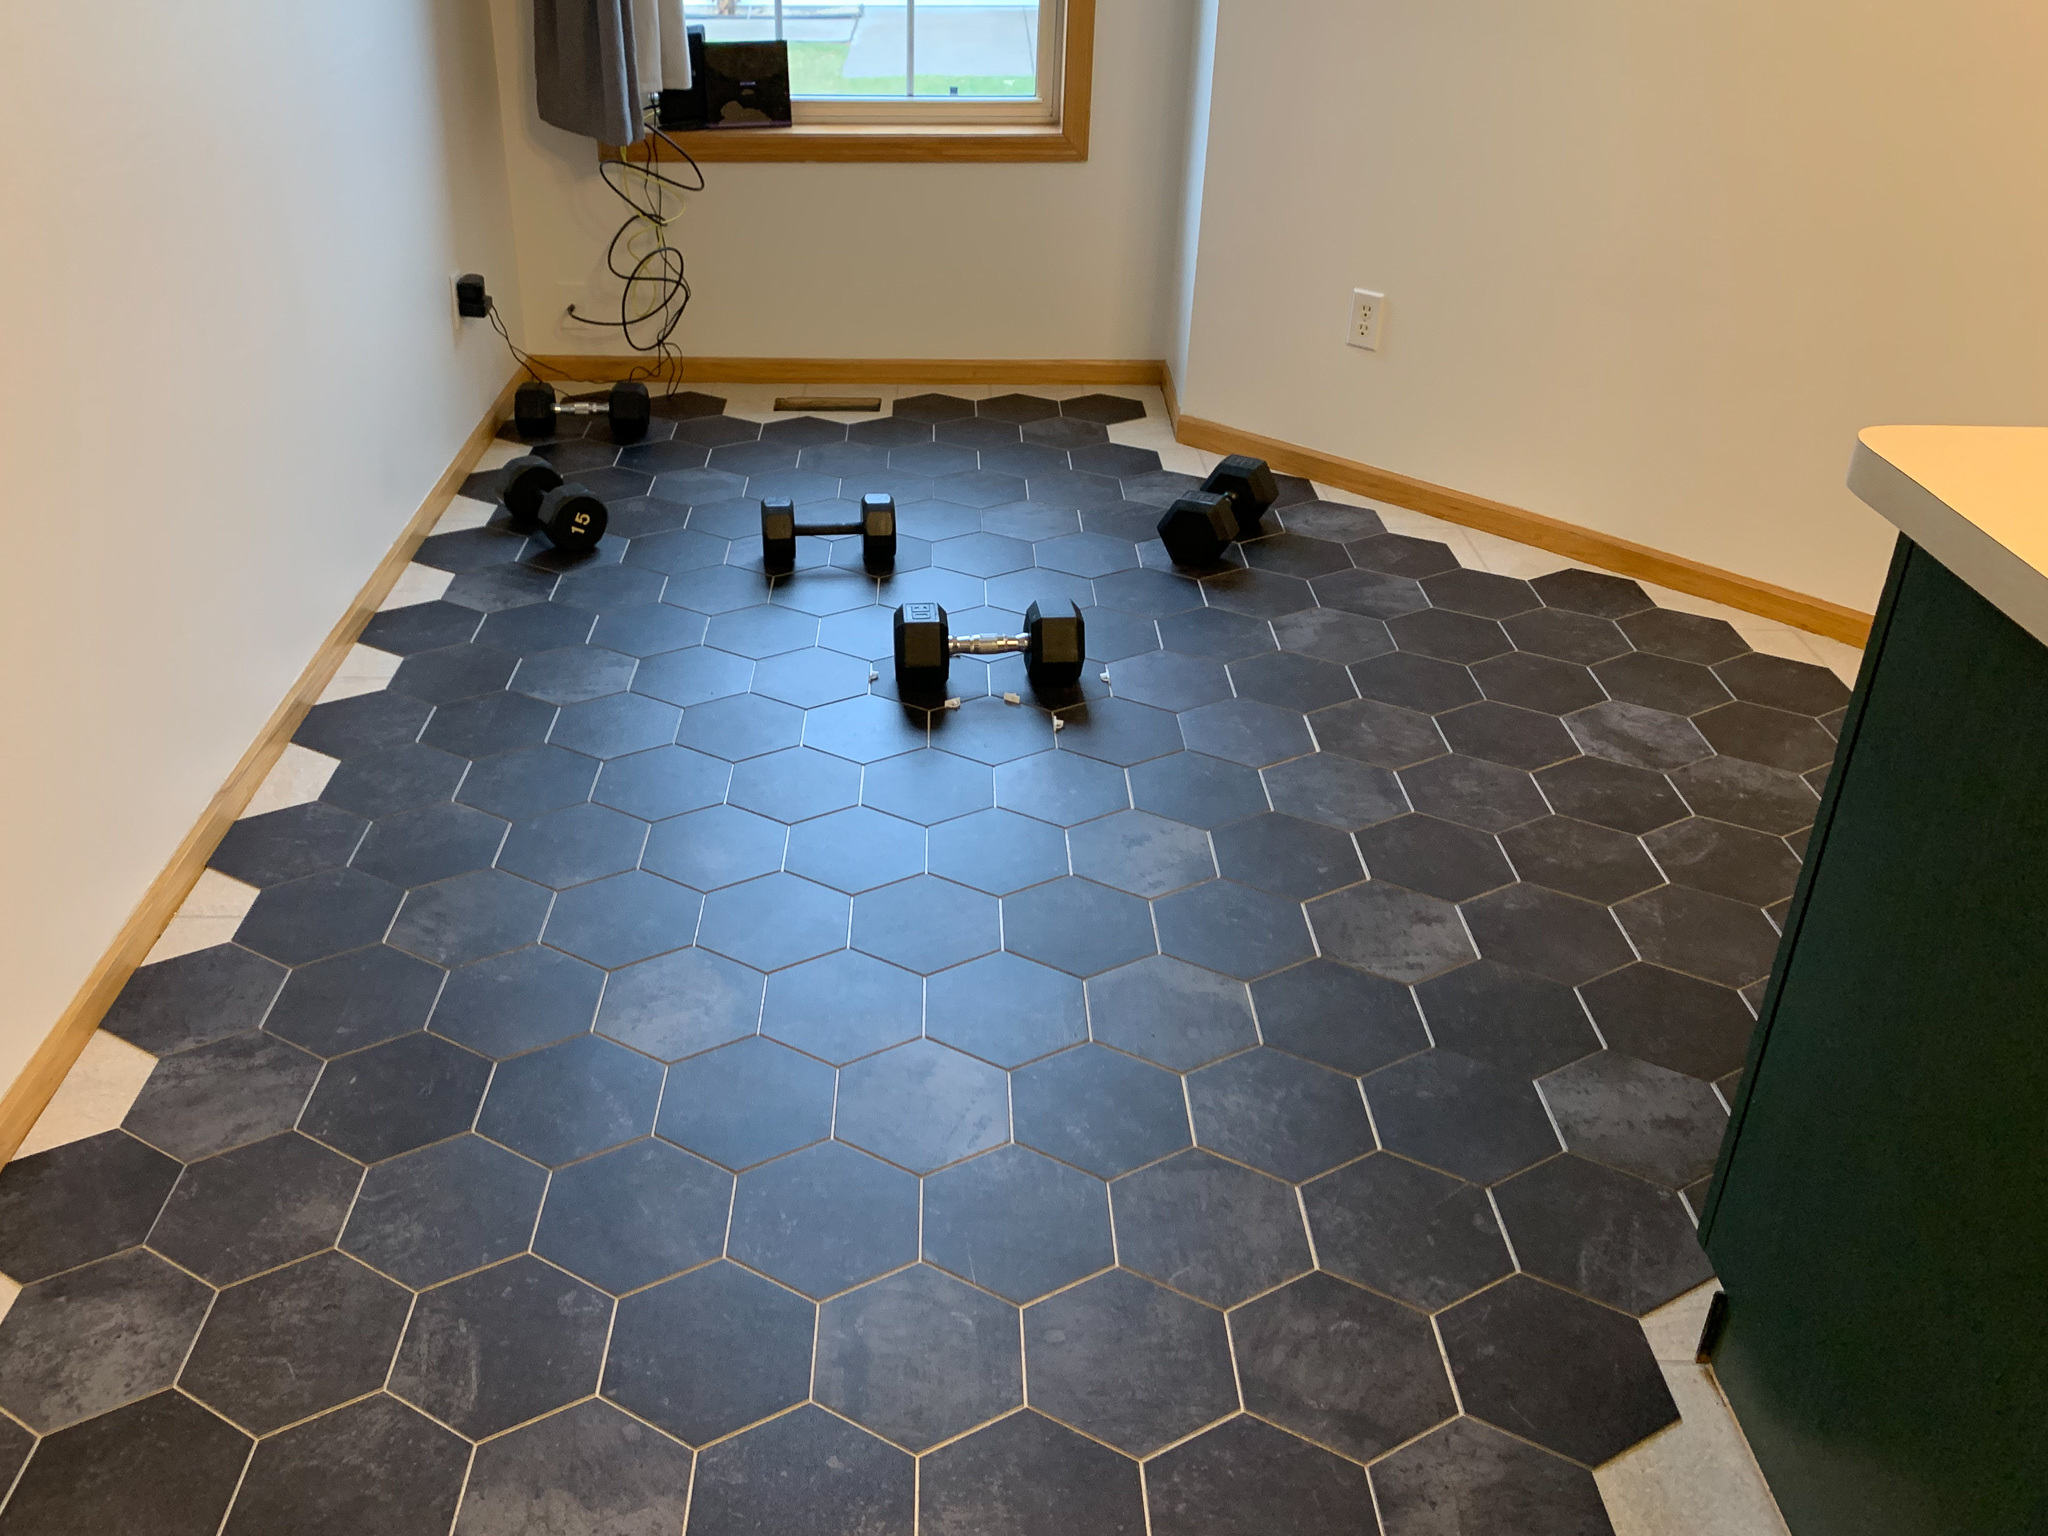
Once all of the full pieces were down, it was time for the edge and angled pieces. This was another time consuming step because we had a lot of cuts to make. The benefit of peel & stick tile is that you’re able to cut it with a utility knife, rather than a wet saw that is used for regular tile.
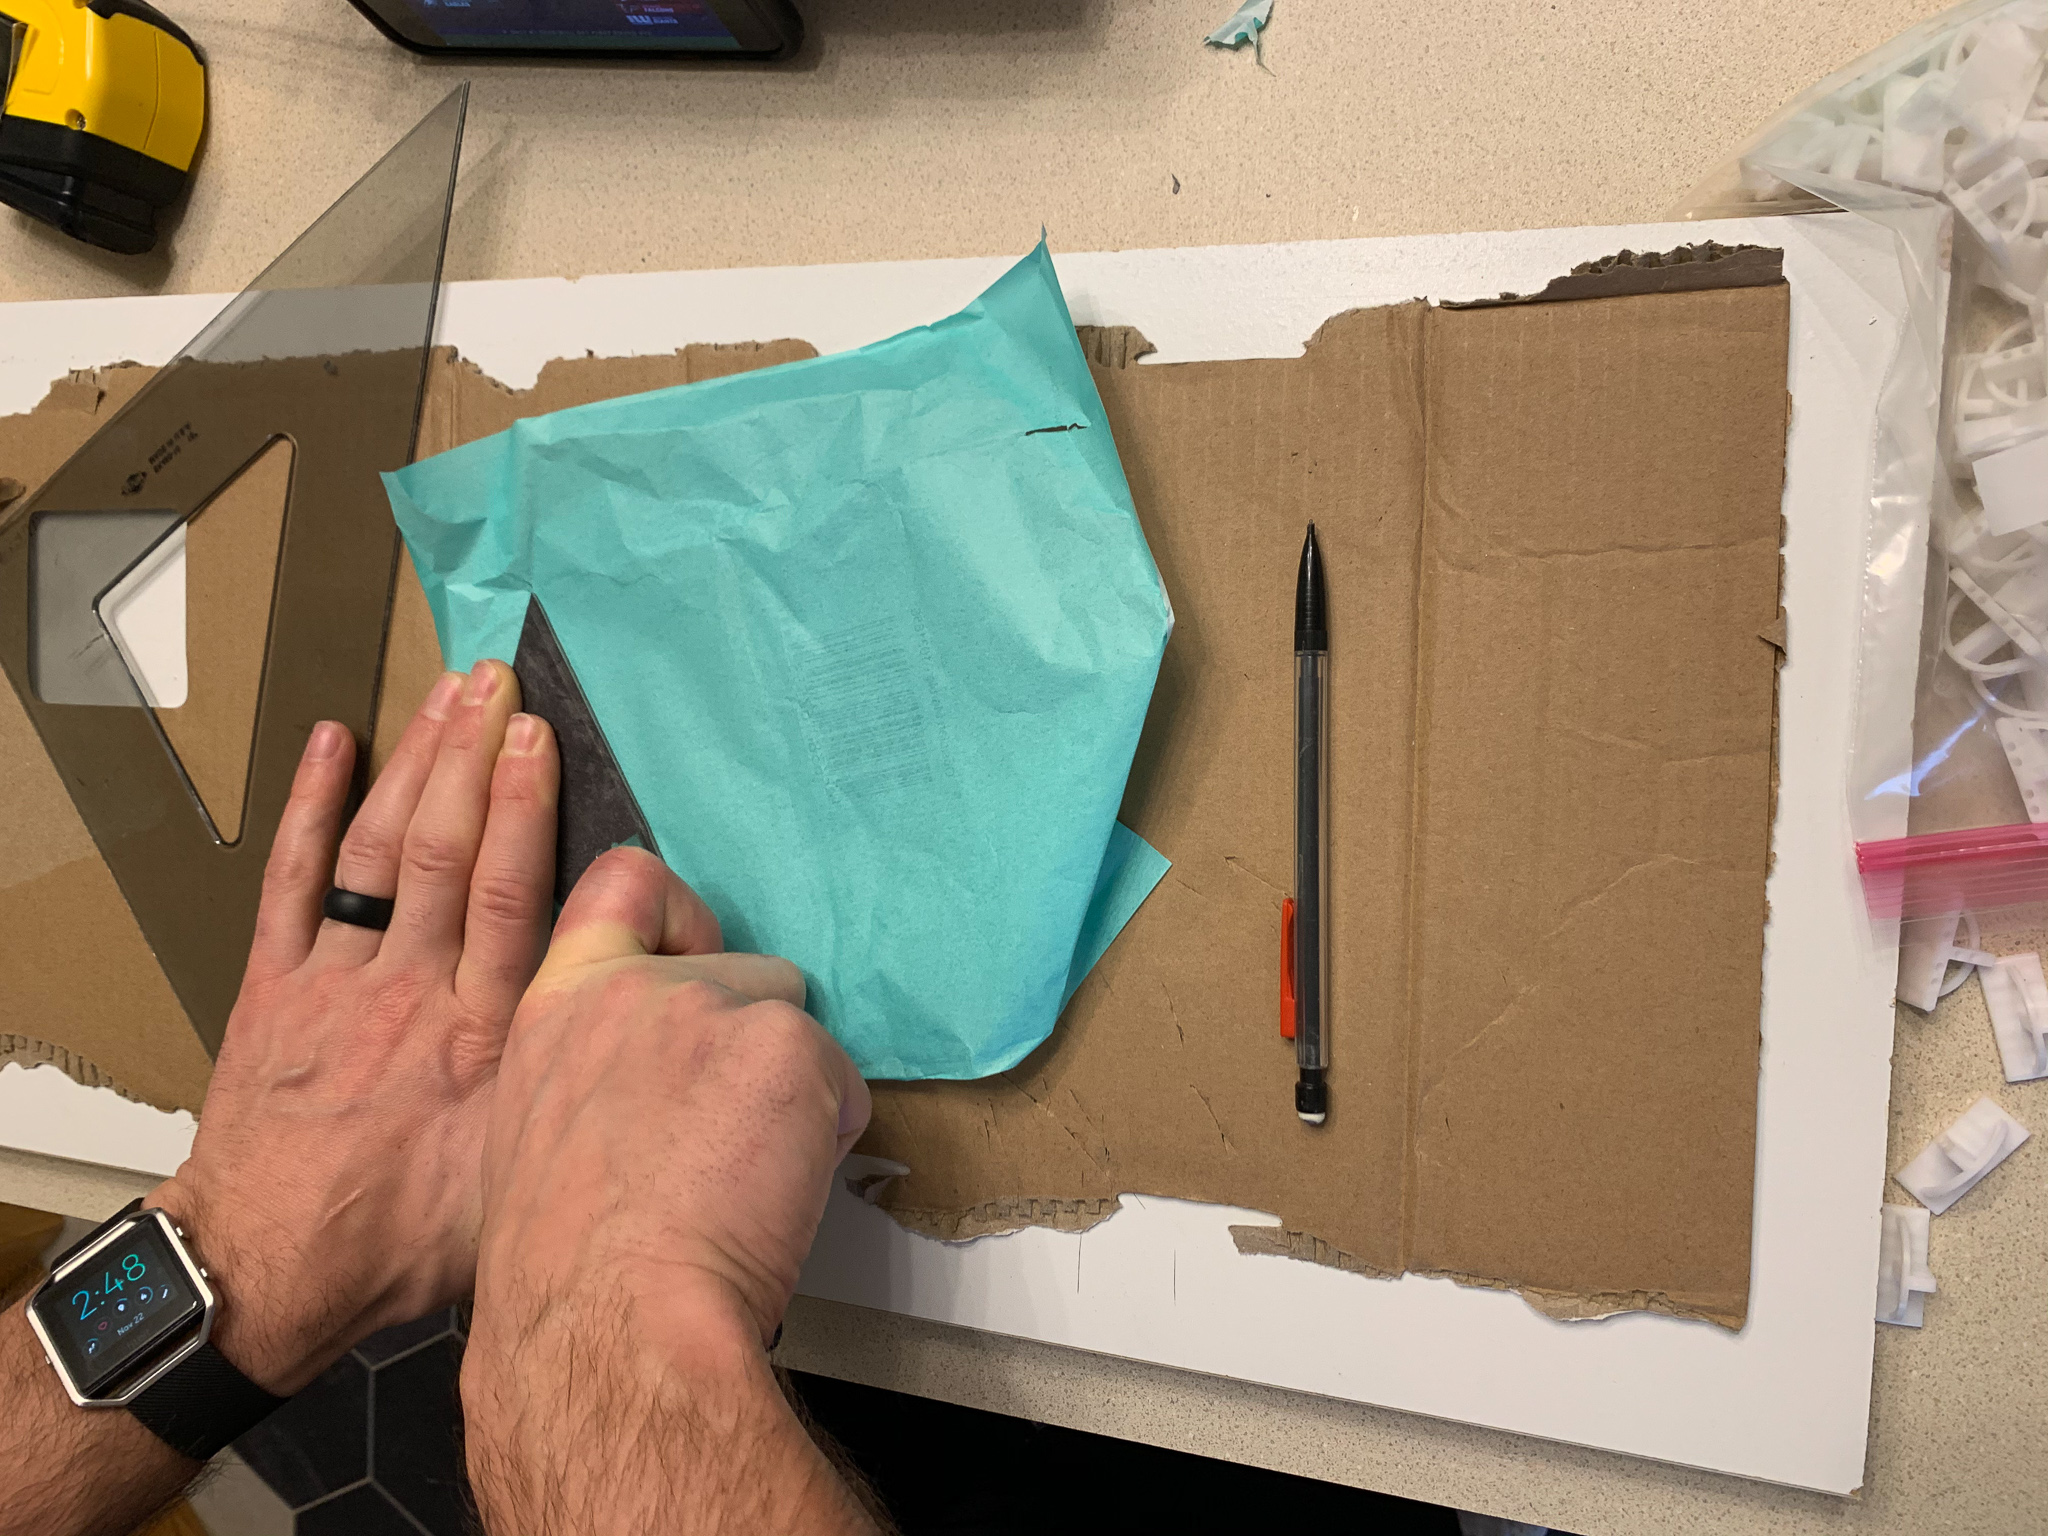
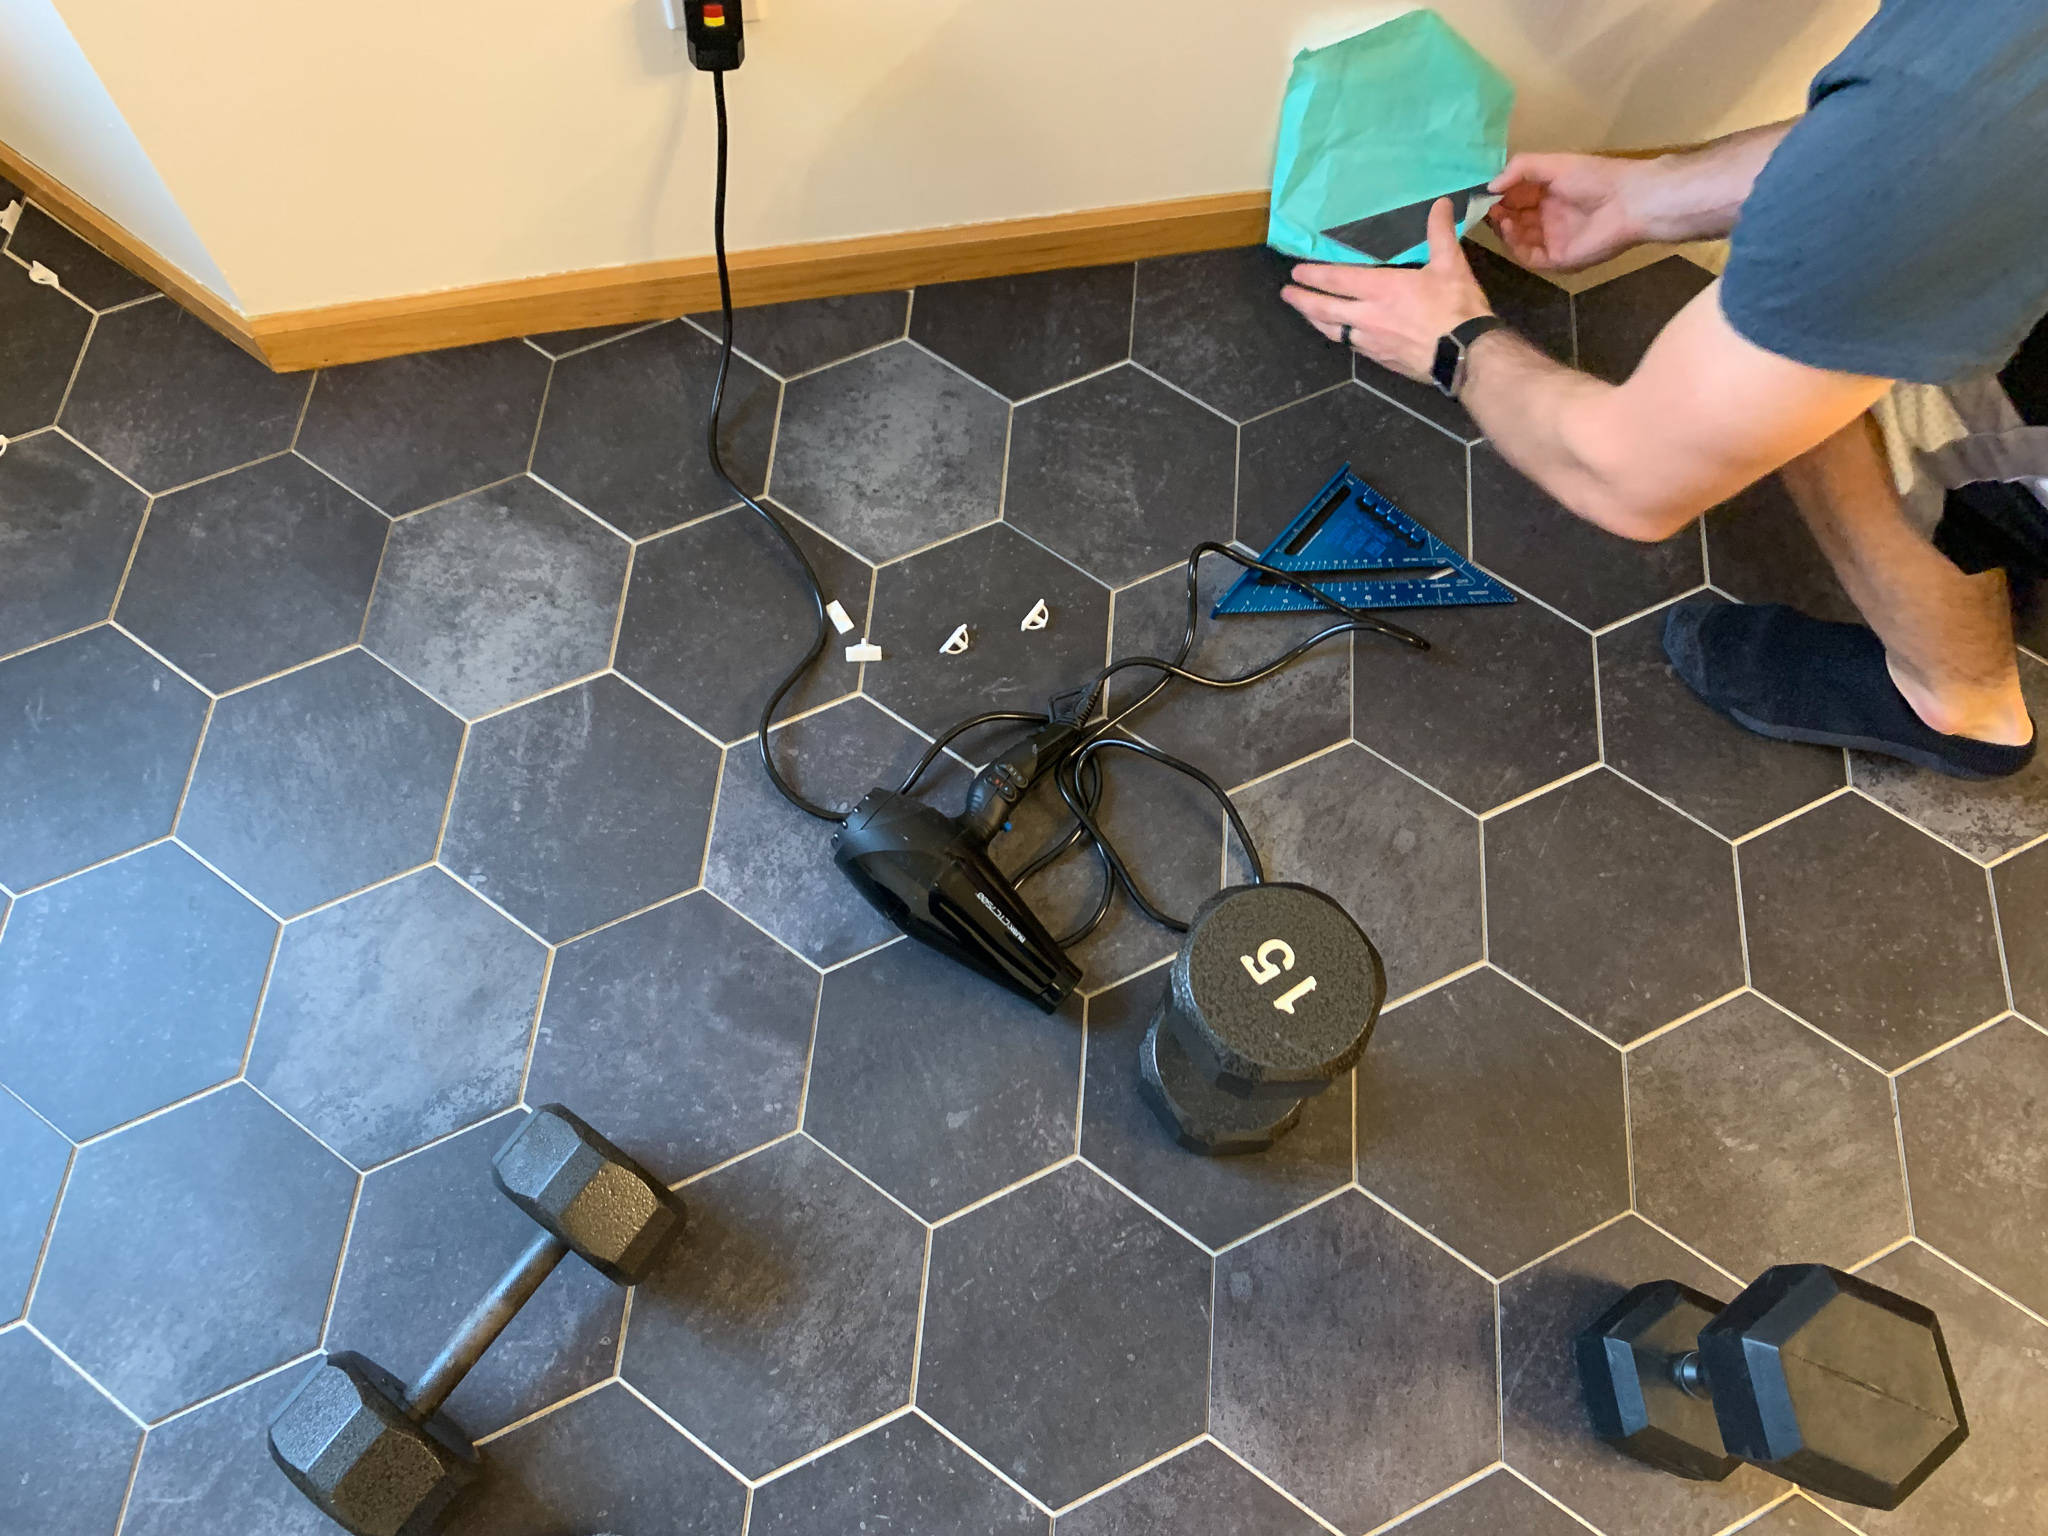
We used a hair dryer to heat up the adhesive on the smaller pieces, making it more effective and sticking better.
Matt’s Quick Tip: Keep tile pieces that are imperfect or partial pieces, because you will never know where it can be used elsewhere along the edges.
6. Grout the Tile
And then came the grout…the never ending process! Along with placing the edge pieces, grouting was the step that required the most patience. The process is pretty straightforward, but was the most taxing on your body and mind.
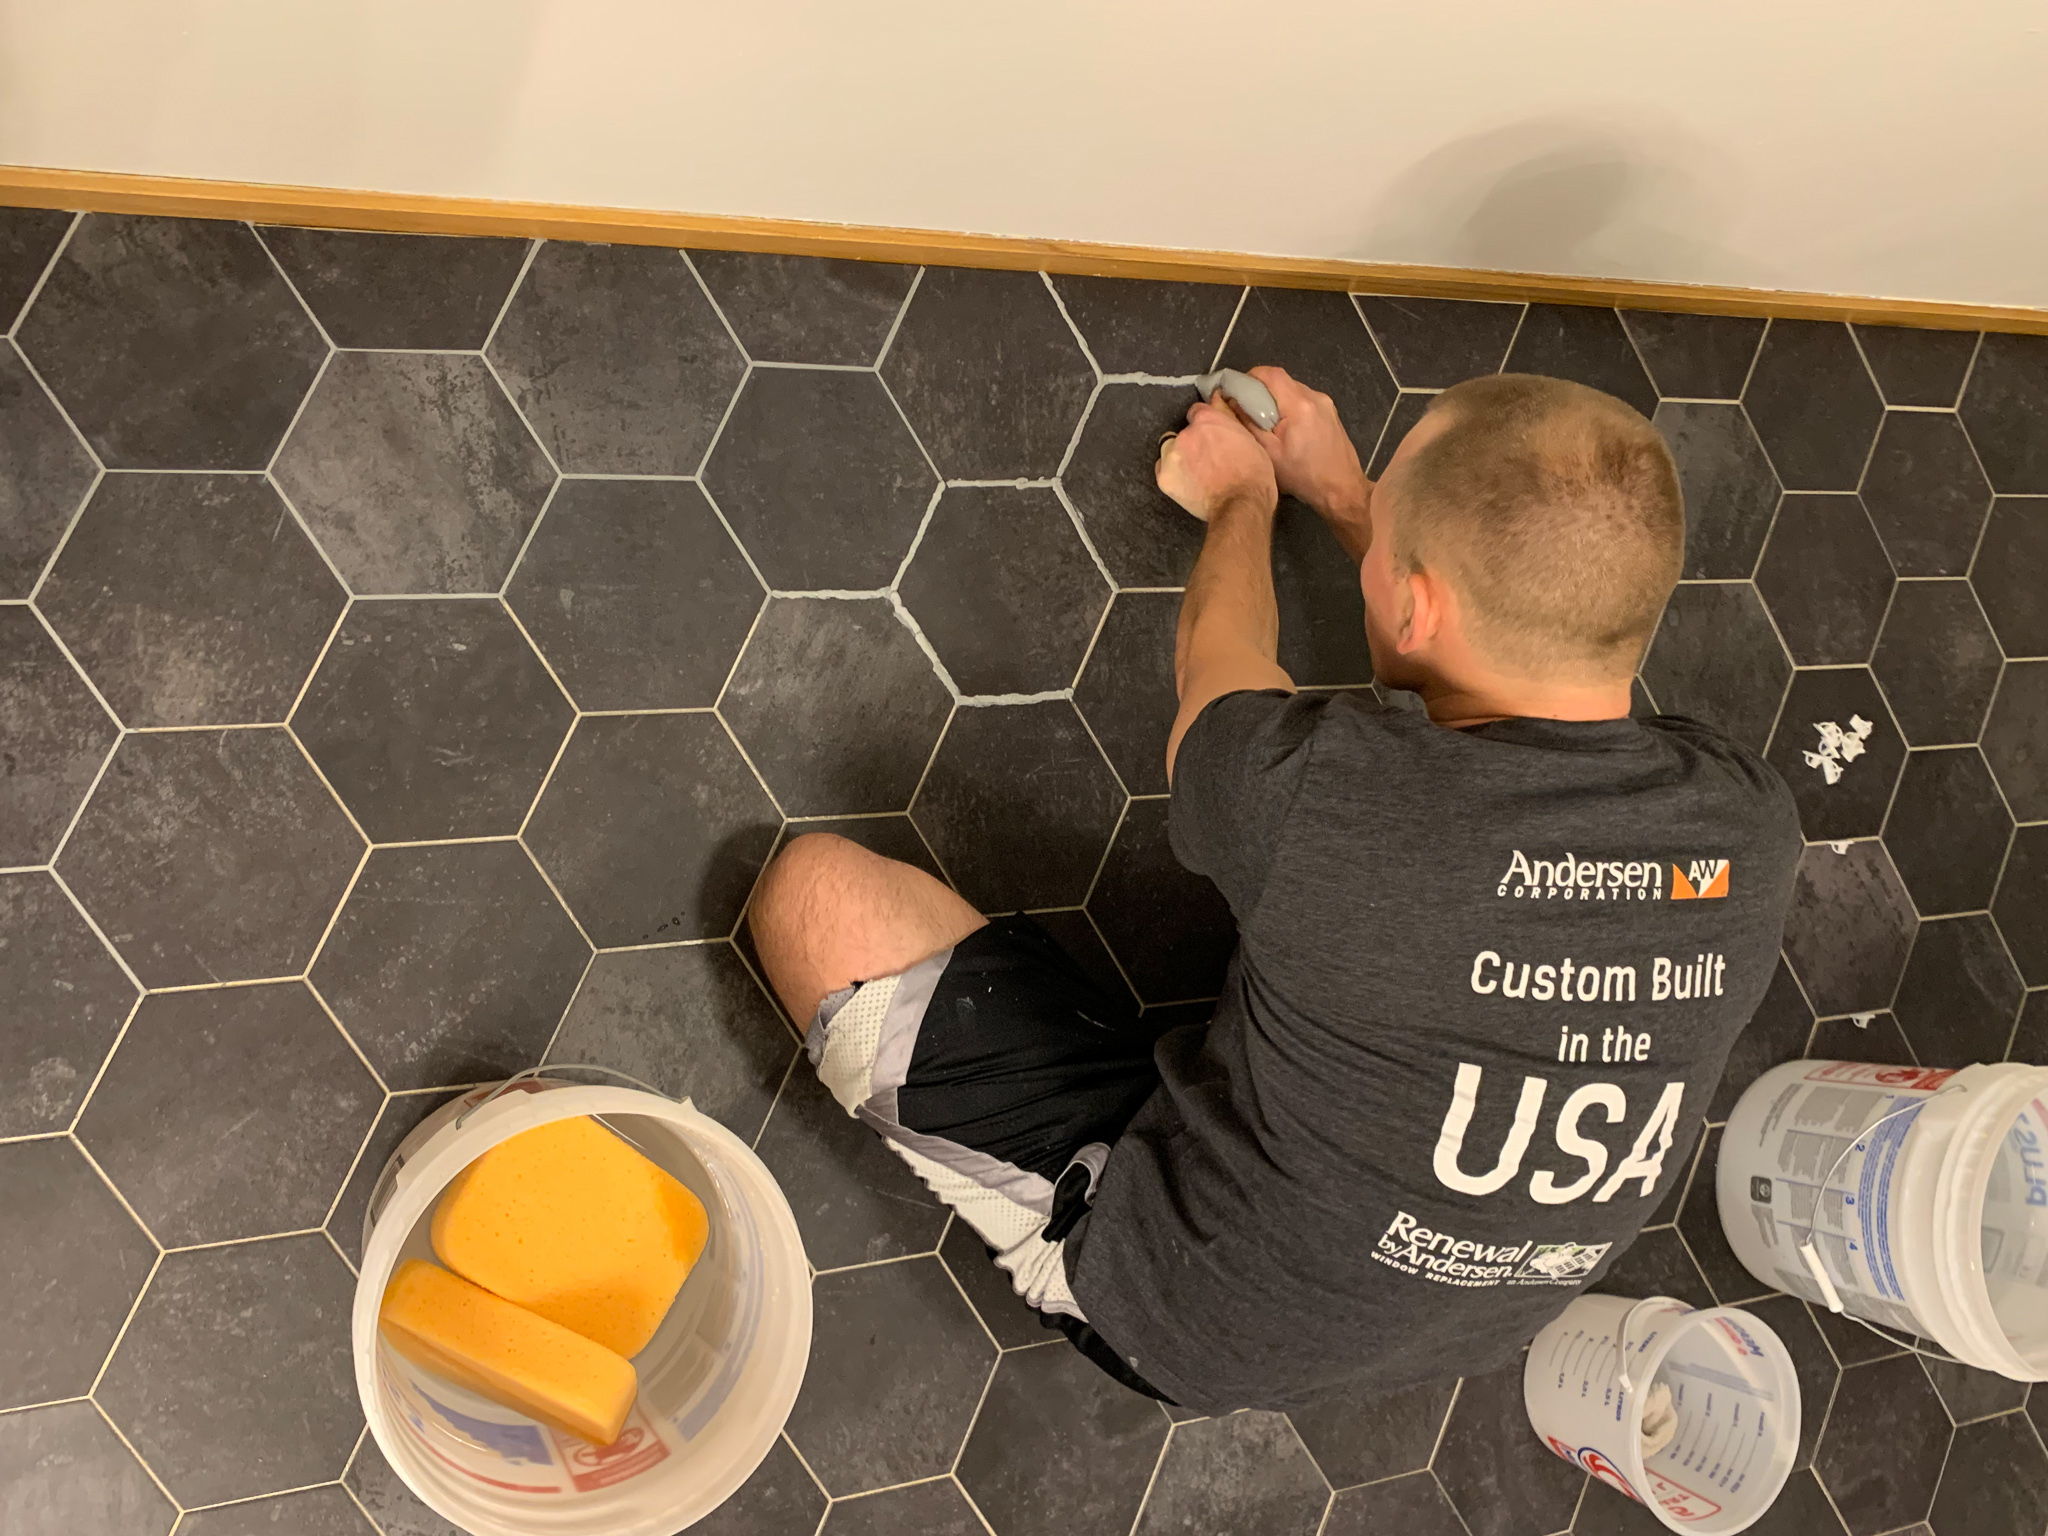
The steps of grouting were to fill the grout lines above the tile, remove excess with the grout float, clean tiles down with a damp sponge, and remove the grout haze with a damp washcloth. Things to prepare for are being hunched over for extended periods of time, filling up your bucket and cleaning your tools more times than you can remember, and having a meticulous eye for tiles that shift that require you to hold pressure on them as you clean.
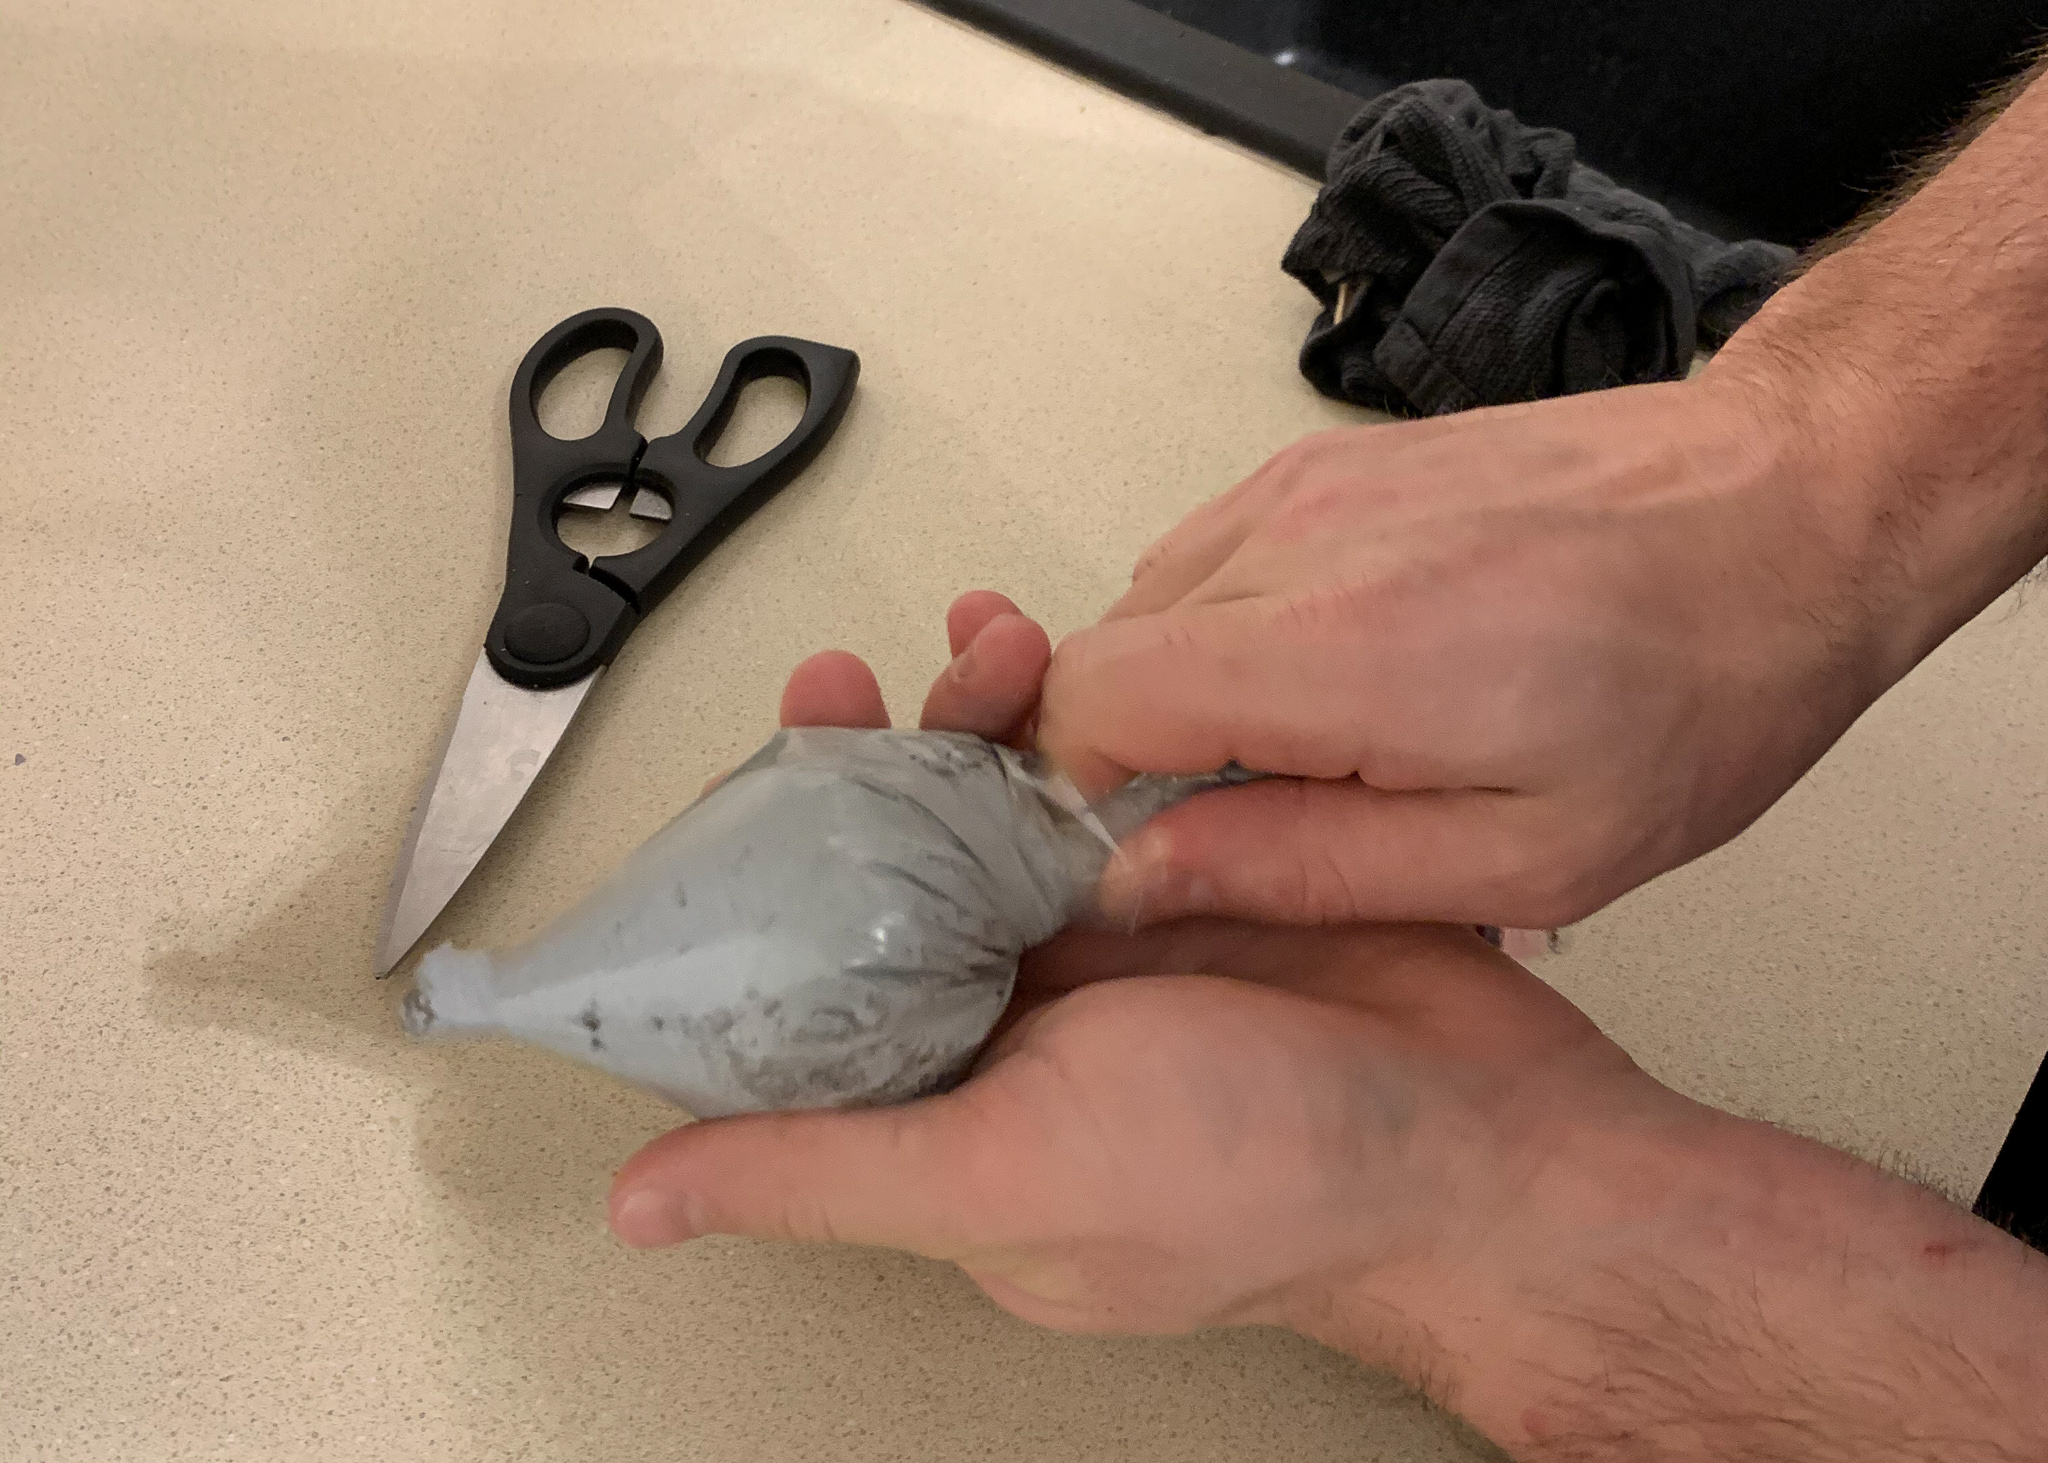
Matt used a small plastic bag to apply the grout initially, but as time went along, he resorted to applying it with his finger since the bags would break easier than he would have liked.
Matt’s Quick Tip: Plan your attack! Start in a less visible area to get the form down and work your way through the room where you have plenty of access to your water source. The grout takes 24 hours to cure before you are able to walk on it, so make sure not to trap yourself!
Questions
How long did this take?
This project took MUCH longer than we anticipated, like most projects do. Part of that was also due to the size, shape, and room that we took on. Our kitchen has an eat-in kitchen spot and we were going into the laundry room, so we had a lot of ground to cover (around 250 sq.ft). In addition, there were challenging aspects such as angled walls, an island in the center of the room, and working with hexagons is more complex than squares. If you were to install peel and stick to a small bathroom or entry, it would go SO much faster!
As for our experience, we dedicated a day to laying the full tile pieces, another to piece together the edge tiles, and two days to grout. The night we started grouting at 4:00 p.m., Matt stayed up until 5:30 in the morning to get a majority of it accomplished!
Do you have to grout the tile?
No, it’s not necessary to grout peel & stick tile, but we think it gives a much more realistic look. It does add a lot more time, but we would say it’s definitely worth it for the overall result.
What’s the durability of the tile?
Since we’ve only had the tile down for about 2 weeks, it’s hard to give a concrete review on our end. We did read a lot of reviews on this tile and people have said it’s very durable. With choosing to grout the tile,
Why not regular tile?
A big benefit of peel & stick tile is that you don’t need a wet saw to cut the tile, making it much easier to DIY. The cost is lower as well.
How much did it cost?
In total, we spent around $700 to complete this project. Our kitchen is fairly large and we also went into our laundry room as well. If you were going to do a small bath or entry space, we would guess the cost would be less than half of what we spent. Matt estimated it’s about $3 per sq/ft including tile, grout, and tools.
And there ya have it – how to install peel and stick tile! Going to try this on your own? I’d love to see it and cheer you along. Tag me @willabyway with your tile installing project!
